Deploy a React App in Minutes: Your First Light Cloud Website, for Free
From npm create vite to a live HTTPS address, then an update that goes live on git push. No build settings to fill in.



On this pageShowHide
To deploy a React app on Light Cloud, push your project to GitHub, choose Deploy from GitHub in the console, pick the repository and click Deploy. Light Cloud detects React from package.json, runs npm ci and npm run build, and serves the dist folder from the edge at an HTTPS address. It works on the free plan, and every later git push redeploys the site by itself.
In my run the first build took 15 seconds, and an update was live 50 seconds after git push.
What you will build
A React website made with the official Vite starter, live on its own light-cloud.io address, then updated with one pushed change.
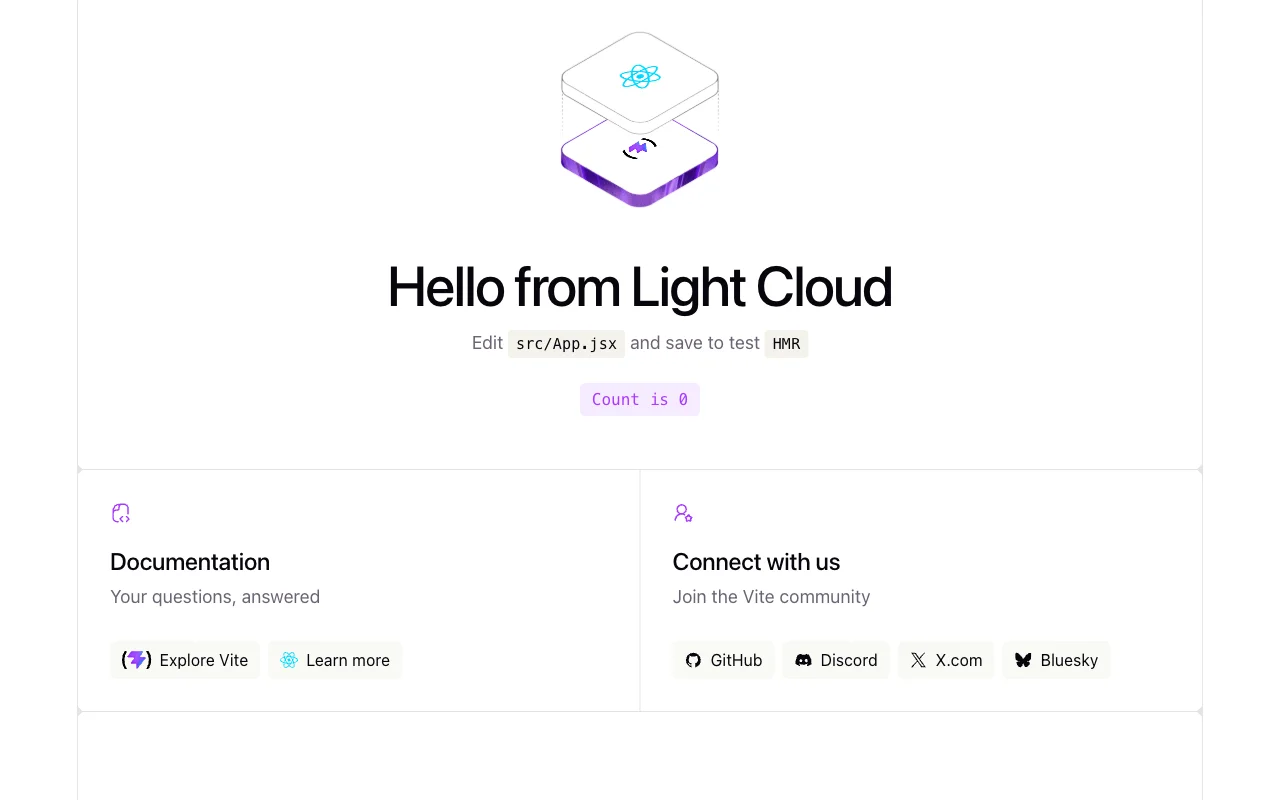
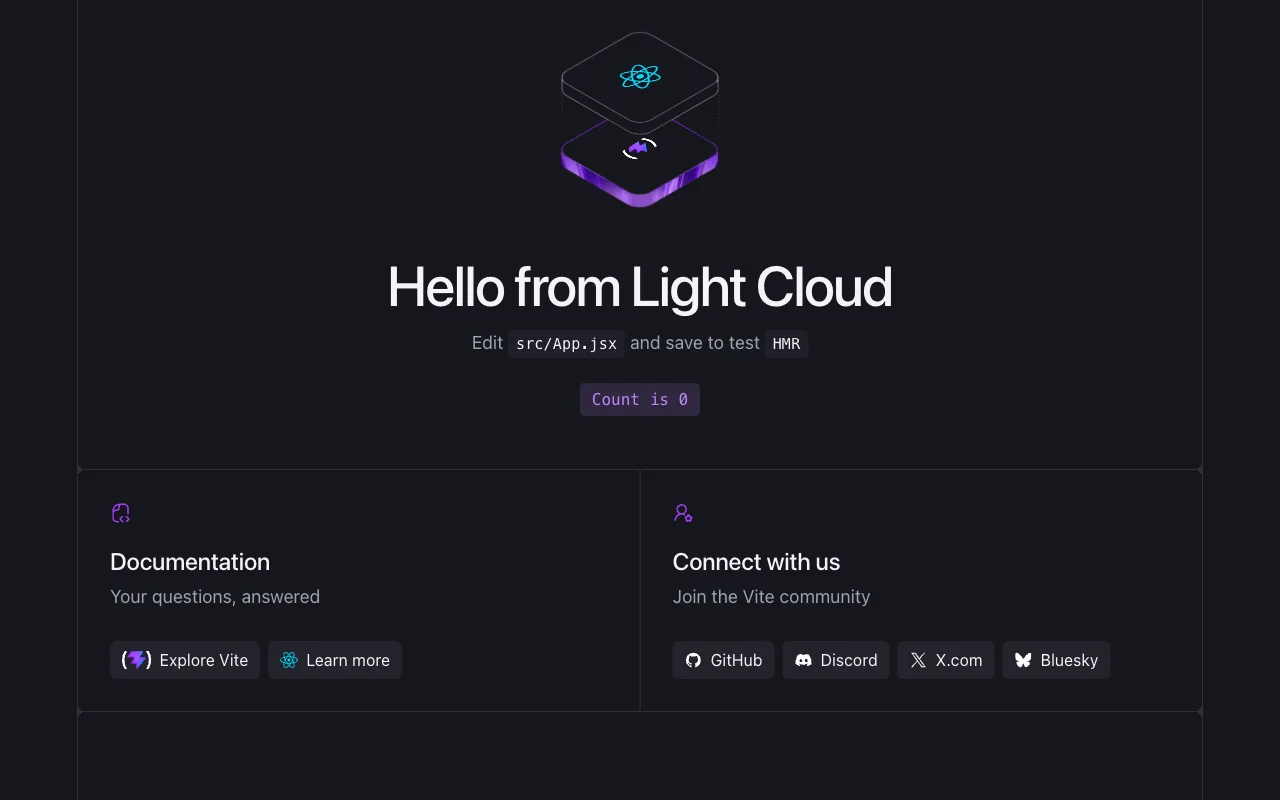
Live demo: main-tutorial-react-website-examples.light-cloud.io. Source code: github.com/light-cloud-com/tutorial-react-website.
Before you start
- Node.js 20.19 or later, or 22.12 or later (what Vite requires); I used Node.js 22.16.
- Git and a GitHub account.
- A free Light Cloud account at console.light-cloud.com, with GitHub connected. The console asks you to connect it the first time you choose Deploy from GitHub.
- On Windows, run the commands in PowerShell 7.
Step 1: Create the React app
Vite's starter gives you a working React app in one command:
$ npm create vite@latest tutorial-react-website -- --template react --no-interactive
◇  Scaffolding project in /Users/you/tutorial-react-website...
└  Done. Now run:

  cd tutorial-react-website
  npm install
npm run devPS> npm create vite@latest tutorial-react-website -- --template react --no-interactive
◇ Scaffolding project in C:\Users\you\tutorial-react-website...
└ Done. Now run:
cd tutorial-react-website
npm install
npm run dev--template react picks React with JavaScript (use react-ts for TypeScript) and --no-interactive skips the questions. Output is trimmed; the path shows your own folder.
Step 2: Run it on your machine
Install the dependencies and start the development server:
$ cd tutorial-react-website
$ npm install
found 0 vulnerabilities
$ npm run dev

  VITE v8.3.1  ready in 487 ms

➜ Local: http://localhost:5173/PS> cd tutorial-react-website
PS> npm install
found 0 vulnerabilities
PS> npm run dev
VITE v8.3.1 ready in 487 ms
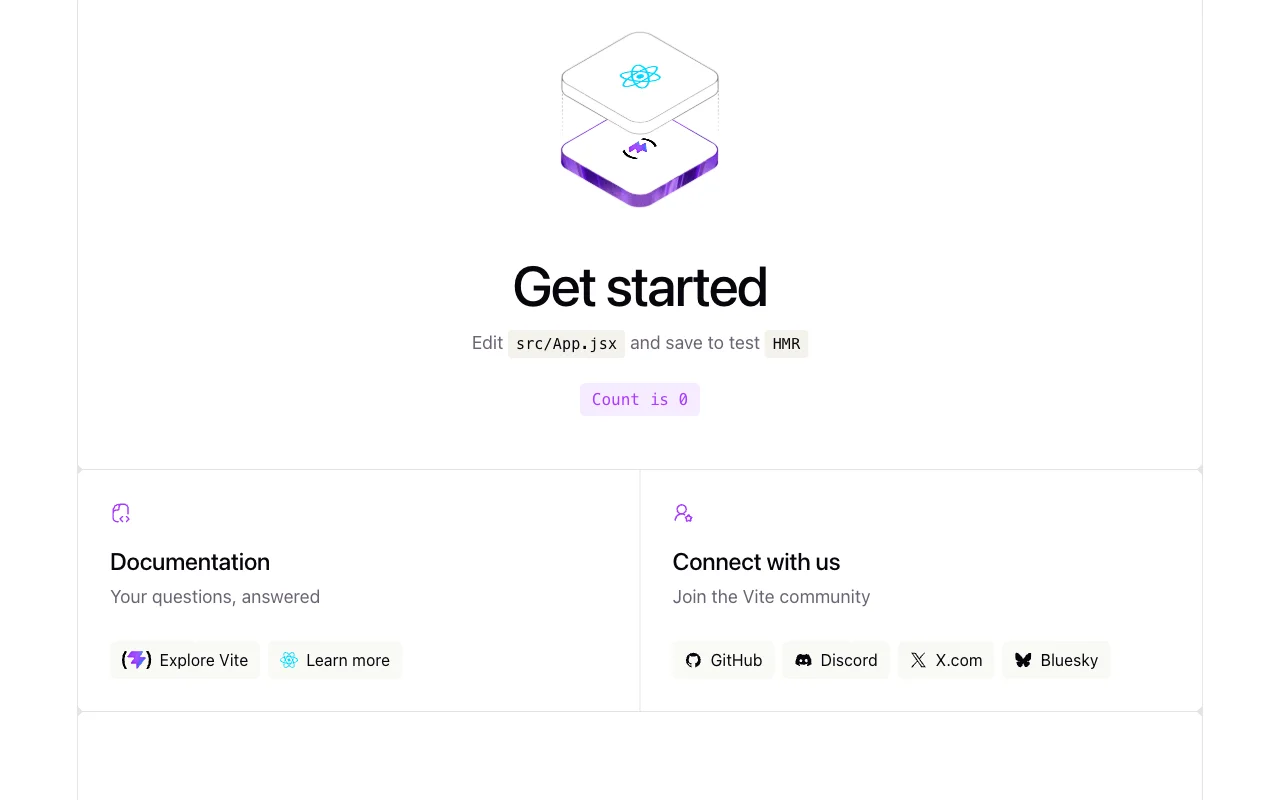
➜ Local: http://localhost:5173/Open http://localhost:5173 and you should see the starter page. Your Vite version may be newer. Stop the server with Ctrl+C.
Step 3: Push it to GitHub
Light Cloud deploys from a Git repository. Commit the project, create an empty repository on GitHub, and push to it:
$ git init -b main
$ git add -A
$ git commit -m "React website from the Vite starter"
# Create an empty repository named tutorial-react-website on github.com/new first.
$ git remote add origin https://github.com/YOUR-USERNAME/tutorial-react-website.git
$ git push -u origin main
To https://github.com/YOUR-USERNAME/tutorial-react-website.git
 * [new branch]      main -> main
branch 'main' set up to track 'origin/main'.PS> git init -b main
PS> git add -A
PS> git commit -m "React website from the Vite starter"
# Create an empty repository named tutorial-react-website on github.com/new first.
PS> git remote add origin https://github.com/YOUR-USERNAME/tutorial-react-website.git
PS> git push -u origin main
To https://github.com/YOUR-USERNAME/tutorial-react-website.git
* [new branch] main -> main
branch 'main' set up to track 'origin/main'.Leave the new repository empty (no README), so the push goes through. The starter's .gitignore already keeps node_modules and dist out of Git.
Step 4: Deploy from GitHub
- In the Light Cloud console, click New... at the top of the sidebar, then Deploy from GitHub.
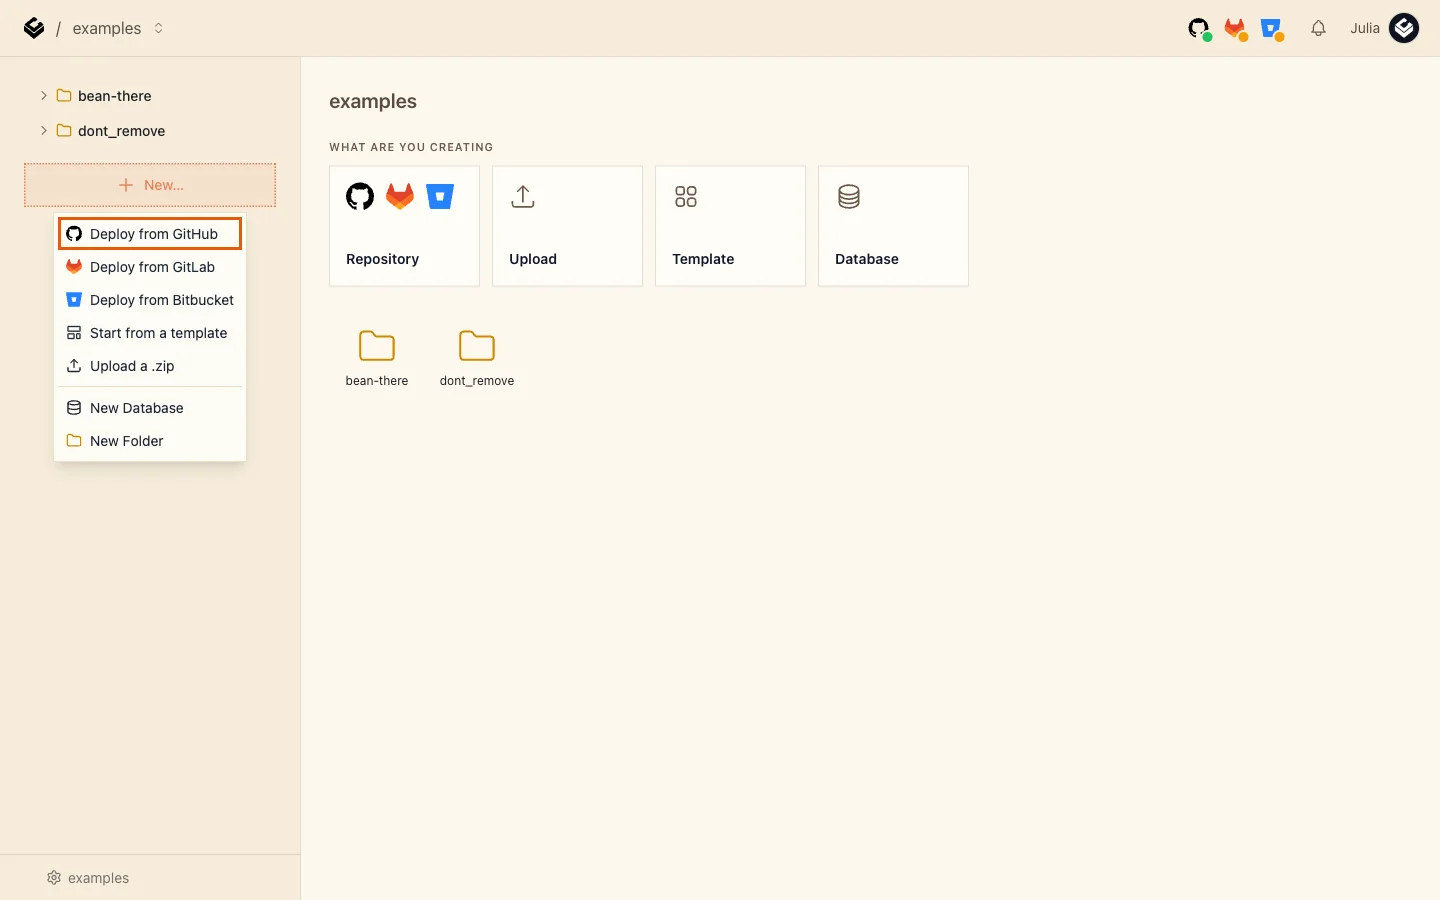
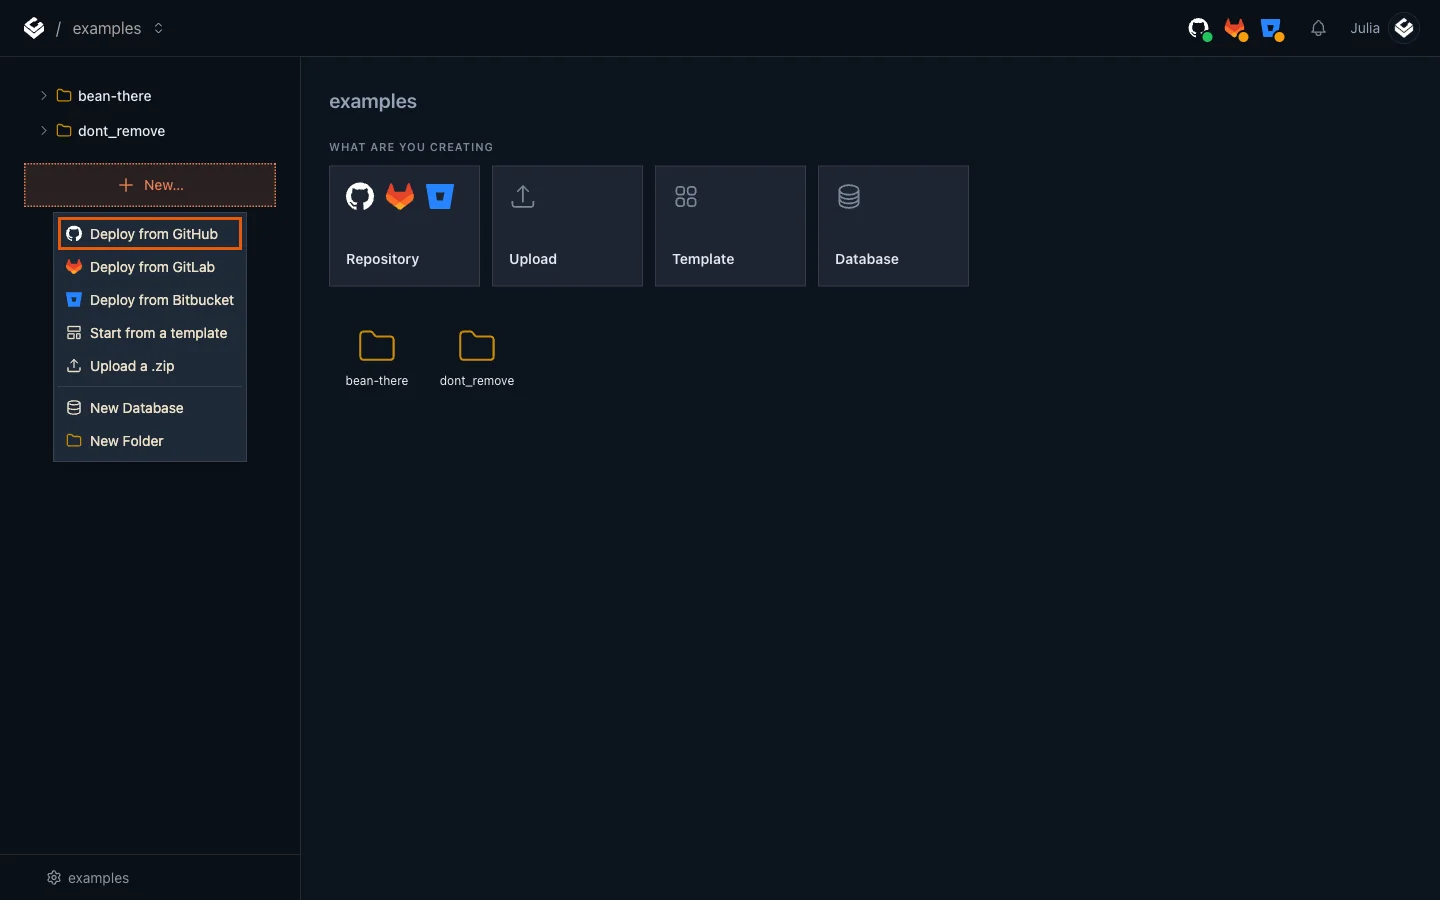
- Type the repository name into Search your repositories... and click it. A new repository can take a few seconds to appear.
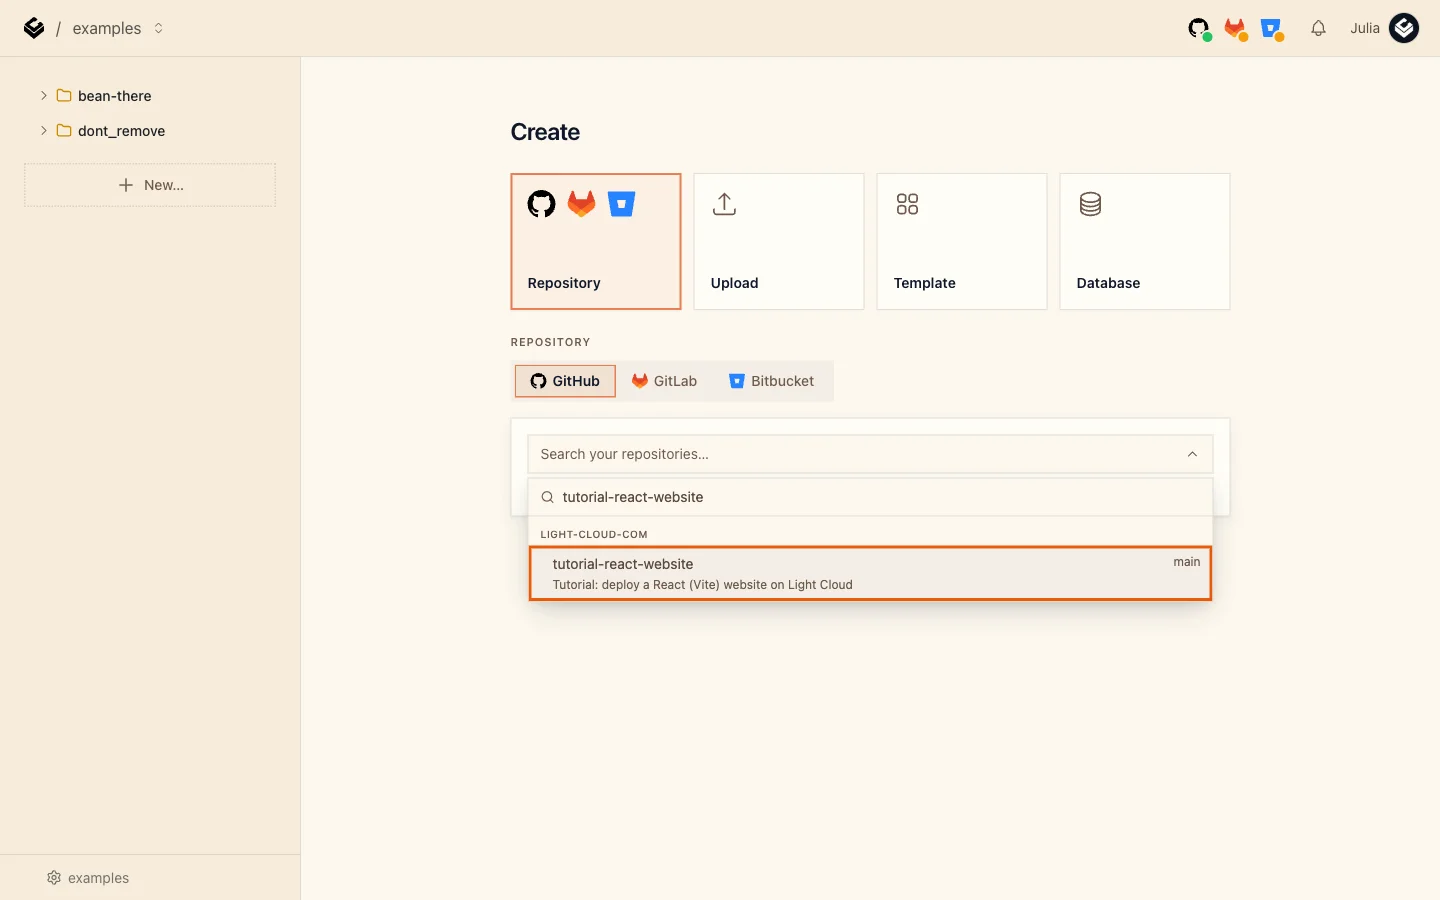
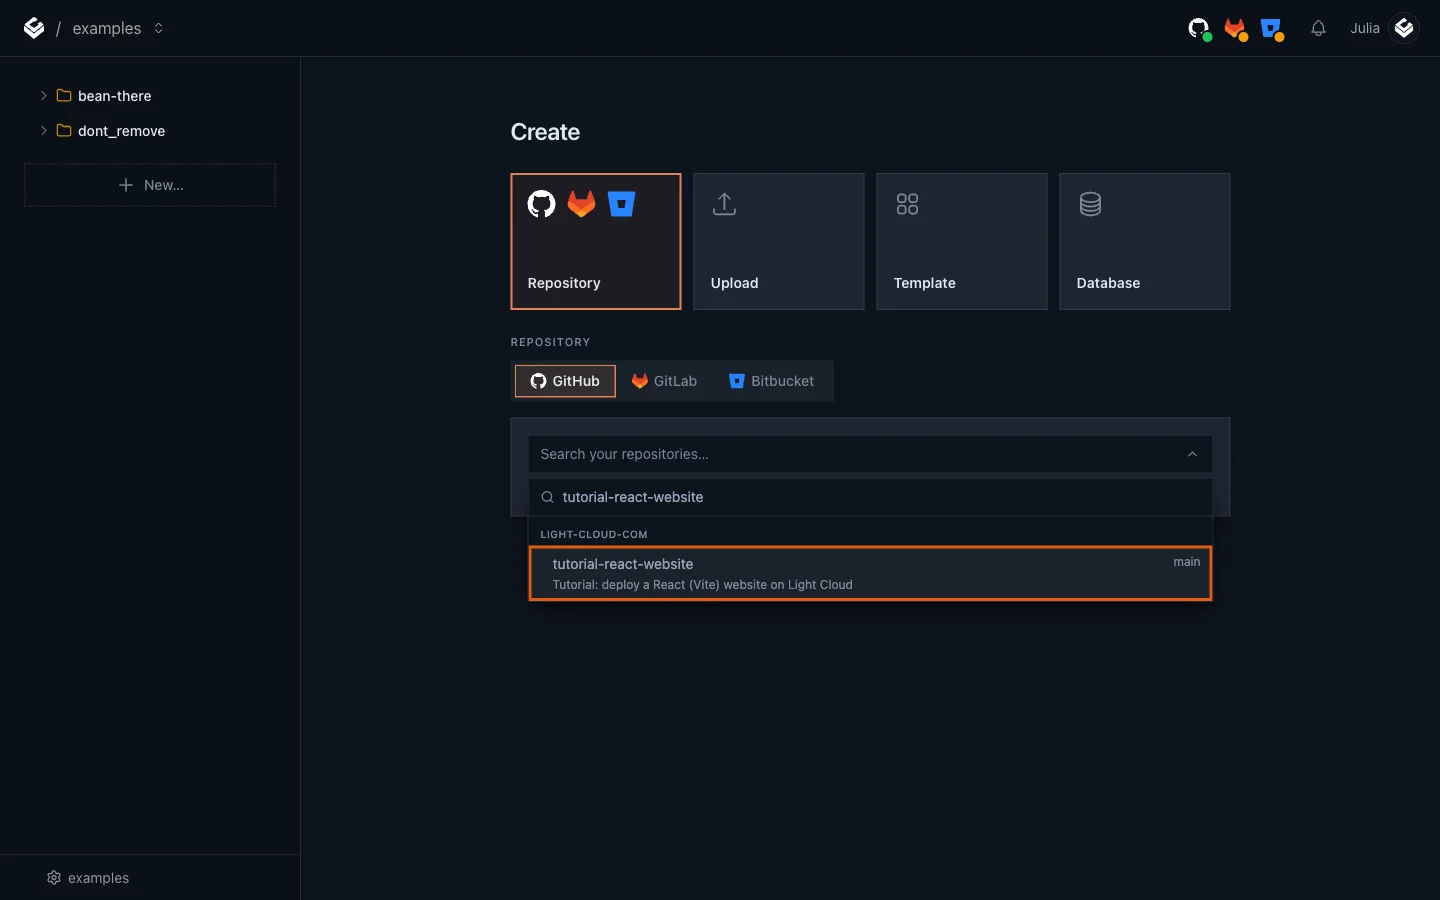
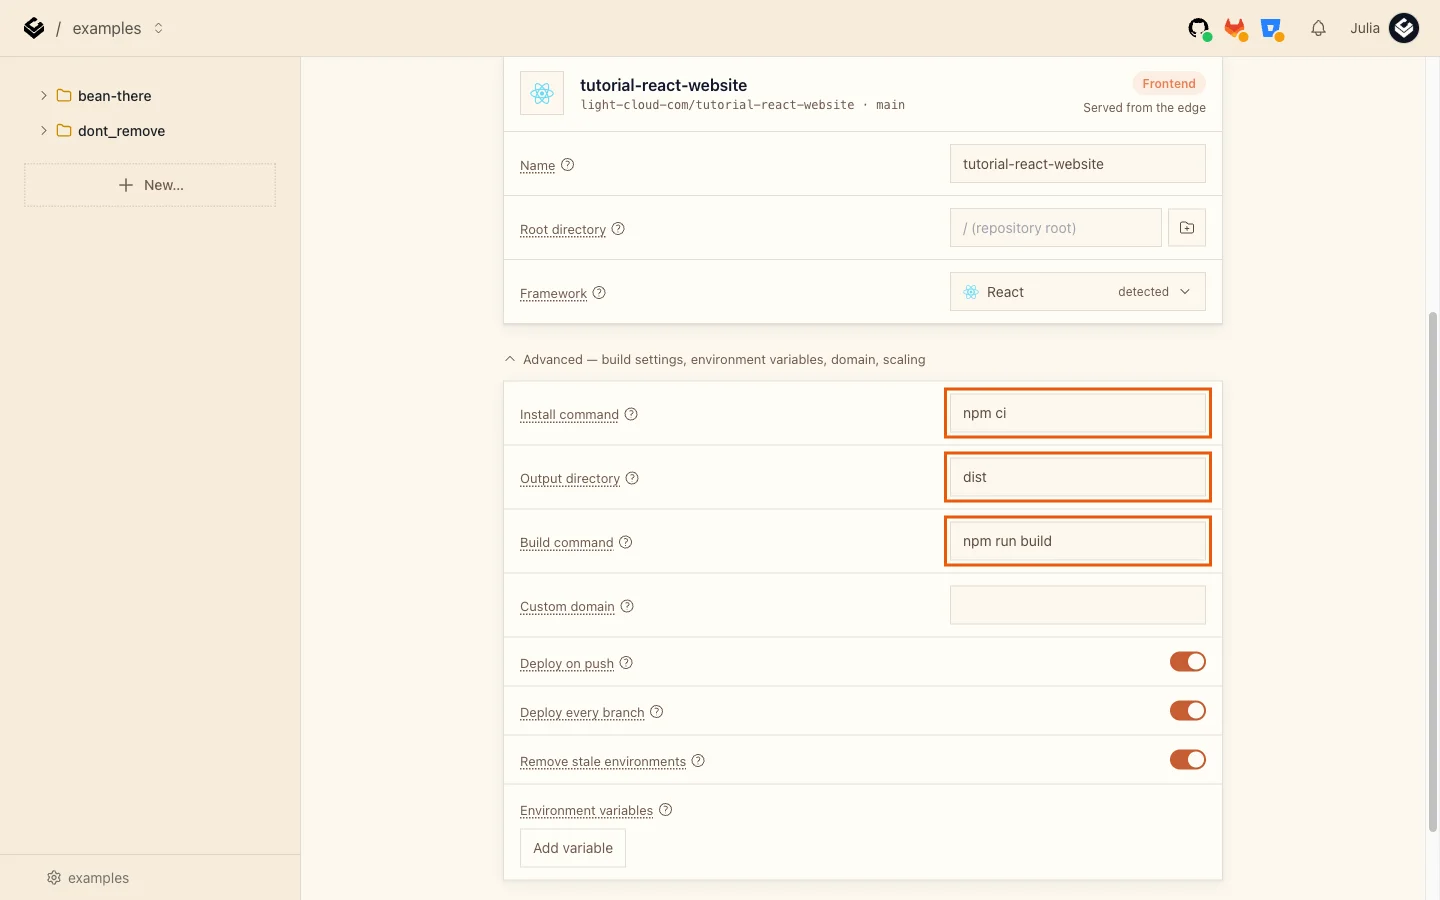
Light Cloud reads the repository and shows what it found: React / Frontend, based on package.json and package-lock.json, Served from the edge. A React app compiles to static files, so no server runs for it; the files are delivered from a content delivery network.
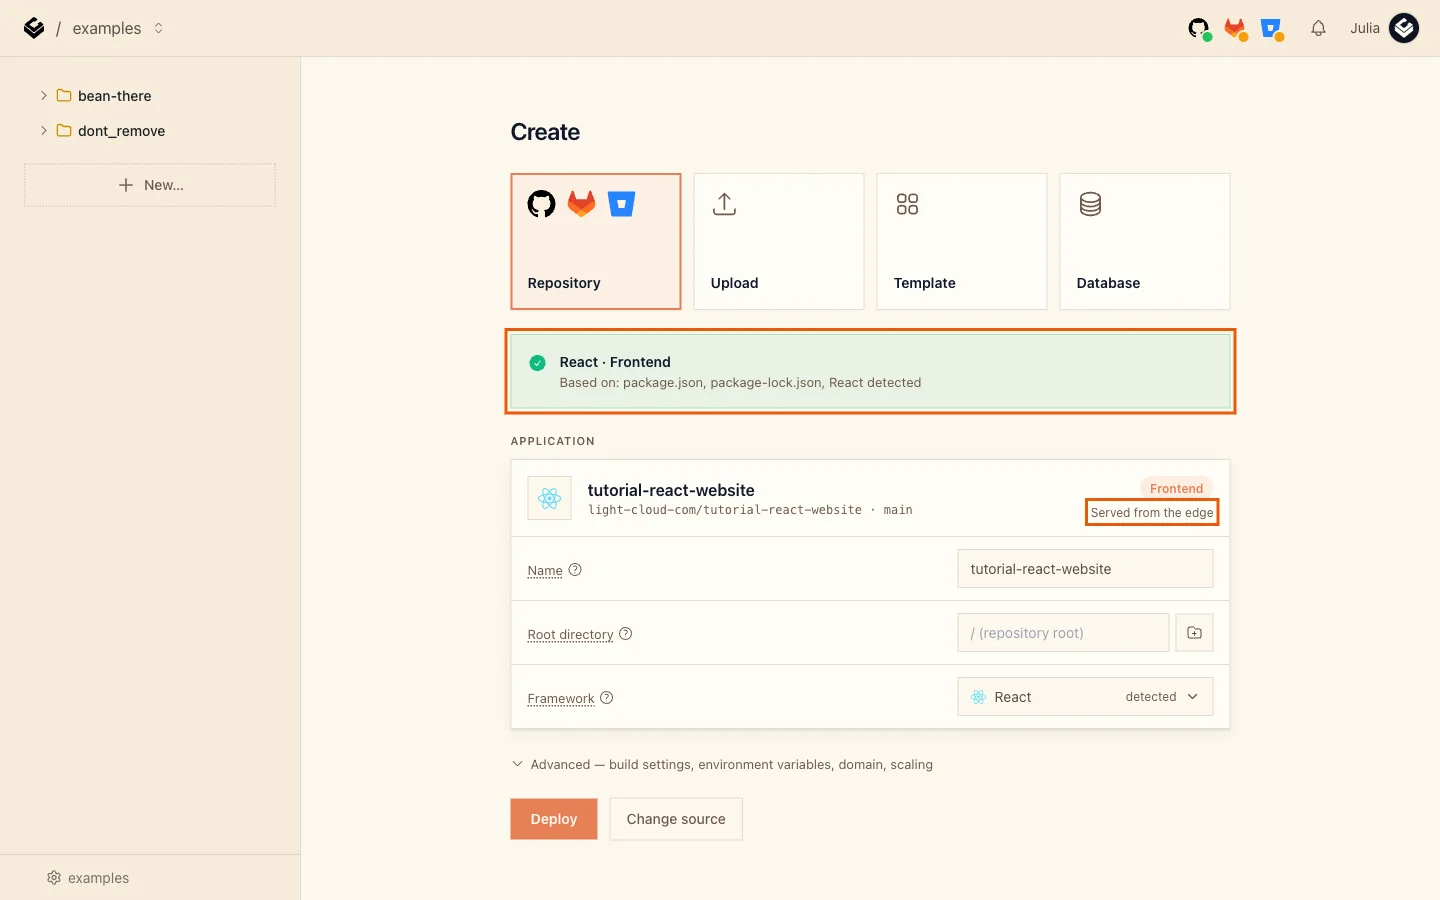
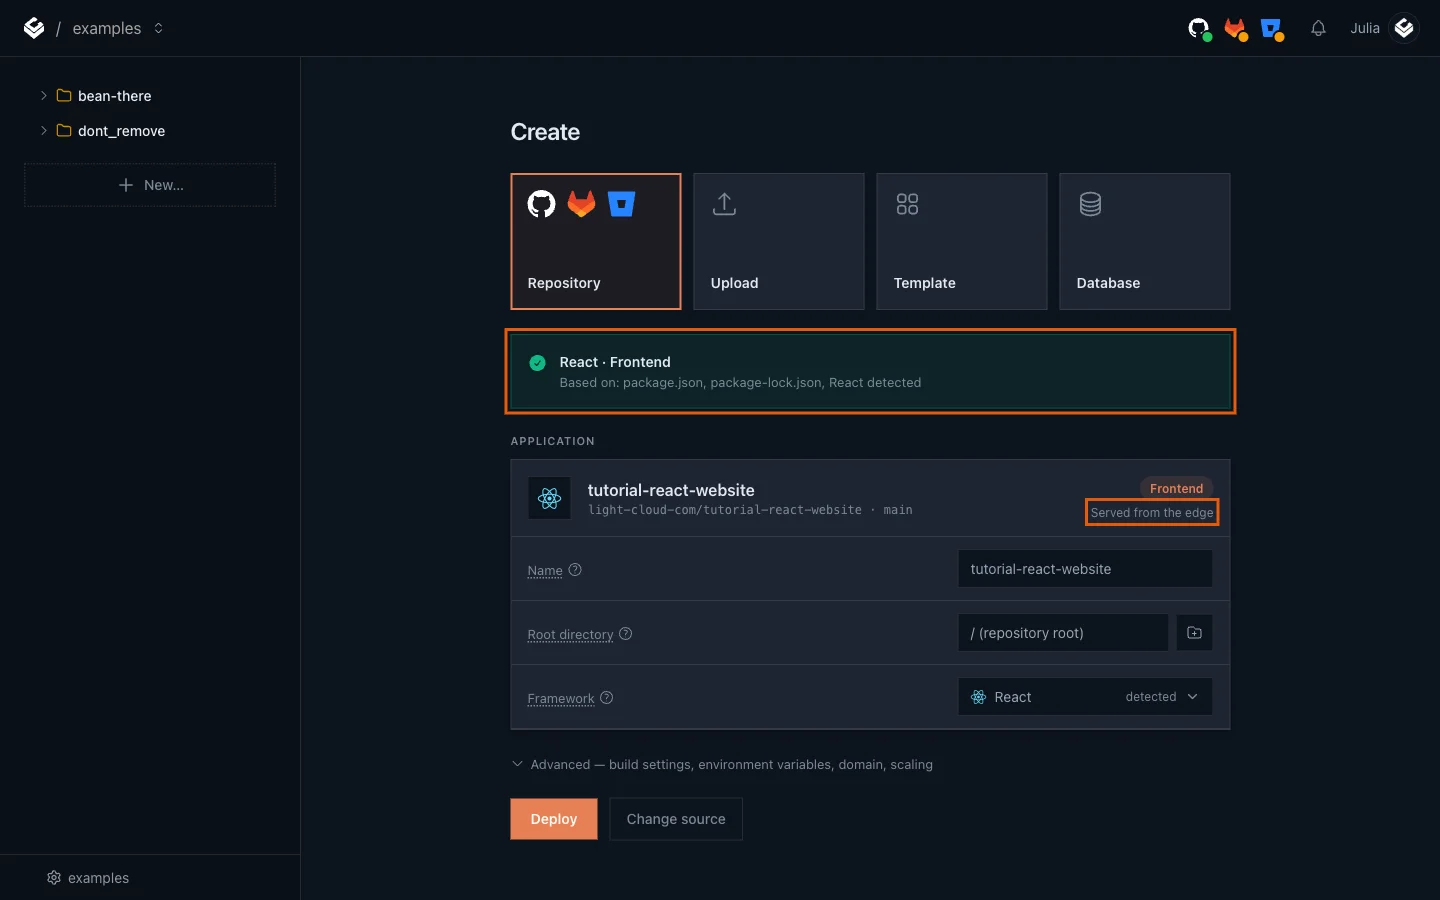
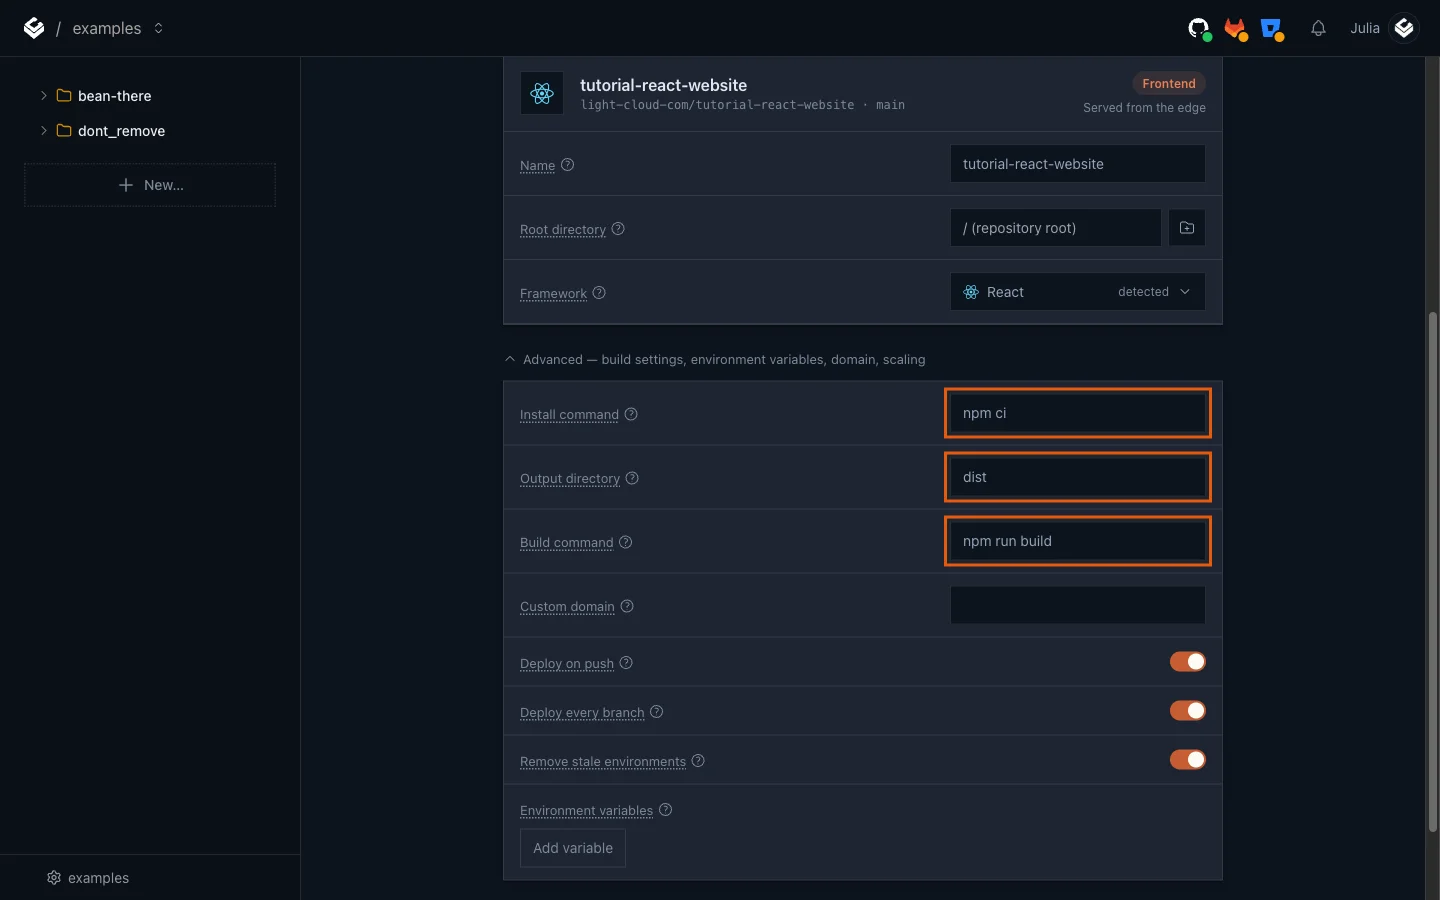
- Optional: open Advanced - build settings, environment variables, domain, scaling to see what Light Cloud will run. It has already filled in
npm cias the Install command,npm run buildas the Build command anddistas the Output directory. You do not need to change anything.
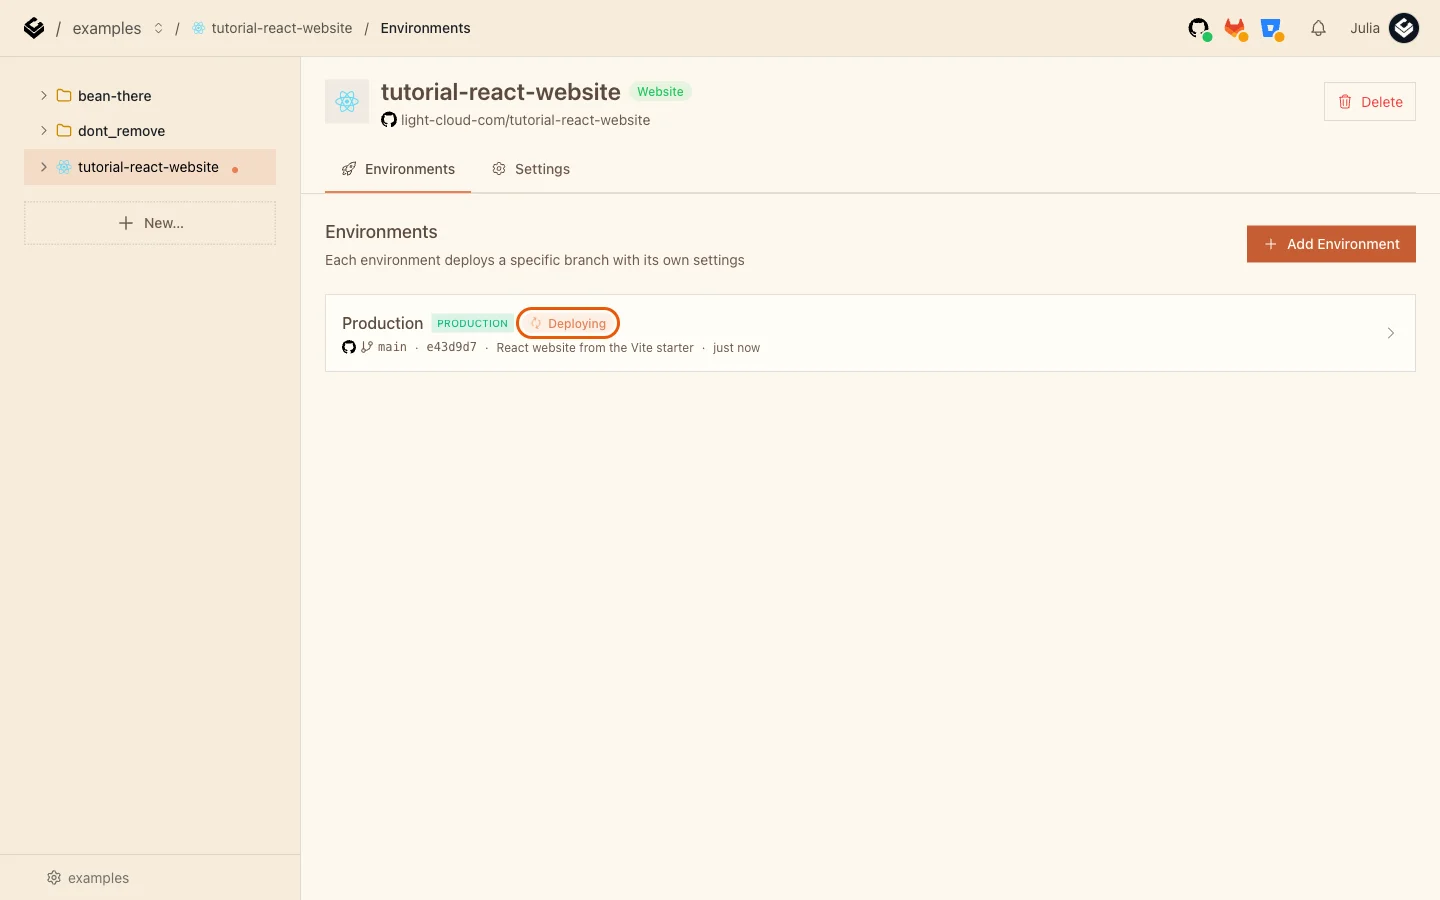
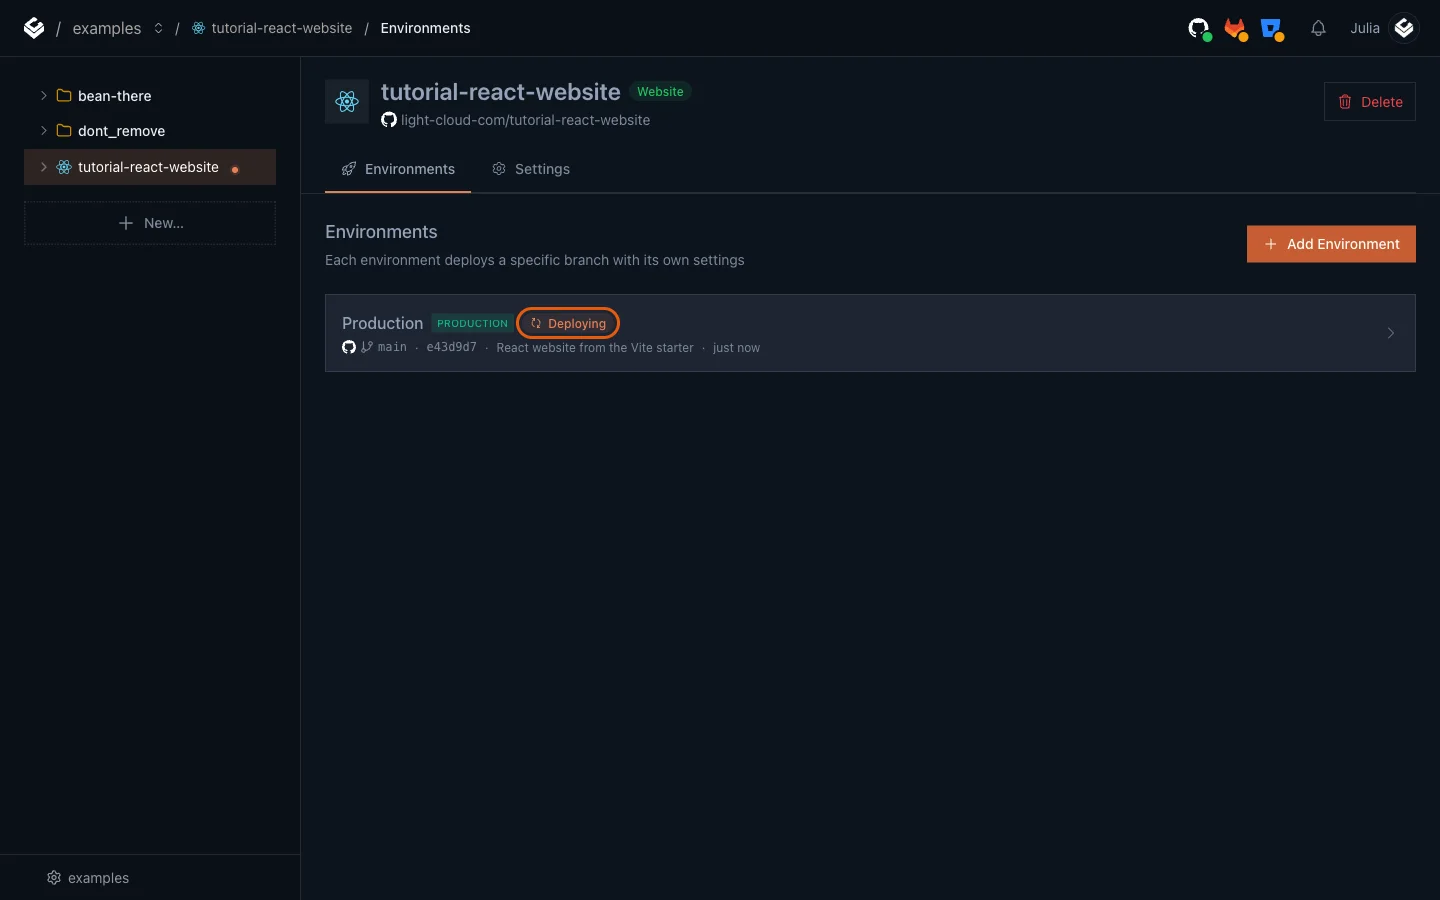
- Click Deploy.
Step 5: Open your site
When Production shows Deployed (15 seconds in my run), open it. The URL card on the Overview tab links to your site:
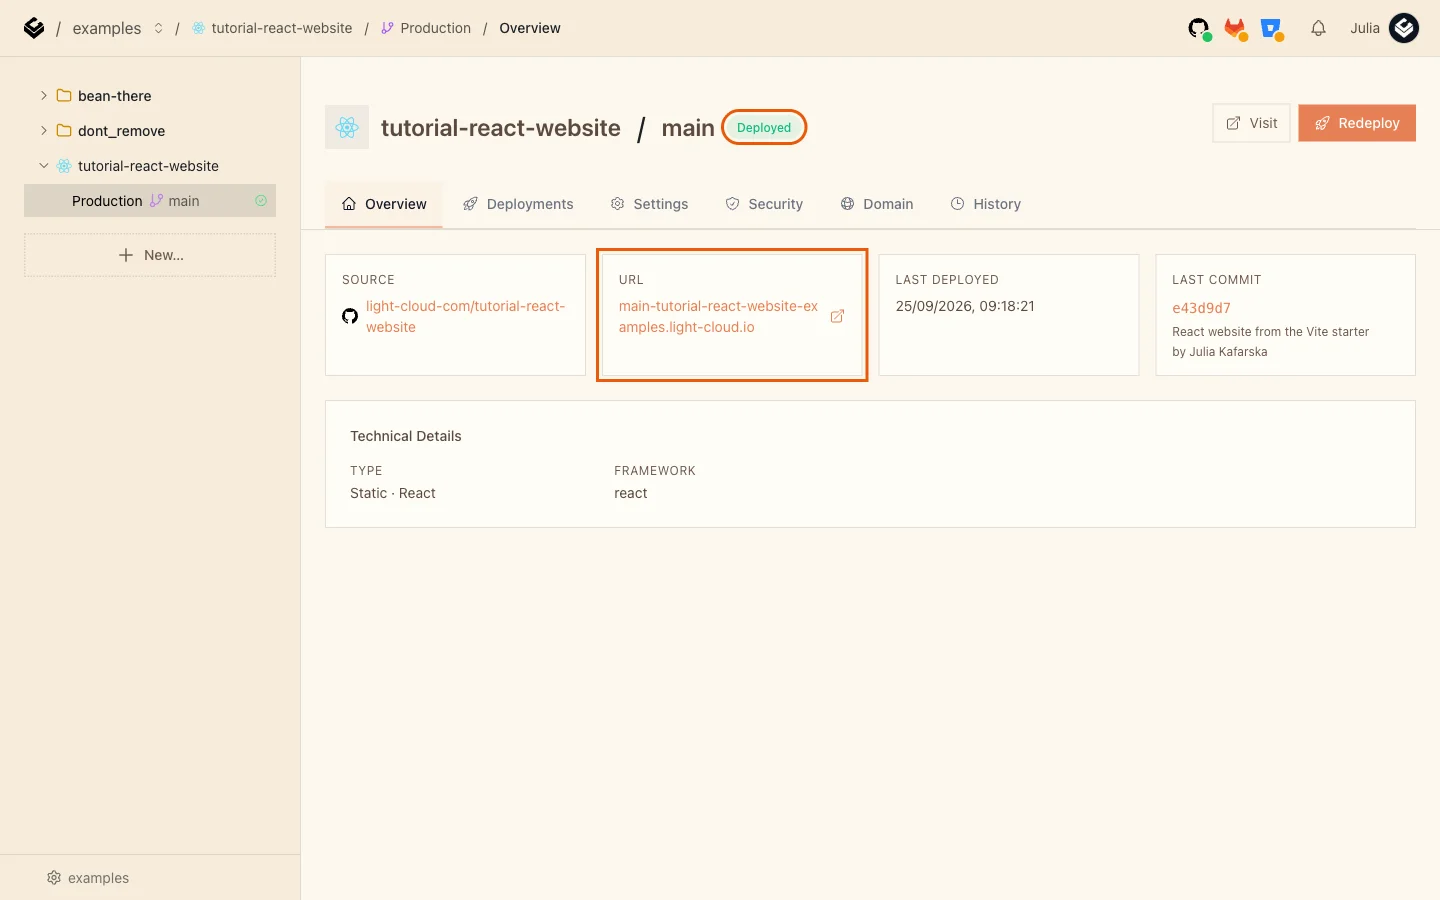
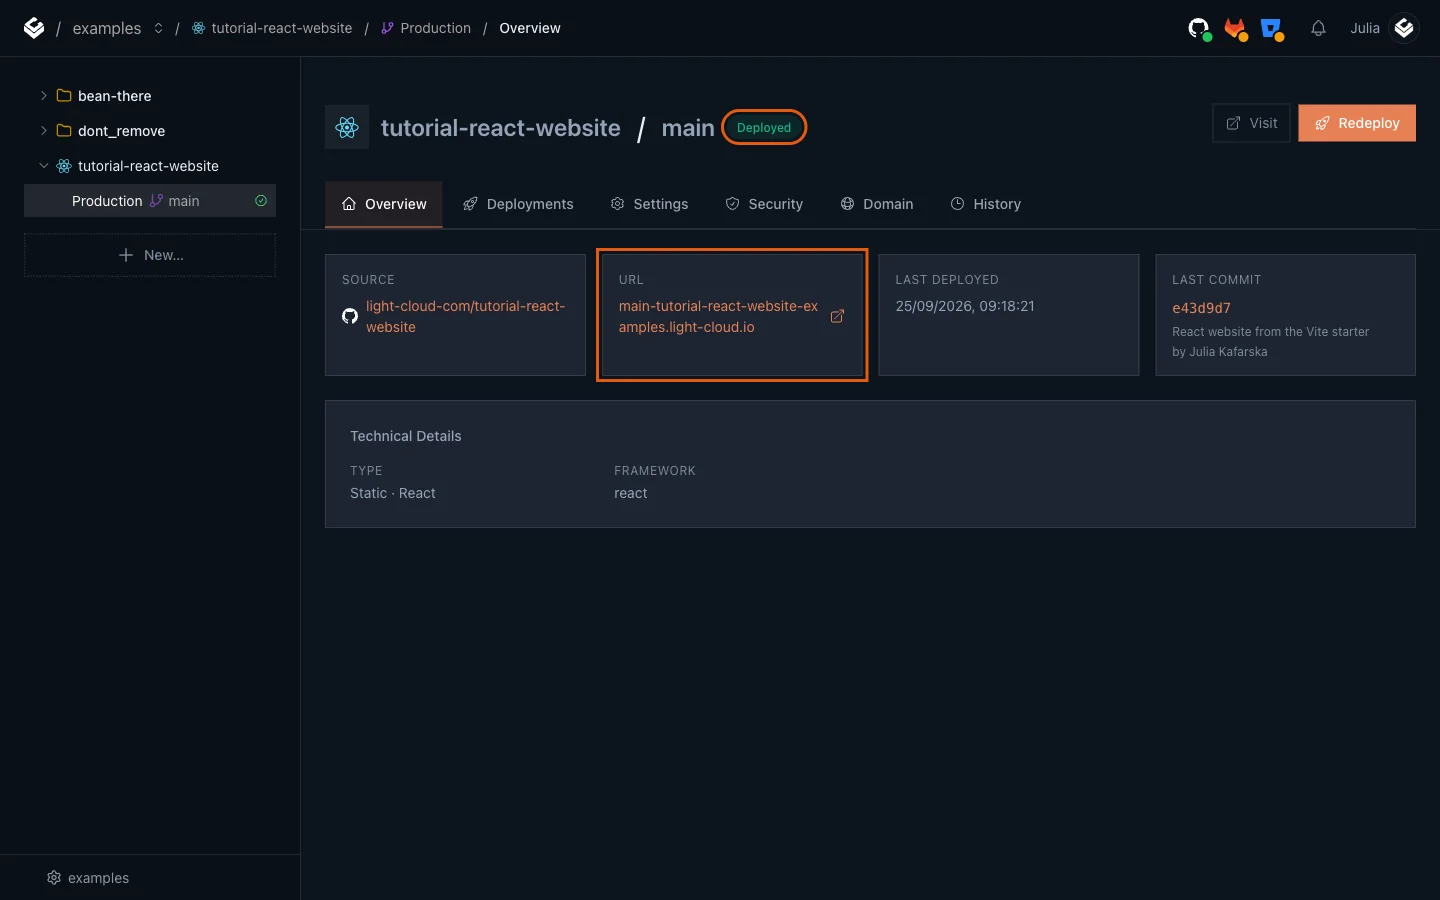
The address follows the pattern https://main-<app name>-<workspace>.light-cloud.io, and HTTPS is already set up.
Step 6: Update the site with git push
Change the headline in src/App.jsx:
<h1>Hello from Light Cloud</h1>
Commit and push:
$ git commit -am "Change the headline"
$ git pushPS> git commit -am "Change the headline"
PS> git pushThat is all. Deploy on push is on by default, so Light Cloud builds the new version when GitHub tells it about the push. The Deployments tab lists it as deployed by GitHub Auto-Deploy:
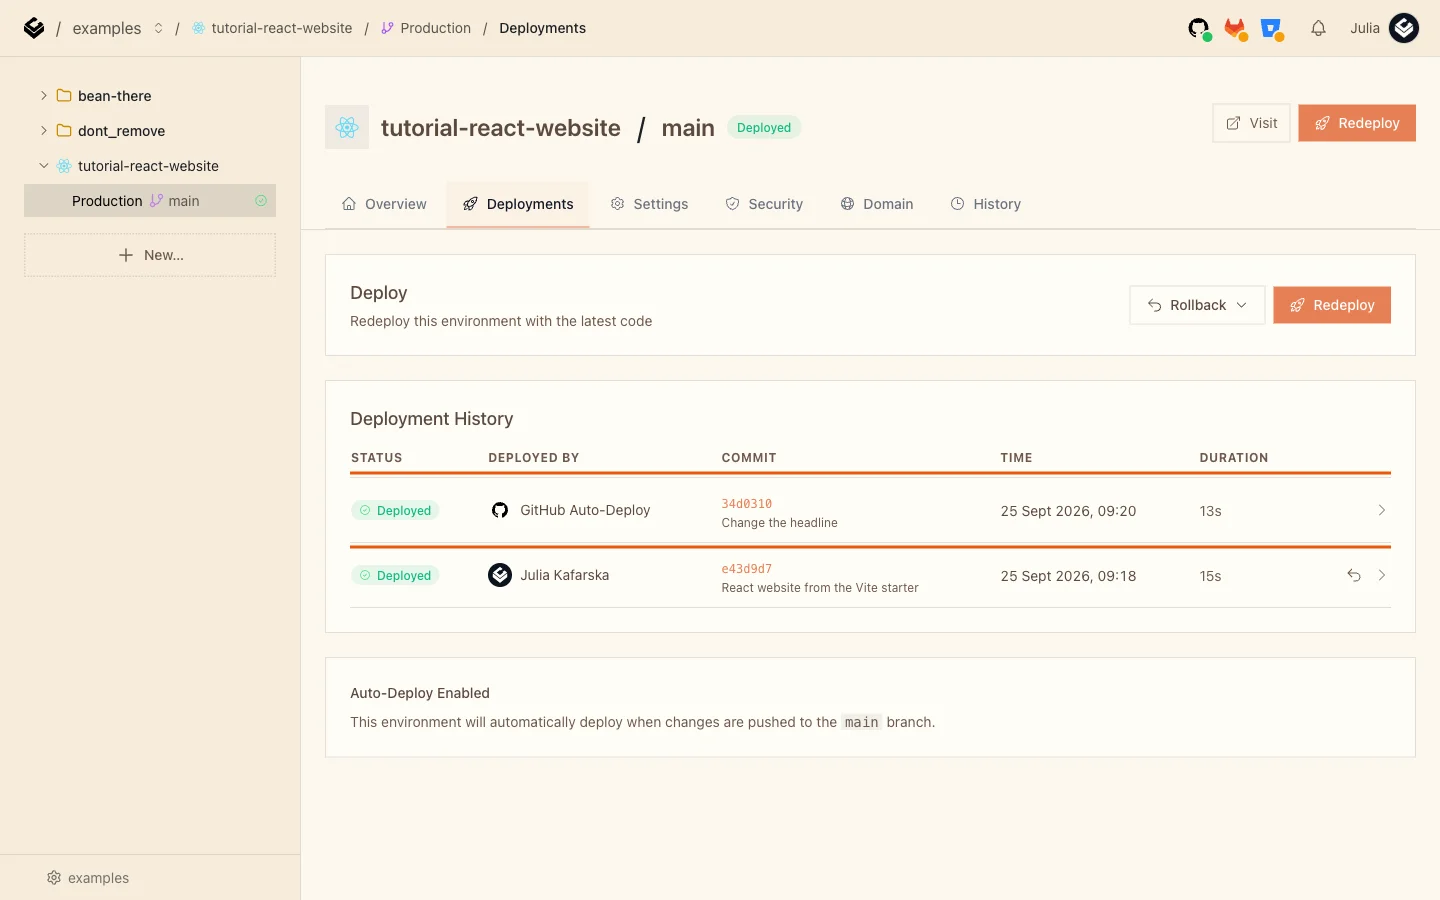
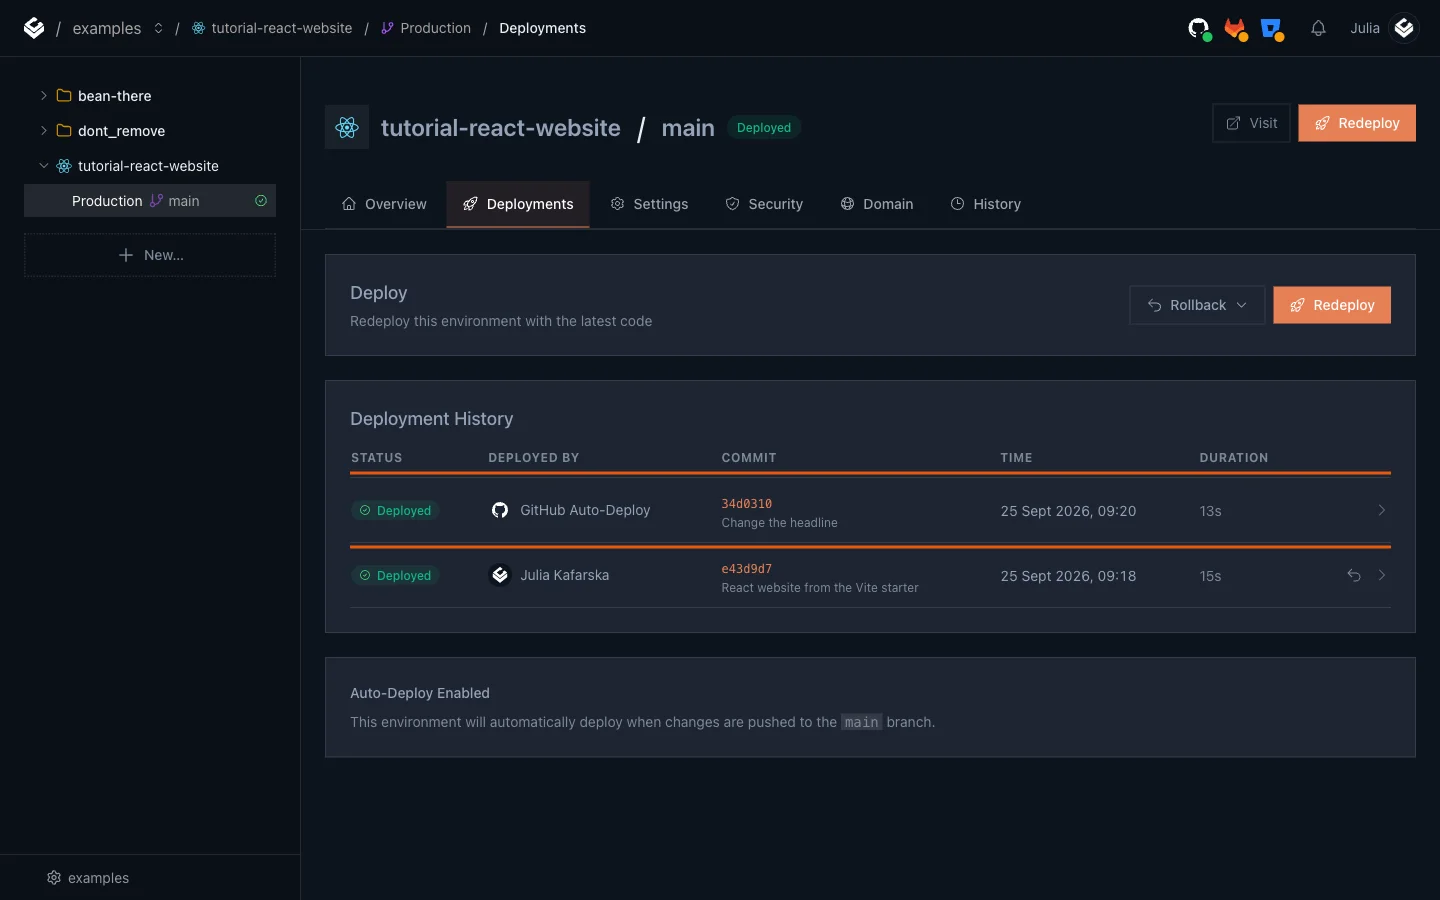
In my run the new headline was live 50 seconds after git push.
Step 7: Check that client-side routes work
If you add React Router later, pages like /about only exist in the browser. Light Cloud answers any path that is not a real file with your index.html, so those links work when opened directly or refreshed:
To try it now, open https://main-tutorial-react-website-yourworkspace.light-cloud.io/about/team, a page that does not exist yet. Instead of a 404 error, you get the home page: that is index.html, where React Router would take over.
Troubleshooting
The repository does not appear in the search
The Light Cloud GitHub App does not have access to it yet. Click Add or configure an account under the search box and grant access to the repository (or to all repositories). A repository created a moment ago can also take a few seconds to show up.
The build fails with "npm ci can only install packages when your package.json and package-lock.json are in sync"
Run npm install on your machine, commit the updated package-lock.json and push again.


