Microservices Part 1: Deploy a Frontend, Two APIs and a Database
Part 1 of Microservices on Light Cloud. Three services from one repository, one PostgreSQL database, no YAML.



On this pageShowHide
- What you will build
- Before you start
- Step 1: Fork the repository
- Step 2: Create a folder for the project
- Step 3: Create the PostgreSQL database
- Step 4: Copy the connection string
- Step 5: Deploy catalog-api
- Step 6: Check that catalog-api works
- Step 7: Deploy orders-api
- Step 8: Deploy the web frontend
- Step 9: Allow the frontend to call the APIs
- Step 10: Place an order
- Troubleshooting
- FAQ
- Next steps
To deploy microservices on Light Cloud, put each service in its own folder of one GitHub repository, create one Light Cloud app per folder by setting its Root directory, and connect the services with environment variables that hold each other's addresses. Light Cloud detects the framework in every folder, builds it, and gives each service its own HTTPS address. No Kubernetes, no Dockerfiles and no YAML.
This is Part 1 of a six-part series. By the end of it you have a small online shop running as three services and a database. Later parts add autoscaling, cold-start tuning, branch environments and request tracing to the same app.
What you will build
Bean There, a tiny coffee shop made of four parts:
- web: a React (Vite) shop front, served from the edge as a static site.
- catalog-api: a Node.js (Express) service that owns products and stock.
- orders-api: a Python (FastAPI) service that owns orders. To place an order it asks catalog-api to reserve stock first.
- bean-there-db: one PostgreSQL database. Each API owns its own table.
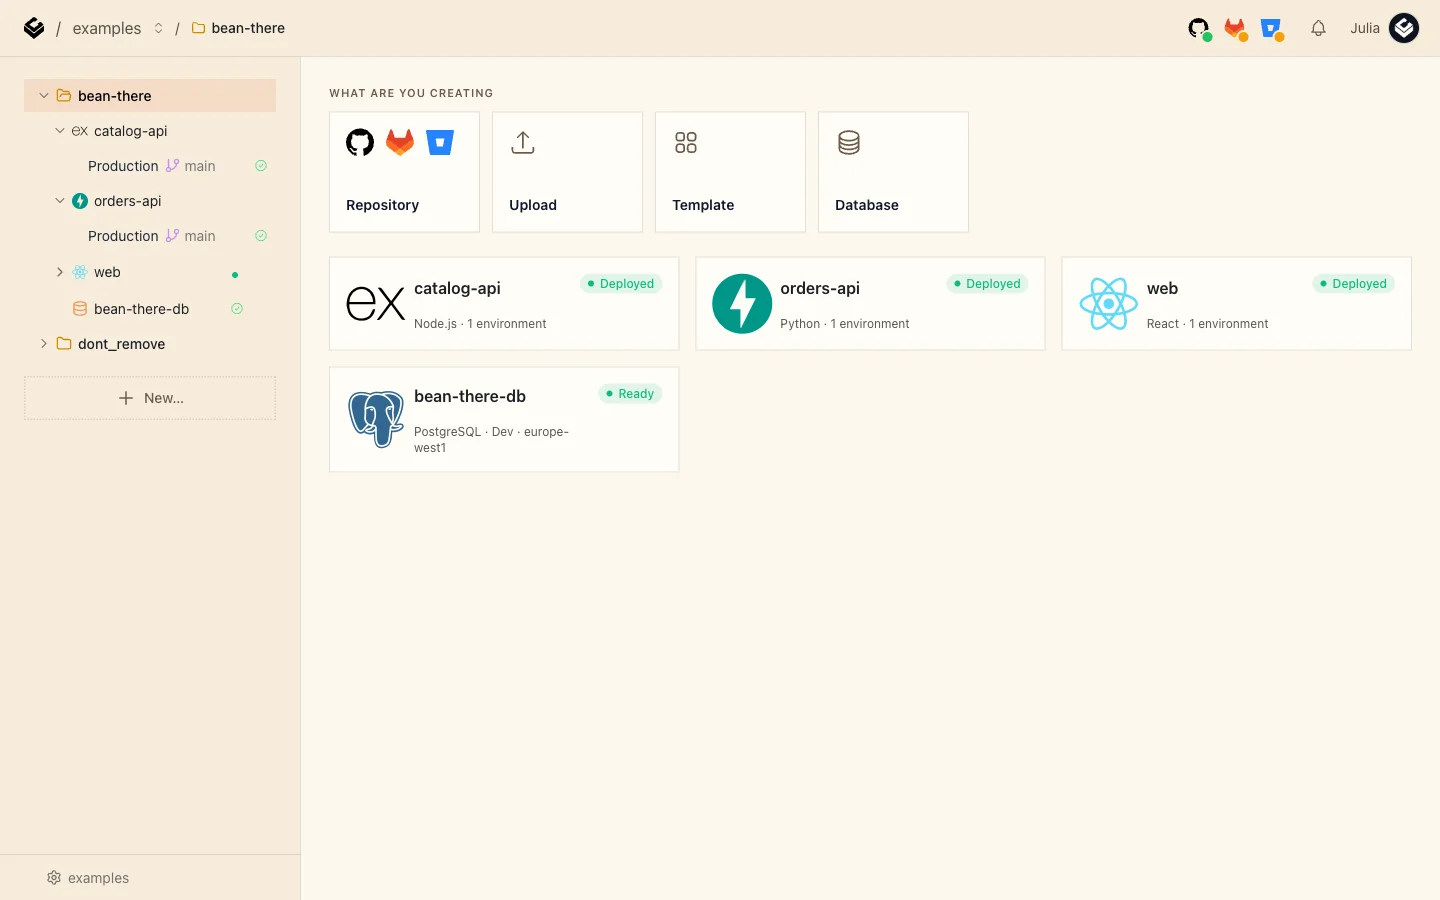
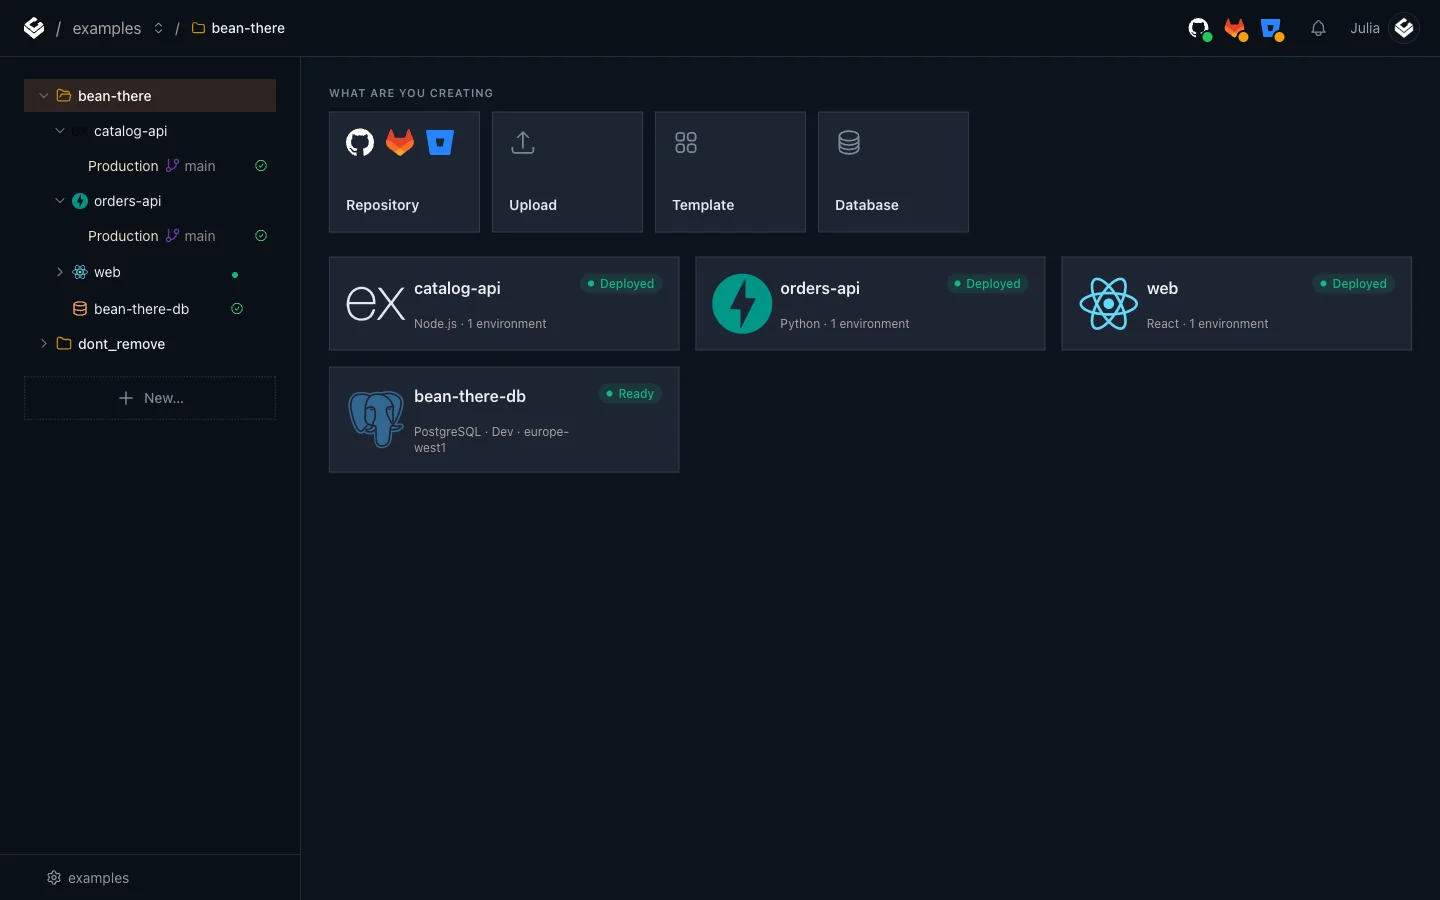
Live demo: main-web-examples.light-cloud.io. Source code: github.com/light-cloud-com/tutorial-microservices, tag part-1.
The repository has one folder per service:
tutorial-microservices/
  web/           React (Vite)       static site
  catalog-api/   Node.js (Express)  container
  orders-api/    Python (FastAPI)   container
  README.md
Before you start
- A GitHub account.
- A Light Cloud account on the Starter plan or higher. The free Hobby plan allows one service and no databases; this project needs two API services and a database.
- The Light Cloud GitHub App connected to your account. If it is not, the console asks you to connect it the first time you choose Deploy from GitHub.
- Optional, to test from a terminal: macOS and Linux have curl and OpenSSL built in. On Windows, use PowerShell 7 (
winget install Microsoft.PowerShell); the Windows tabs usecurl.exe, which ships with Windows 10 and 11. Pick your system on any command below and the page remembers it.
Step 1: Fork the repository
Light Cloud deploys from a repository you own, so start by making your own copy.
- Open github.com/light-cloud-com/tutorial-microservices.
- Click Fork, keep the name
tutorial-microservices, and click Create fork.
tutorial-microservices now appears under your own GitHub account.
Step 2: Create a folder for the project
A folder keeps the four resources of this project together in the console sidebar.
- In the Light Cloud console, click New... at the top of the sidebar.
- Click New Folder.
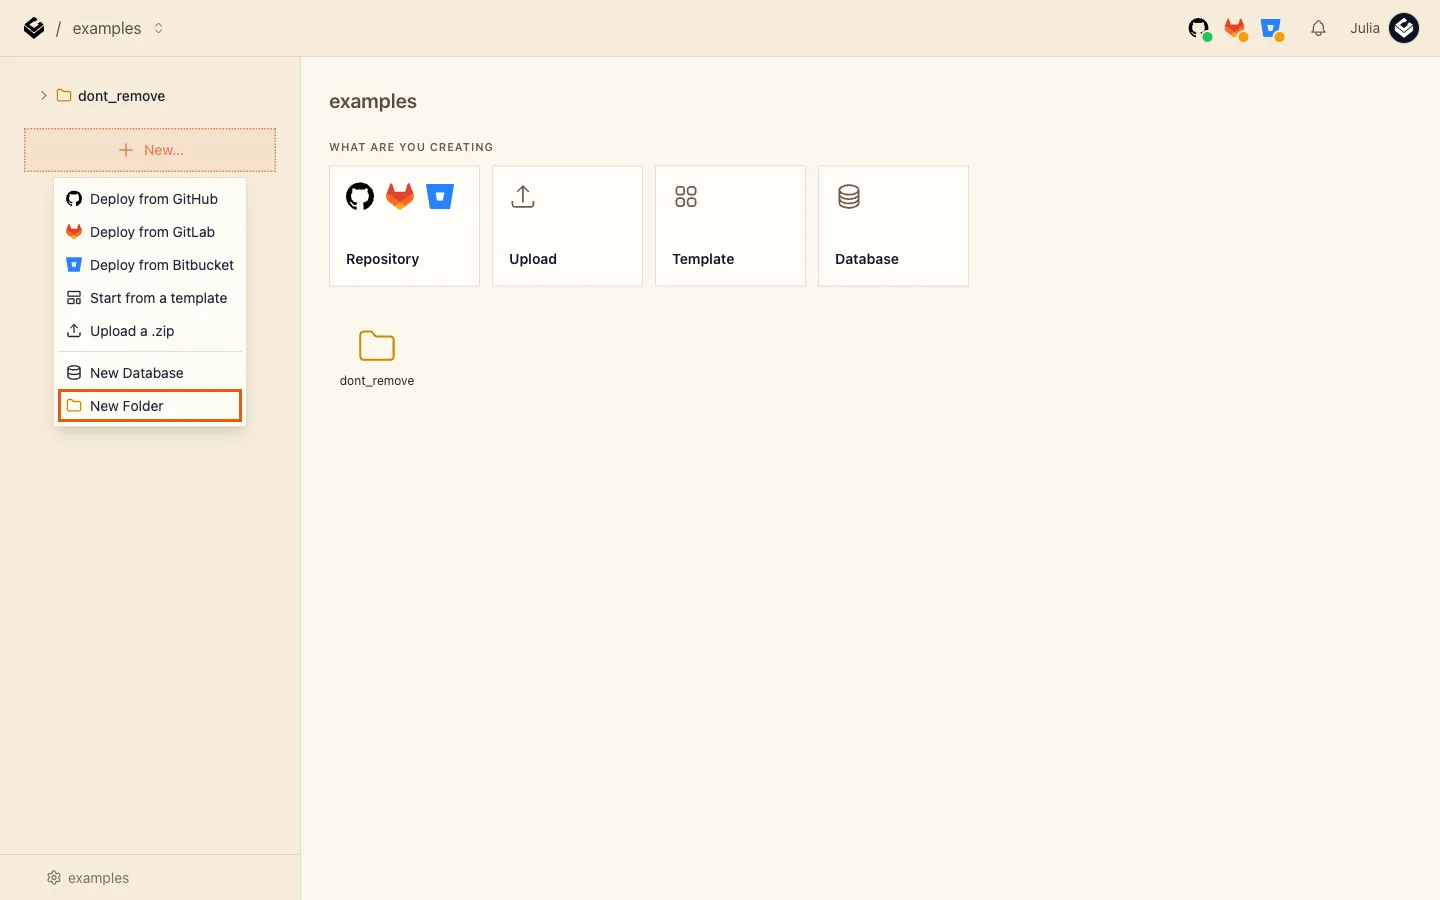
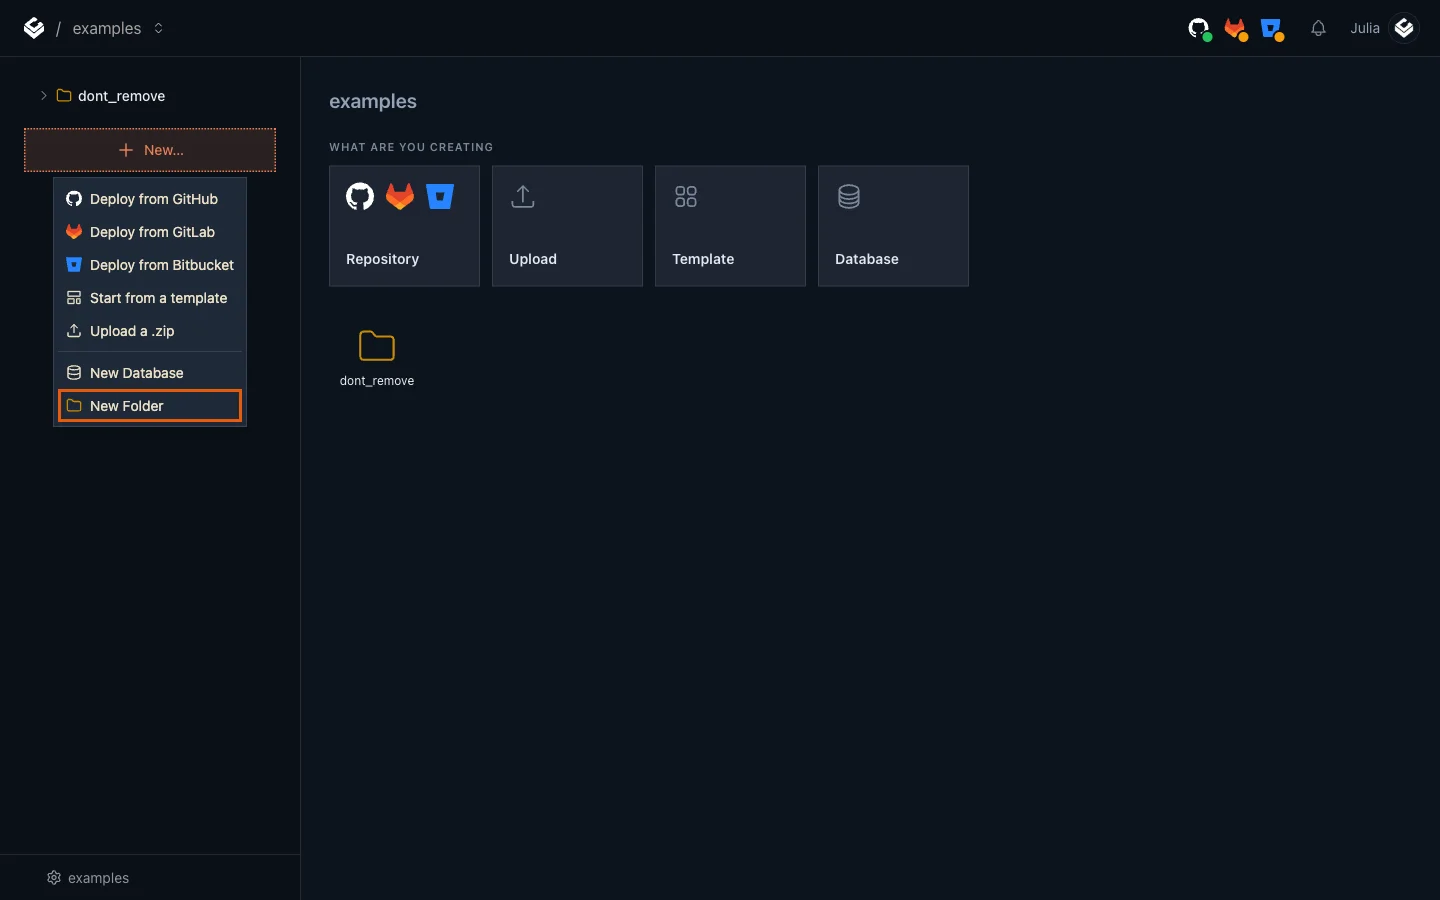
- Type
bean-thereas the Name and click Create folder.
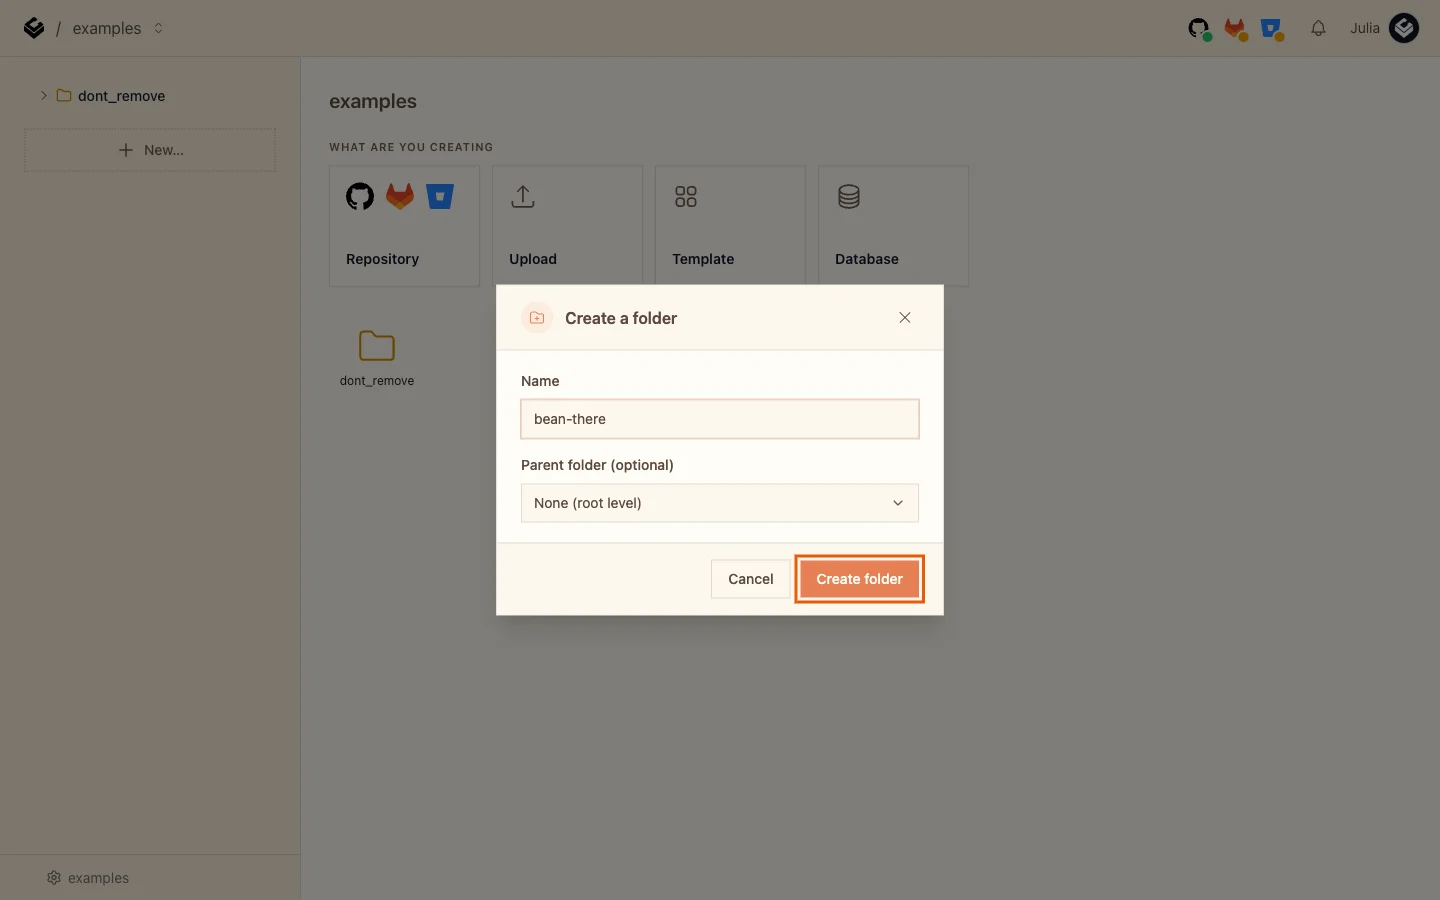
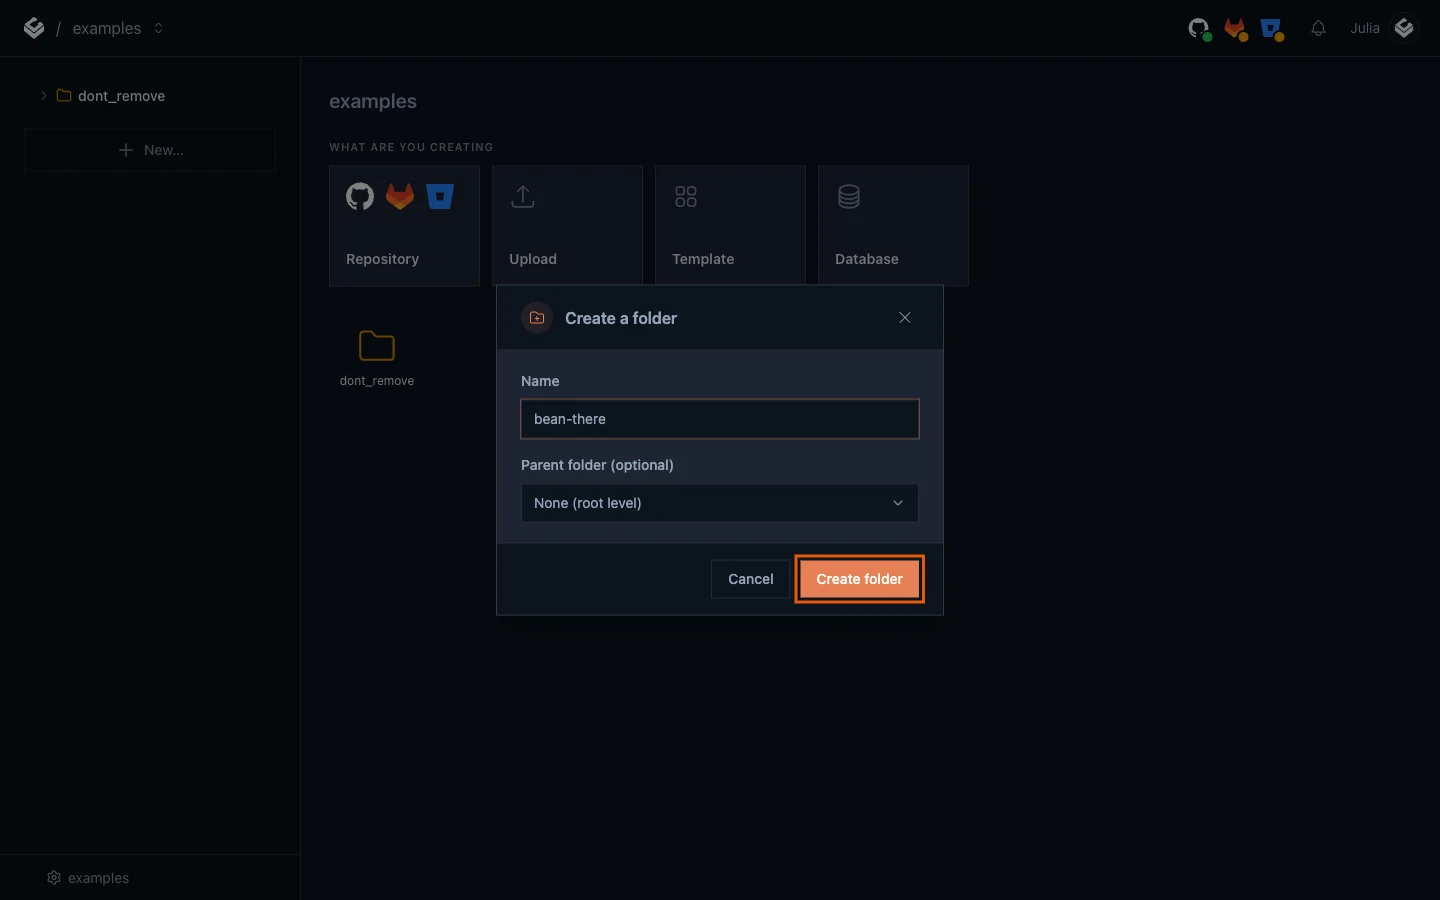
You should see bean-there in the sidebar.
Step 3: Create the PostgreSQL database
Both APIs store their data in one database, so create it first.
- Hover over
bean-therein the sidebar and click the + button next to it. - Click New Database.
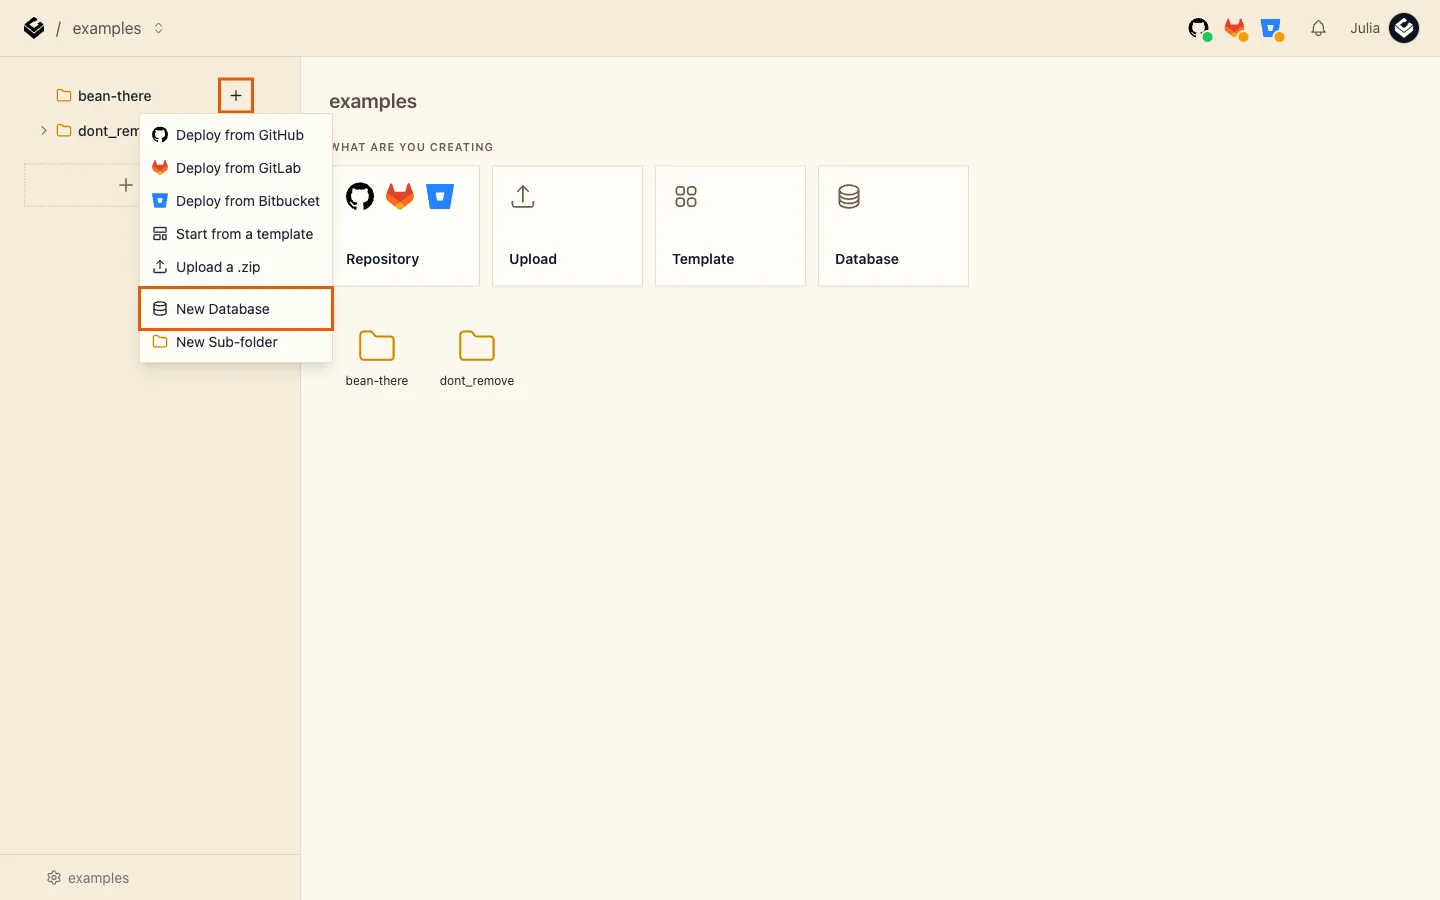
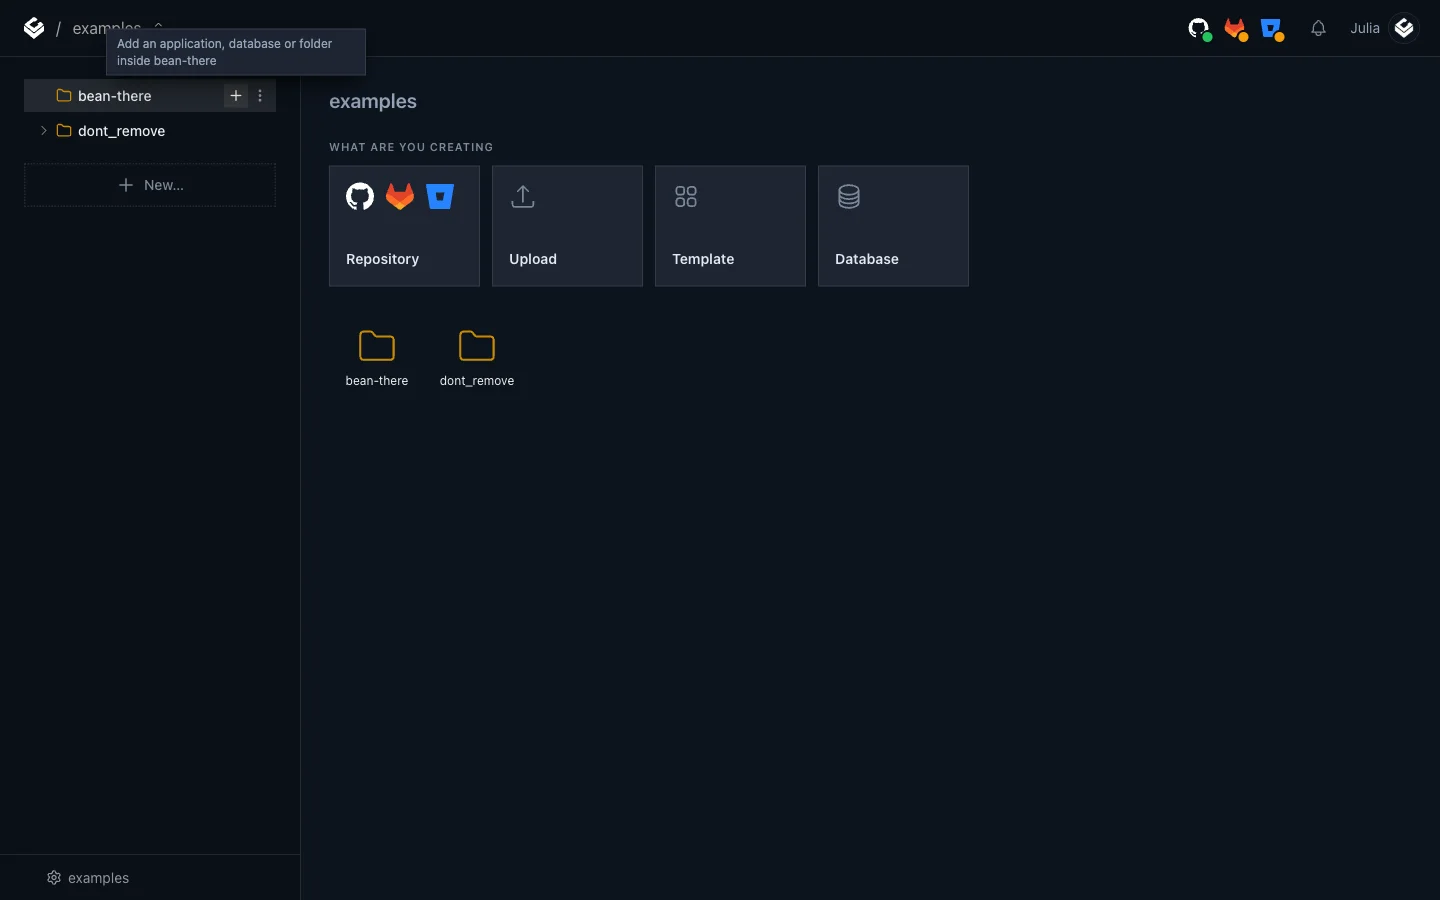
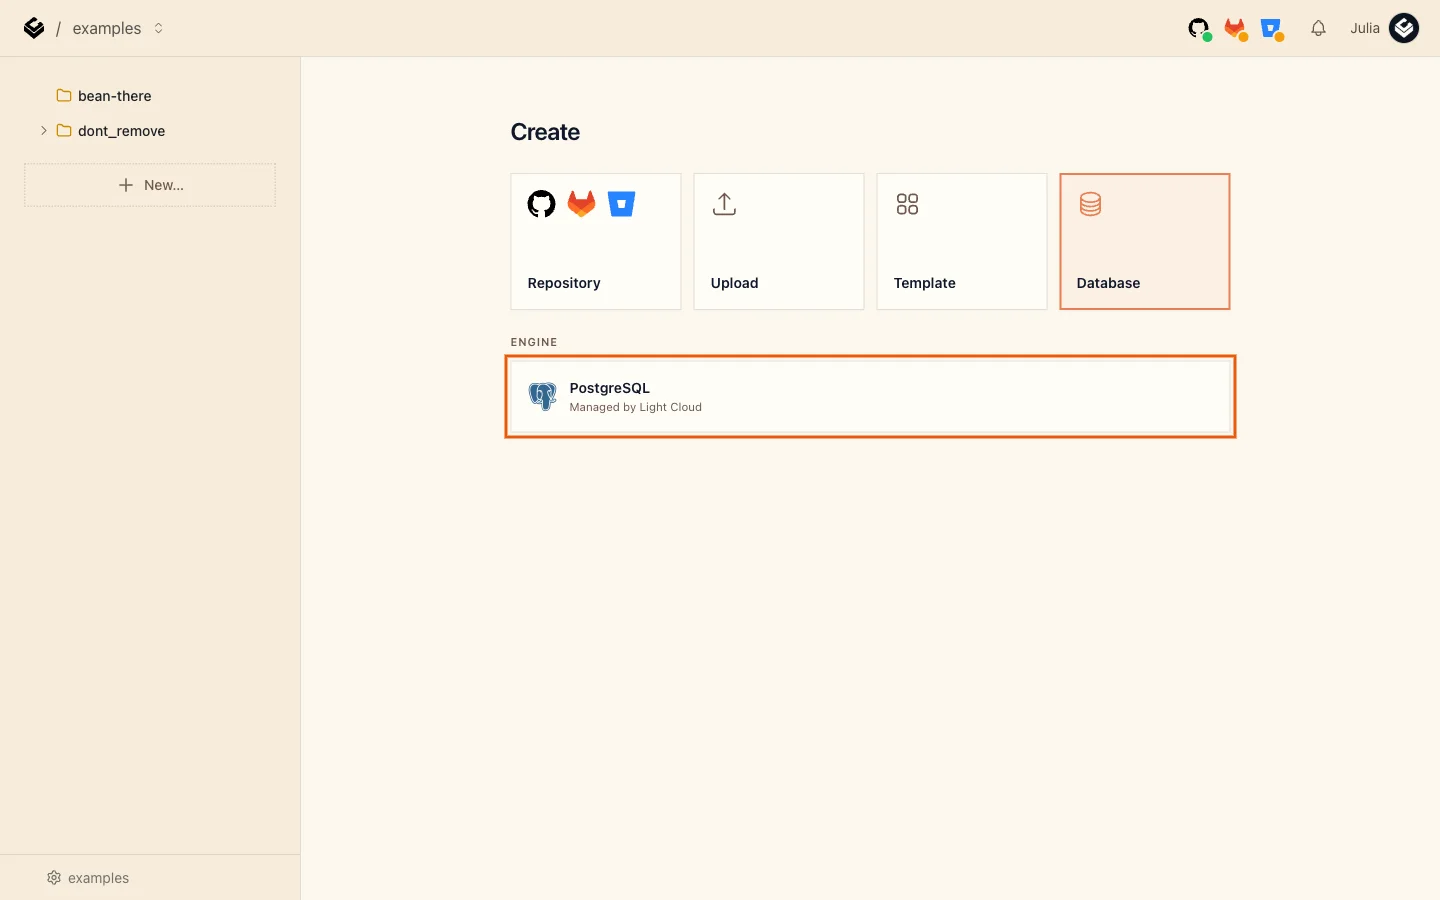
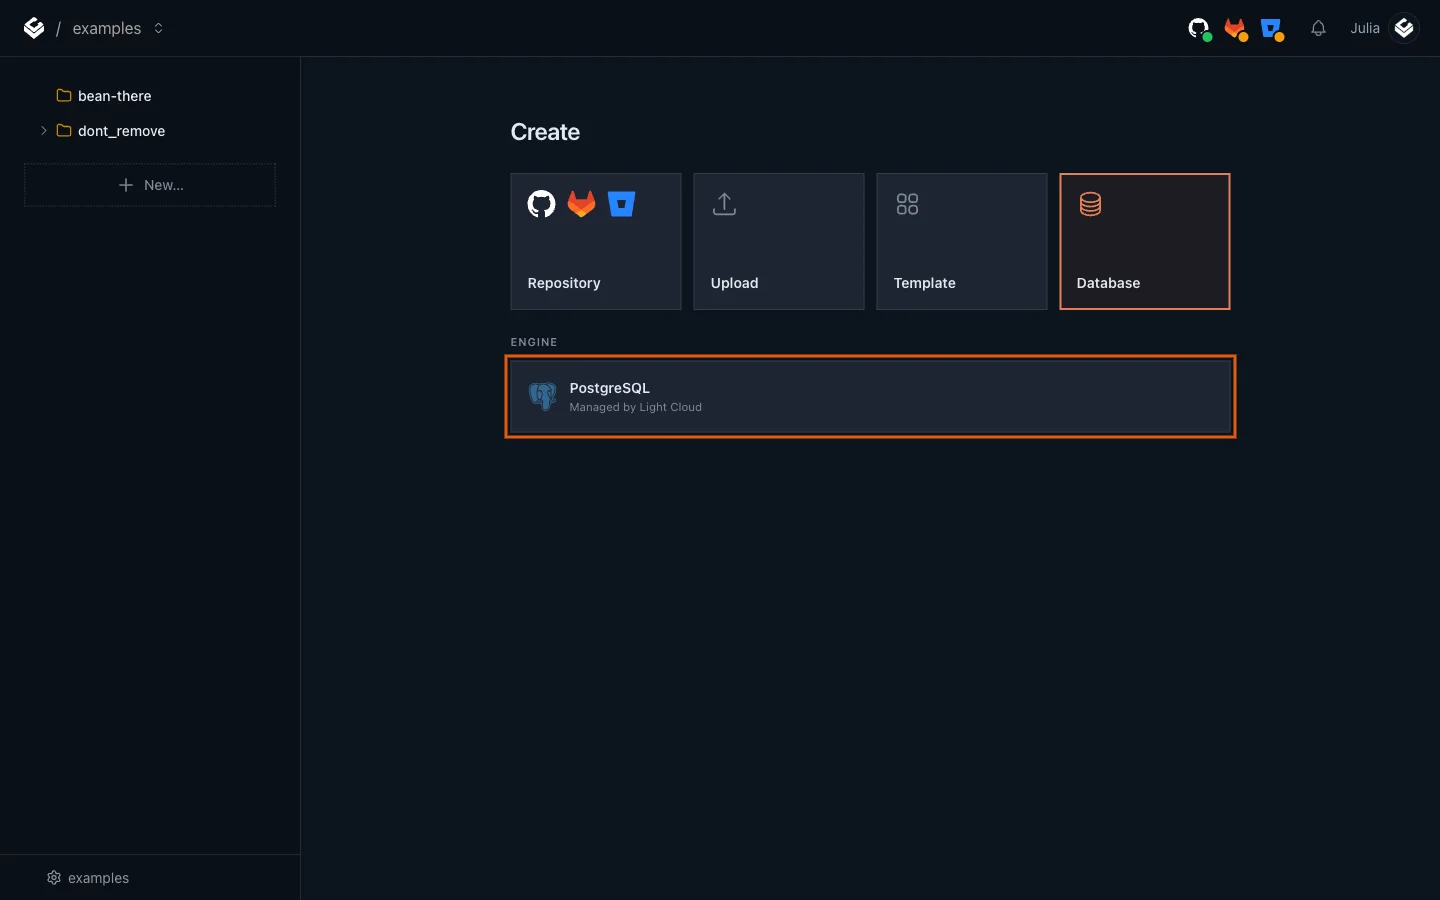
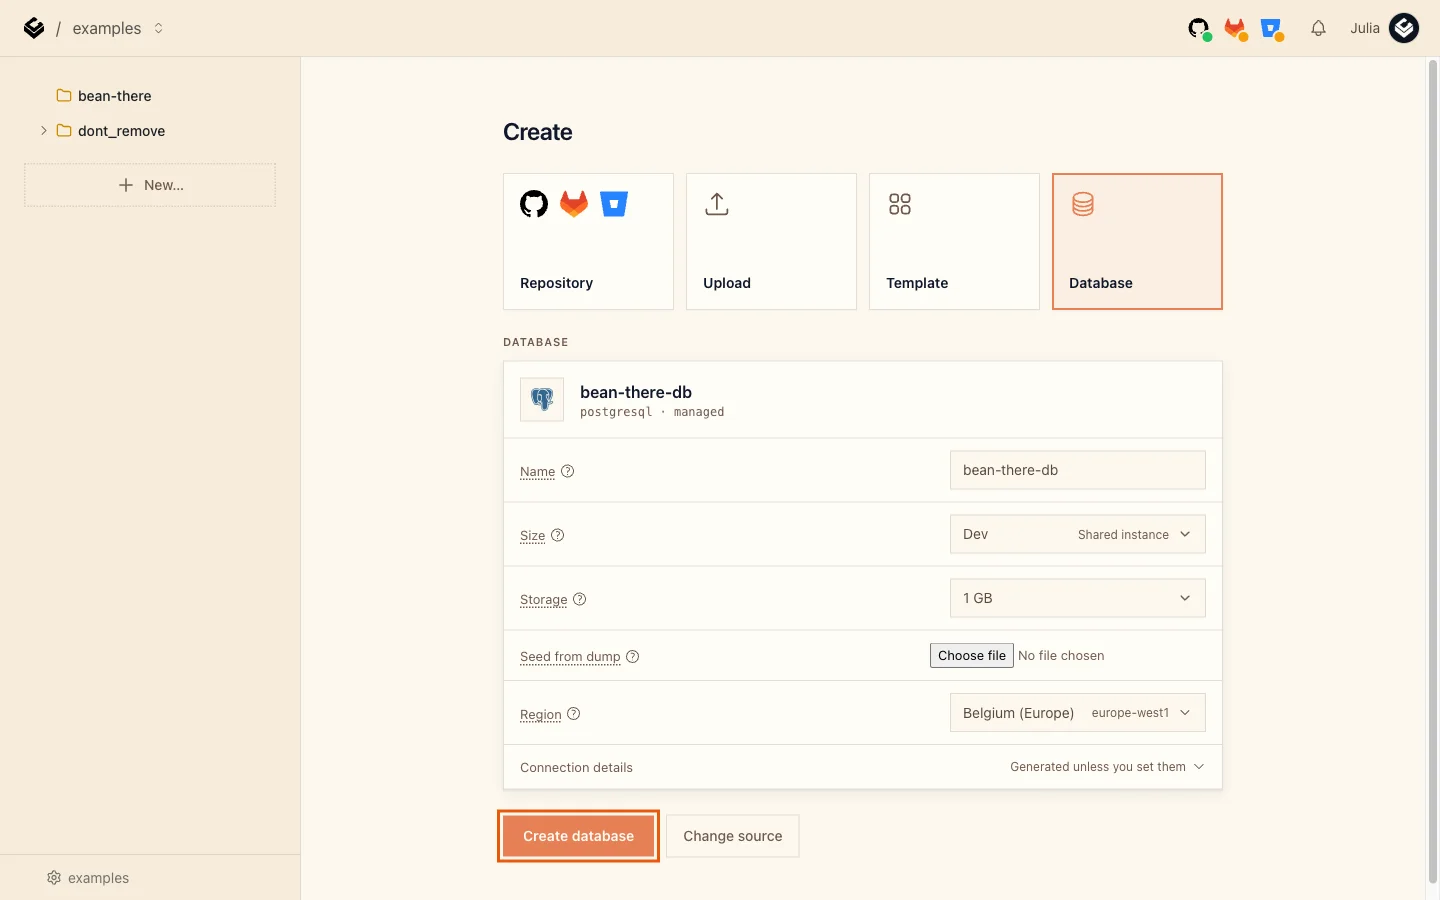
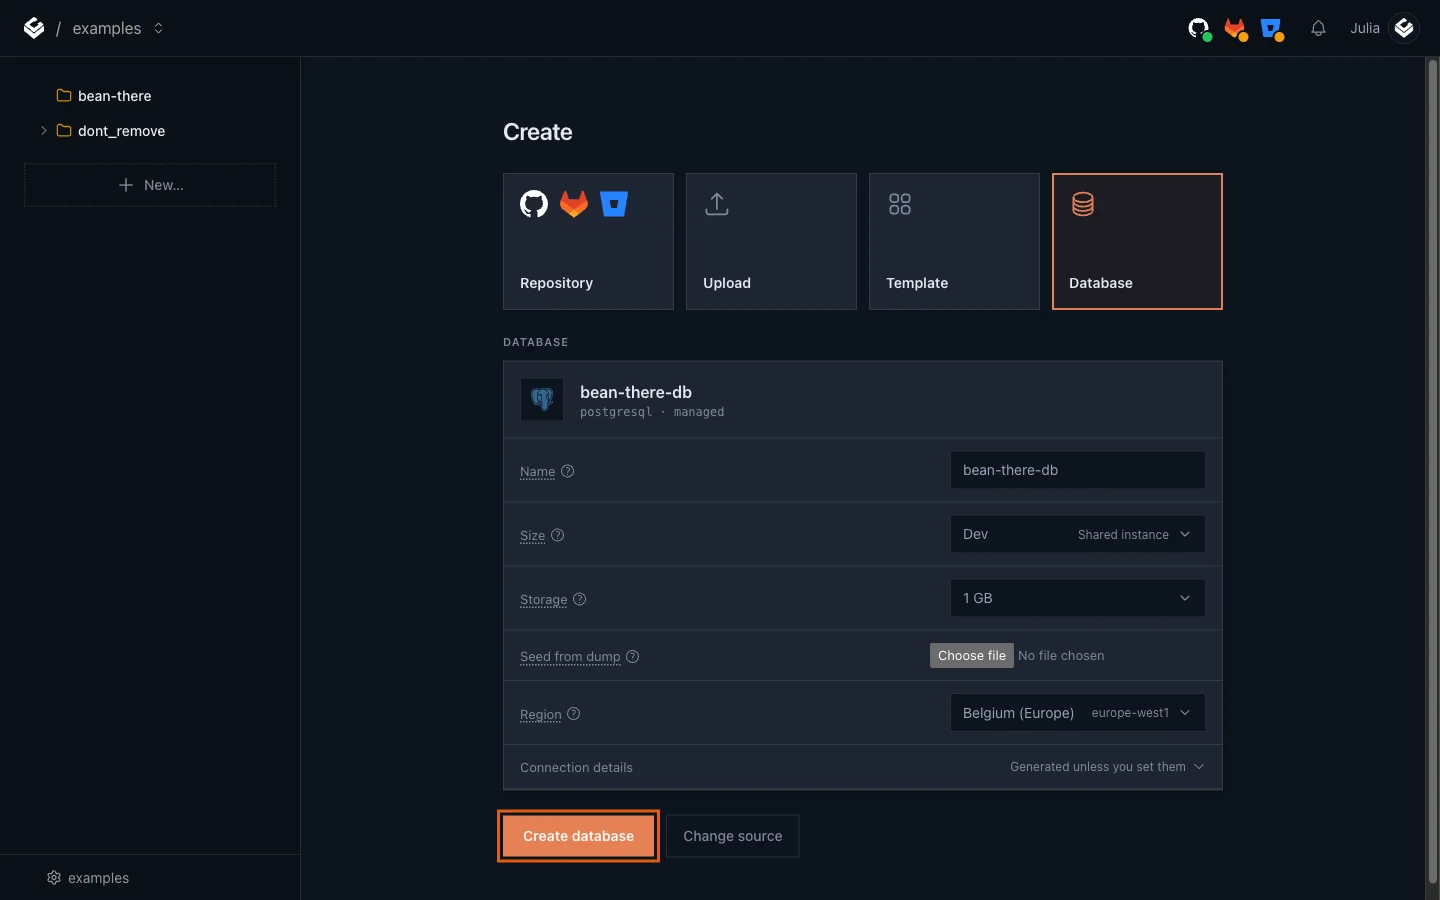
- Under Engine, click PostgreSQL.
- Change the Name to
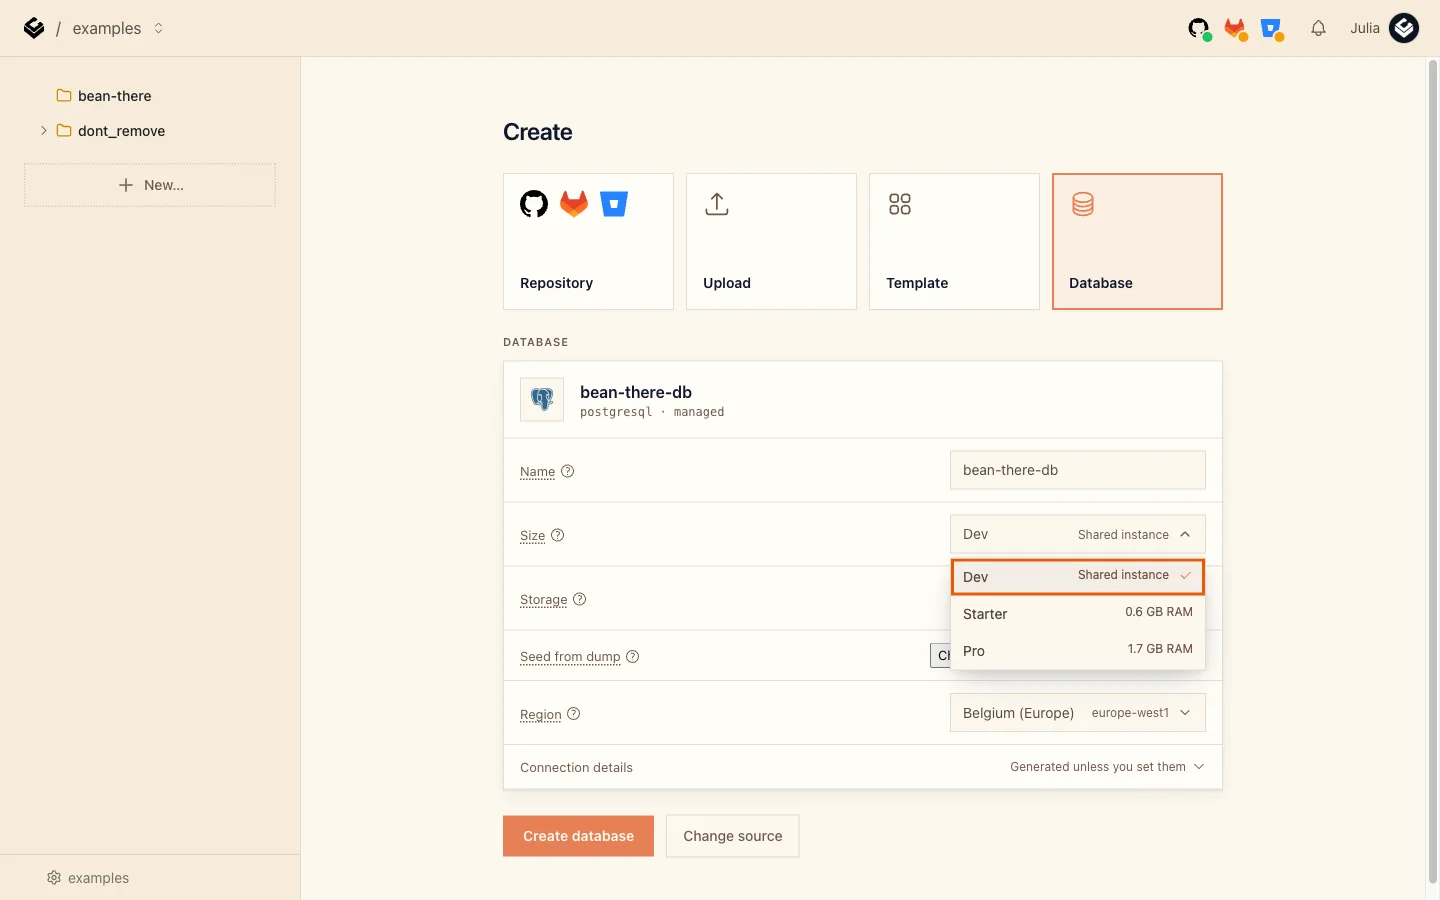
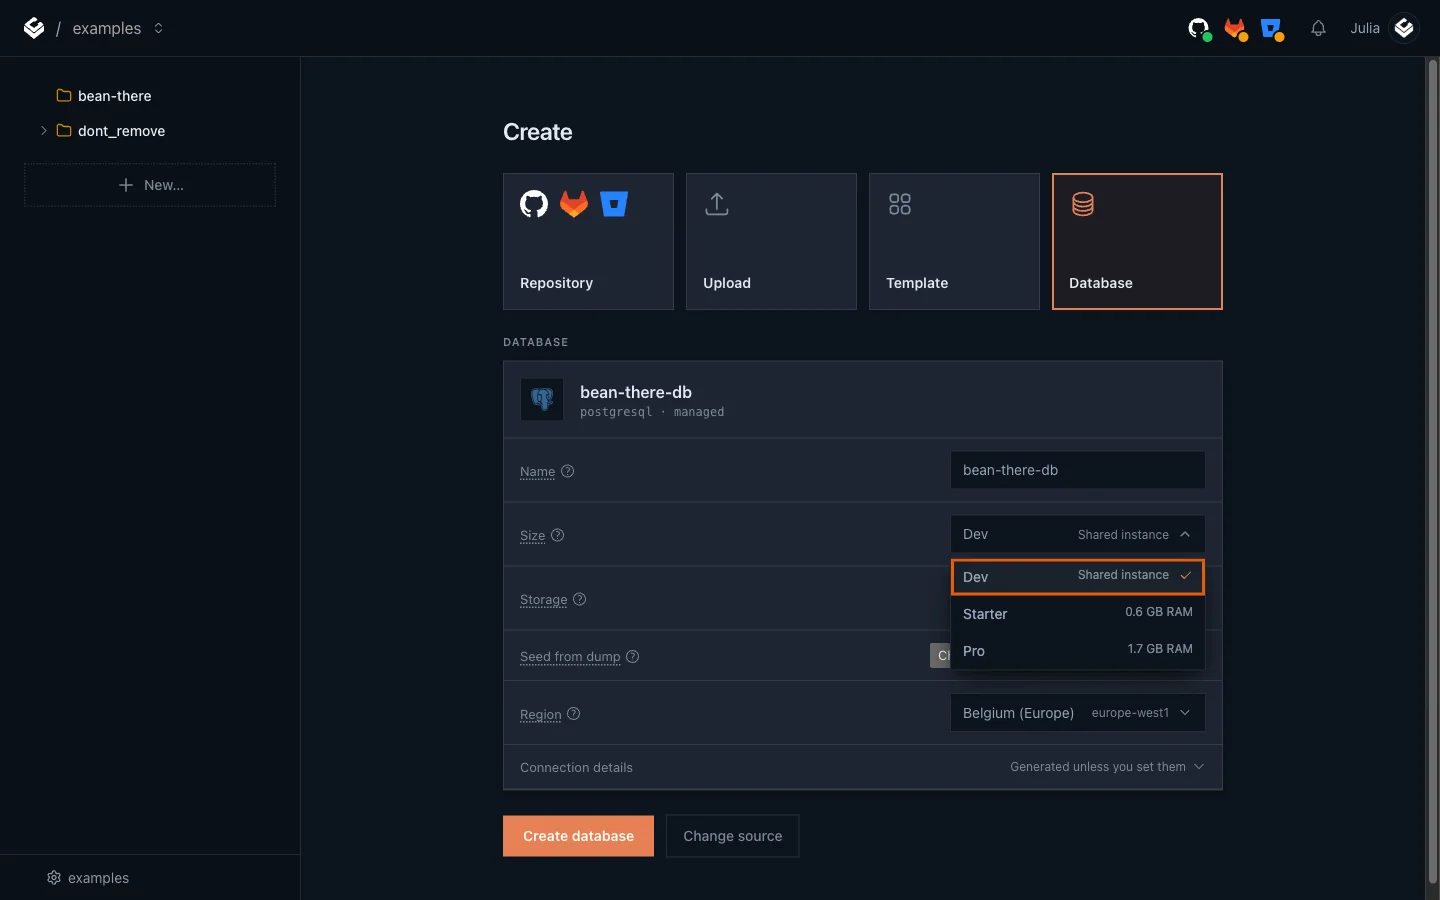
bean-there-db. - Open Size and choose Dev, the shared instance. It is ready in seconds and is enough for this tutorial.
- Leave Storage at 1 GB and pick the Region closest to you. Click Create database.
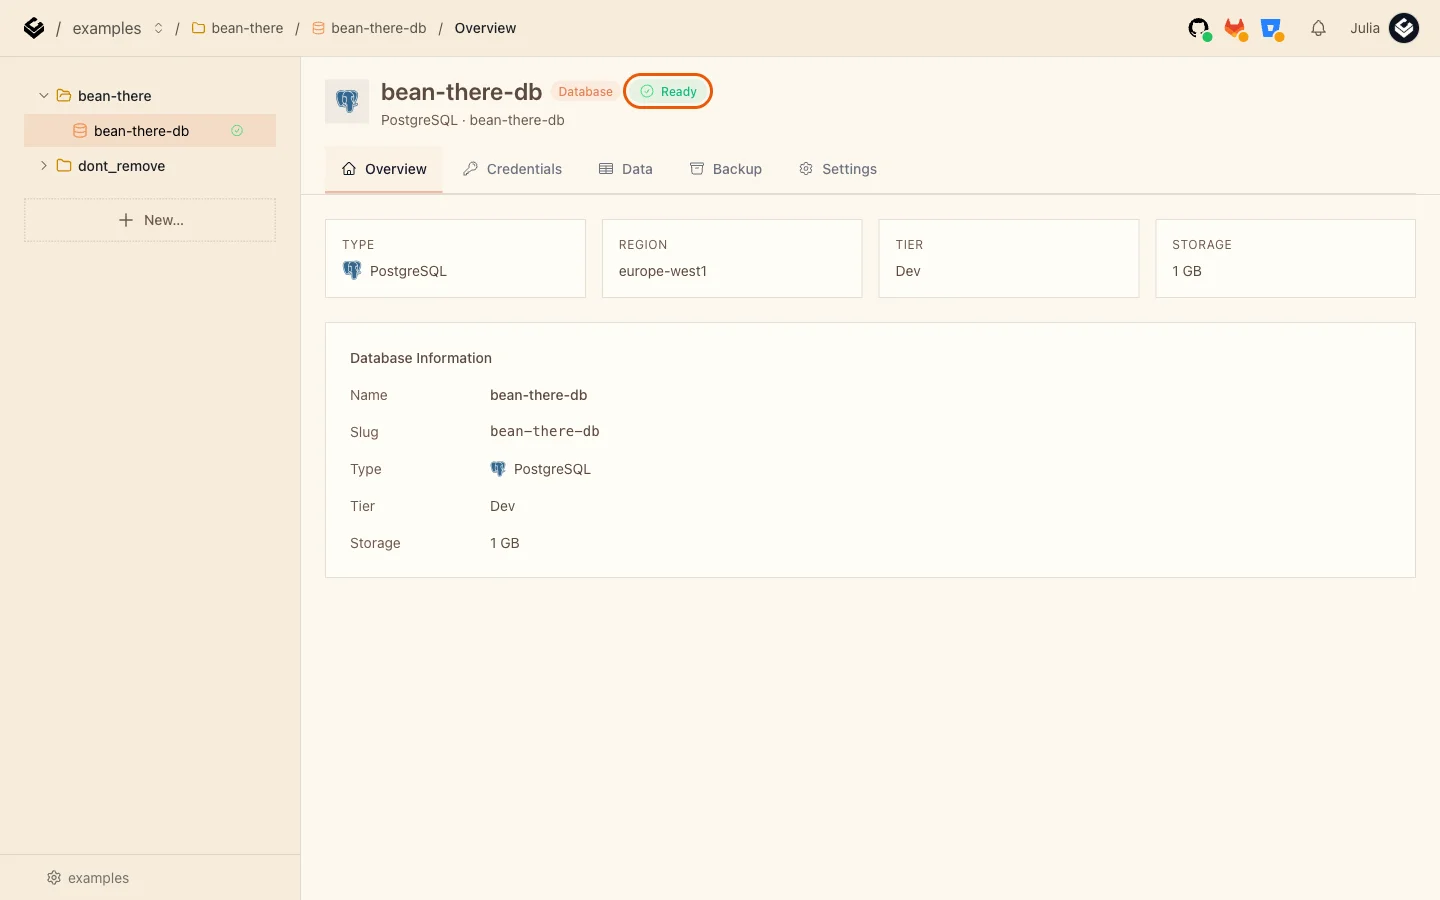
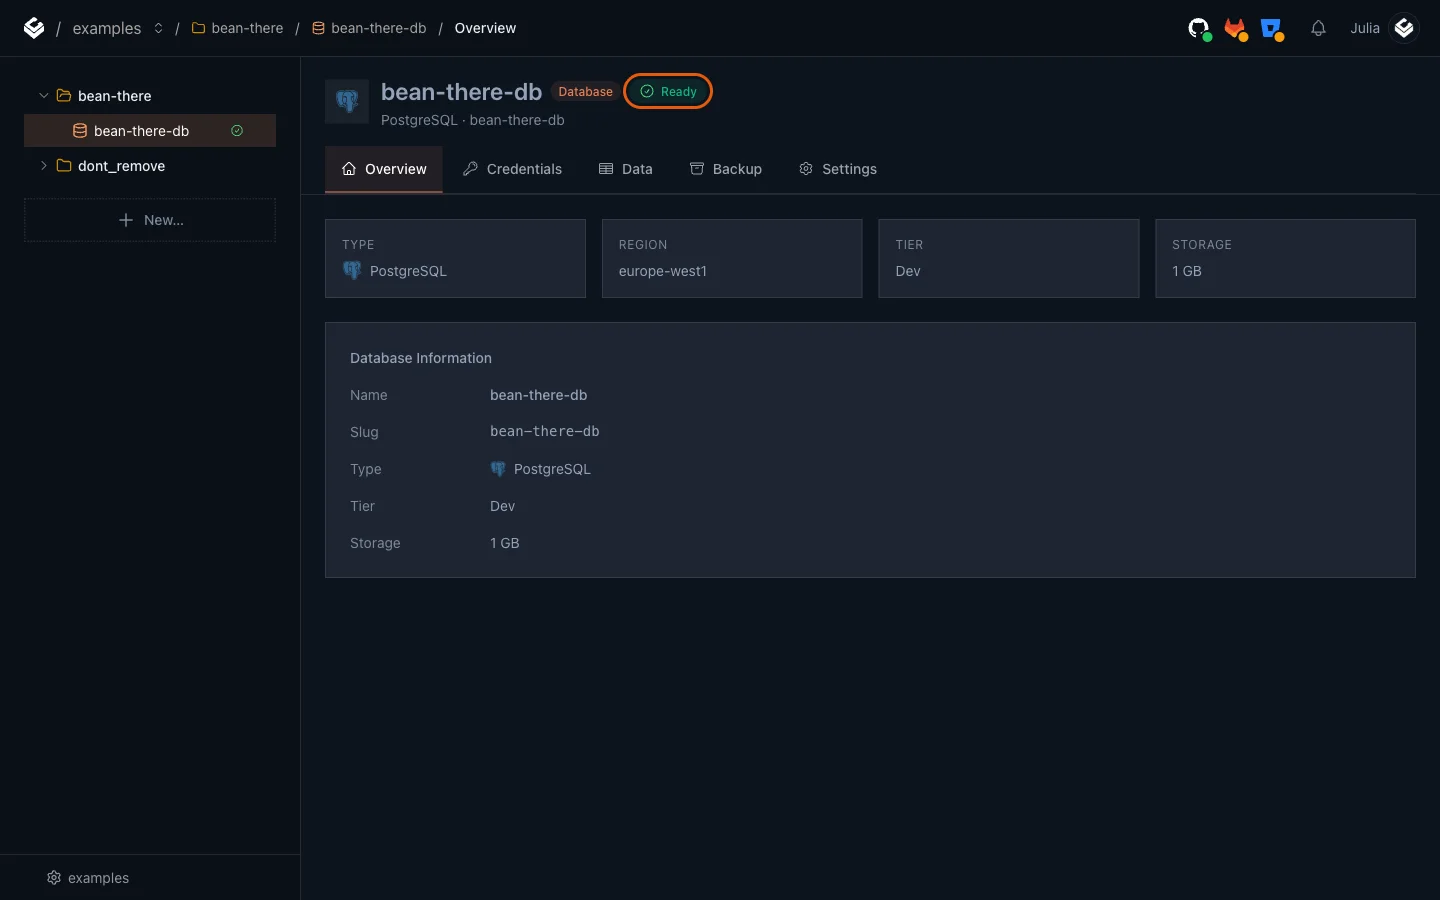
You should see the database page with a green Ready badge. In my run it took about six seconds.
Step 4: Copy the connection string
The connection string is the address and password your services use to reach the database.
- Open the Credentials tab.
- Under Connection String, click Copy. Paste it somewhere private for the next steps; you will use it twice.


The copied string looks like this. Your user name, password and database name are in it; here they are hidden behind stars:
postgresql://u_******:********@bean-there-db-yourworkspace.db.light-cloud.io:5432/db******
The database only accepts encrypted connections, and this string does not say so yet. You will add a short ending to it for each service in the next steps.
Step 5: Deploy catalog-api
catalog-api is the first service because orders-api needs its address.
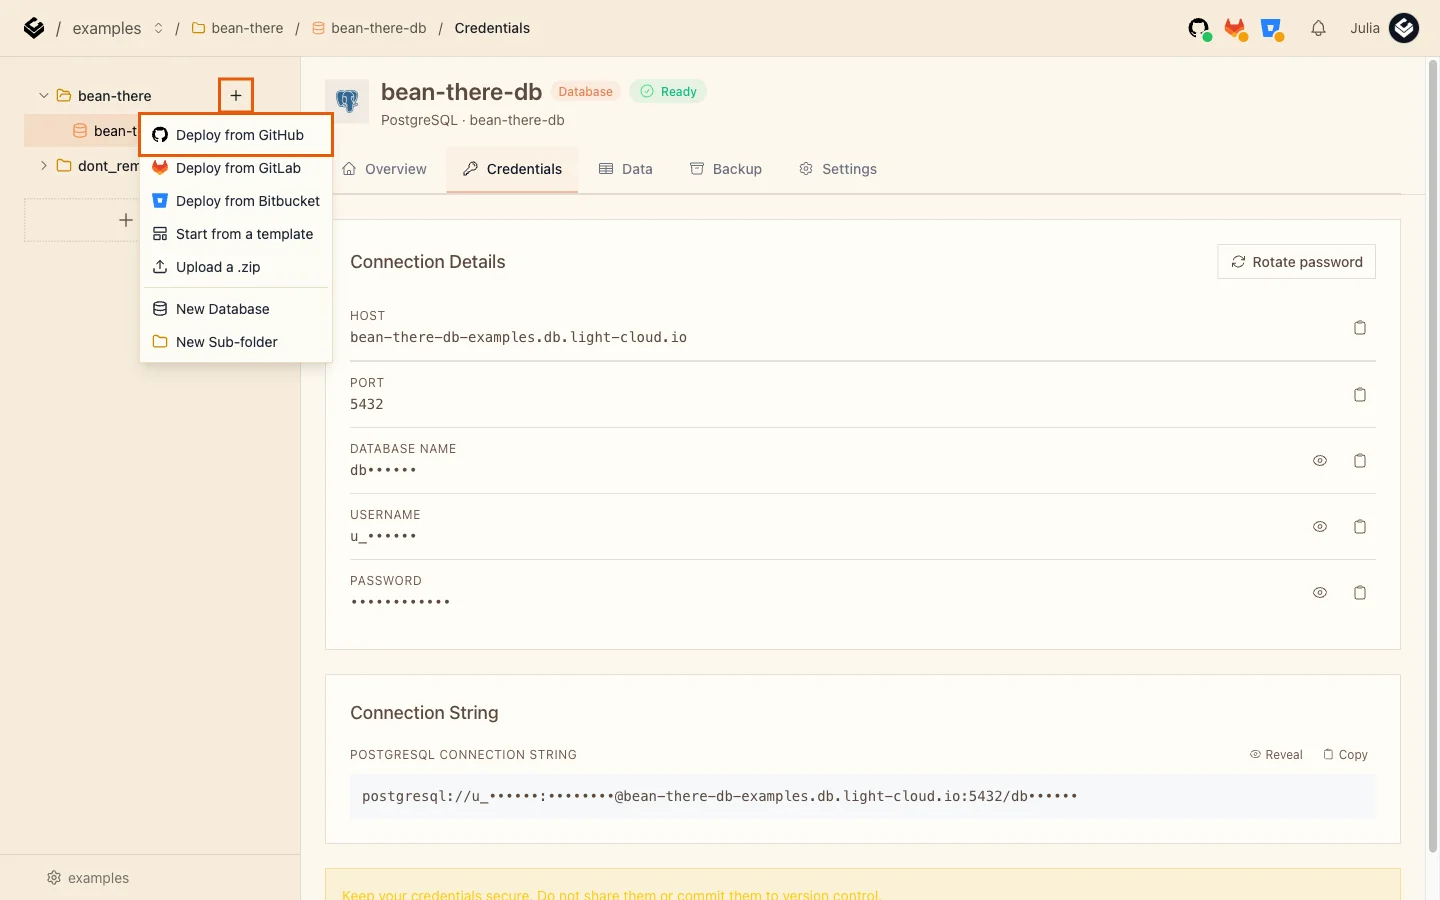
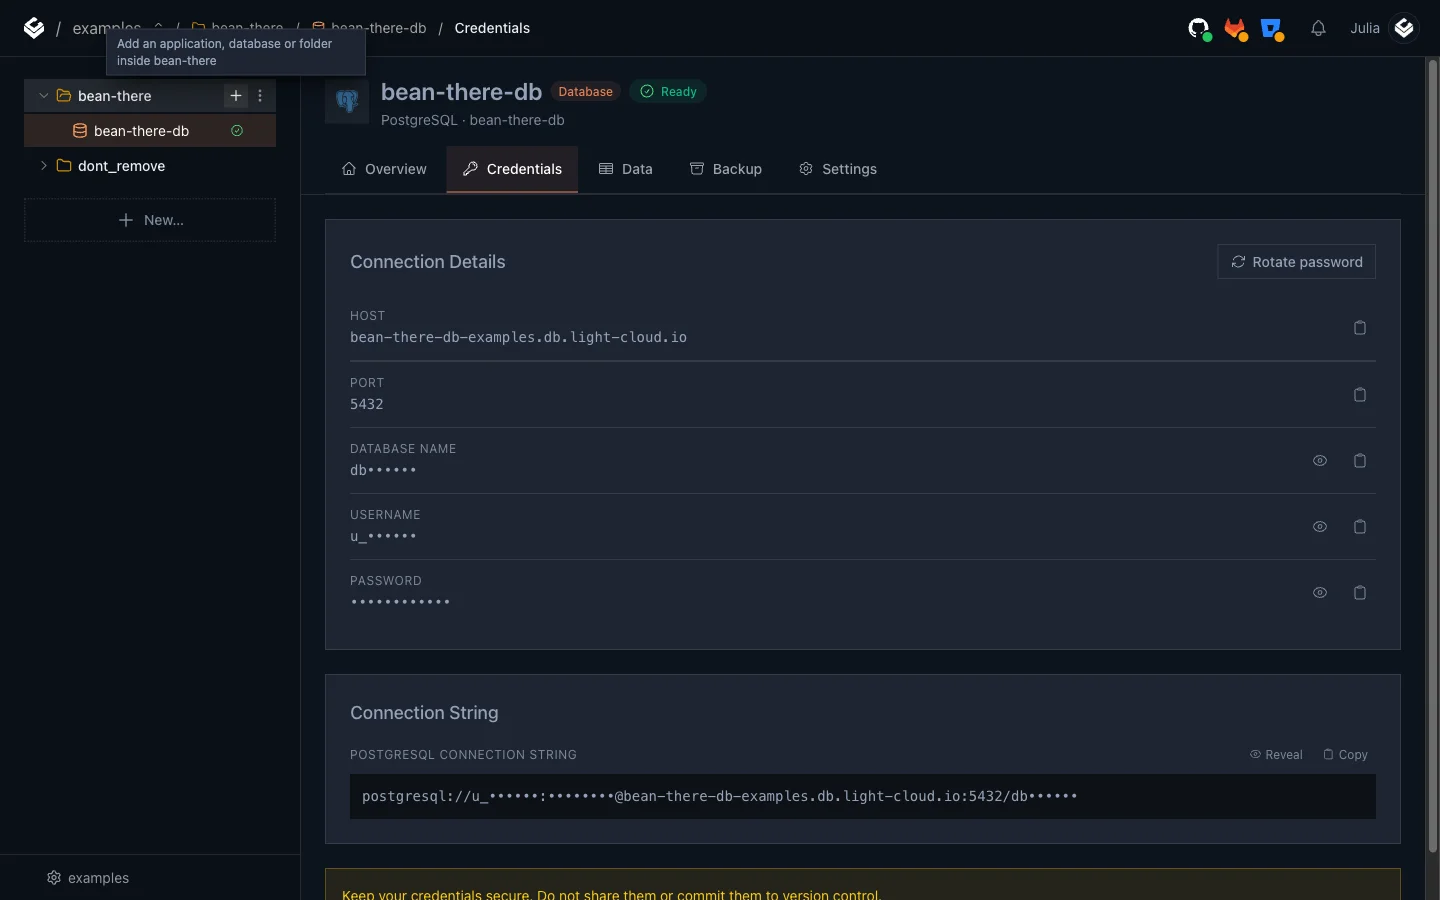
- Click + next to
bean-thereagain and choose Deploy from GitHub.
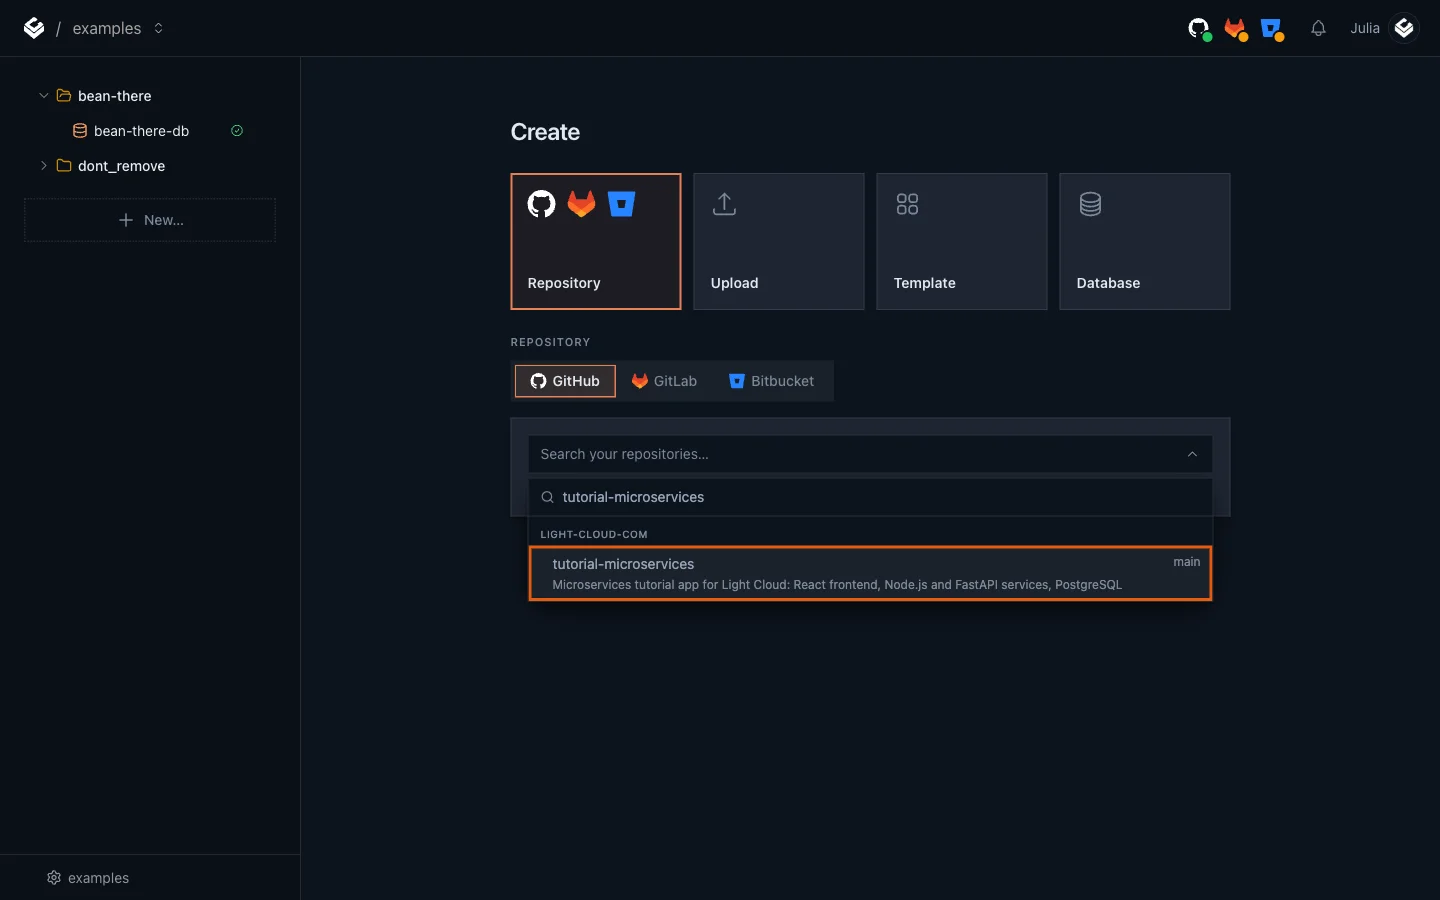
- In Search your repositories..., type
tutorial-microservicesand click your fork.
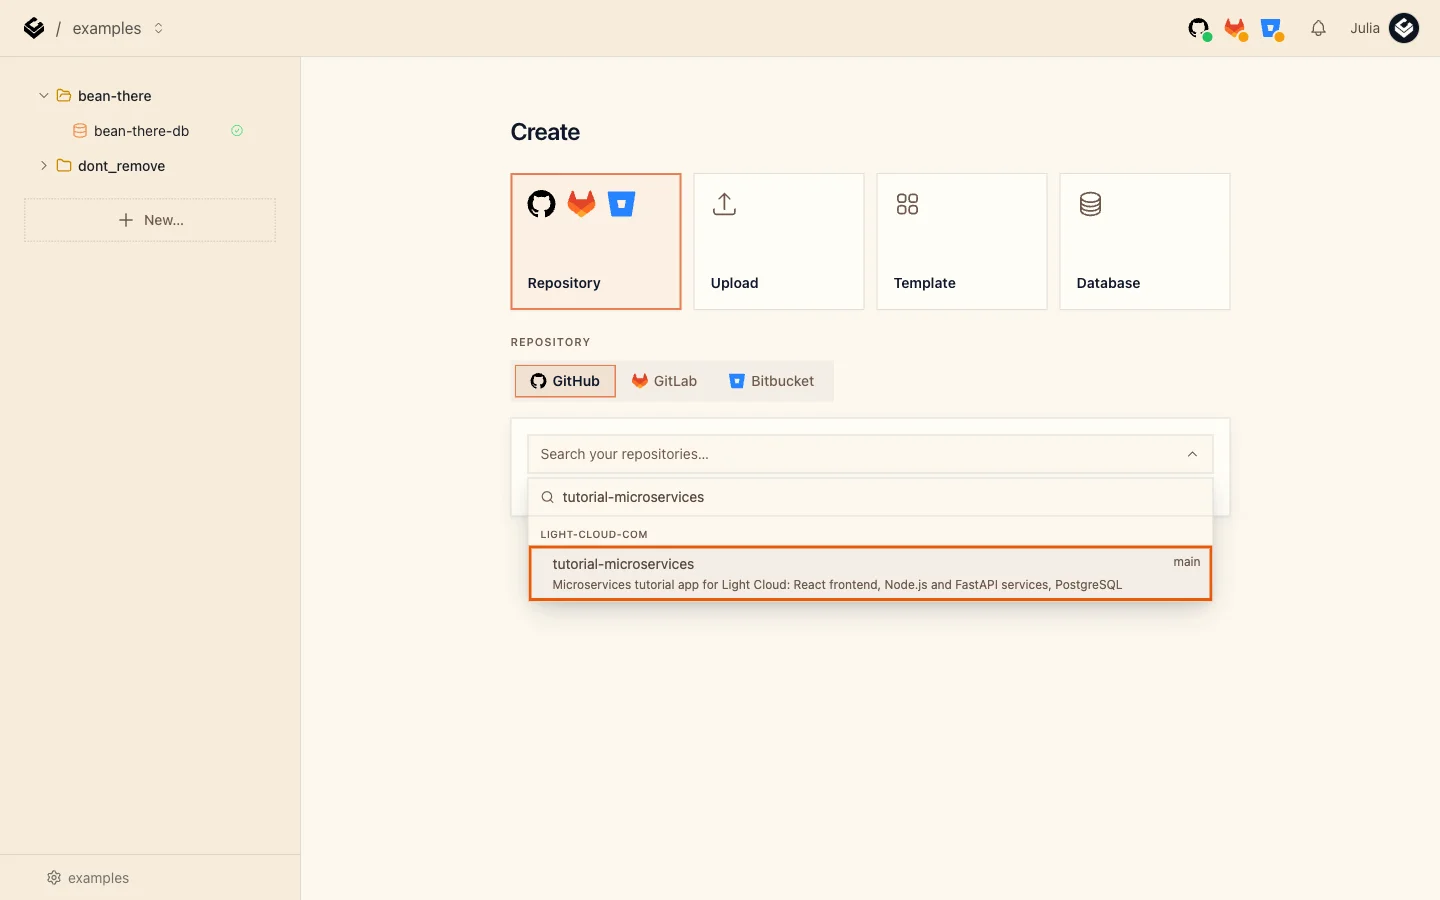
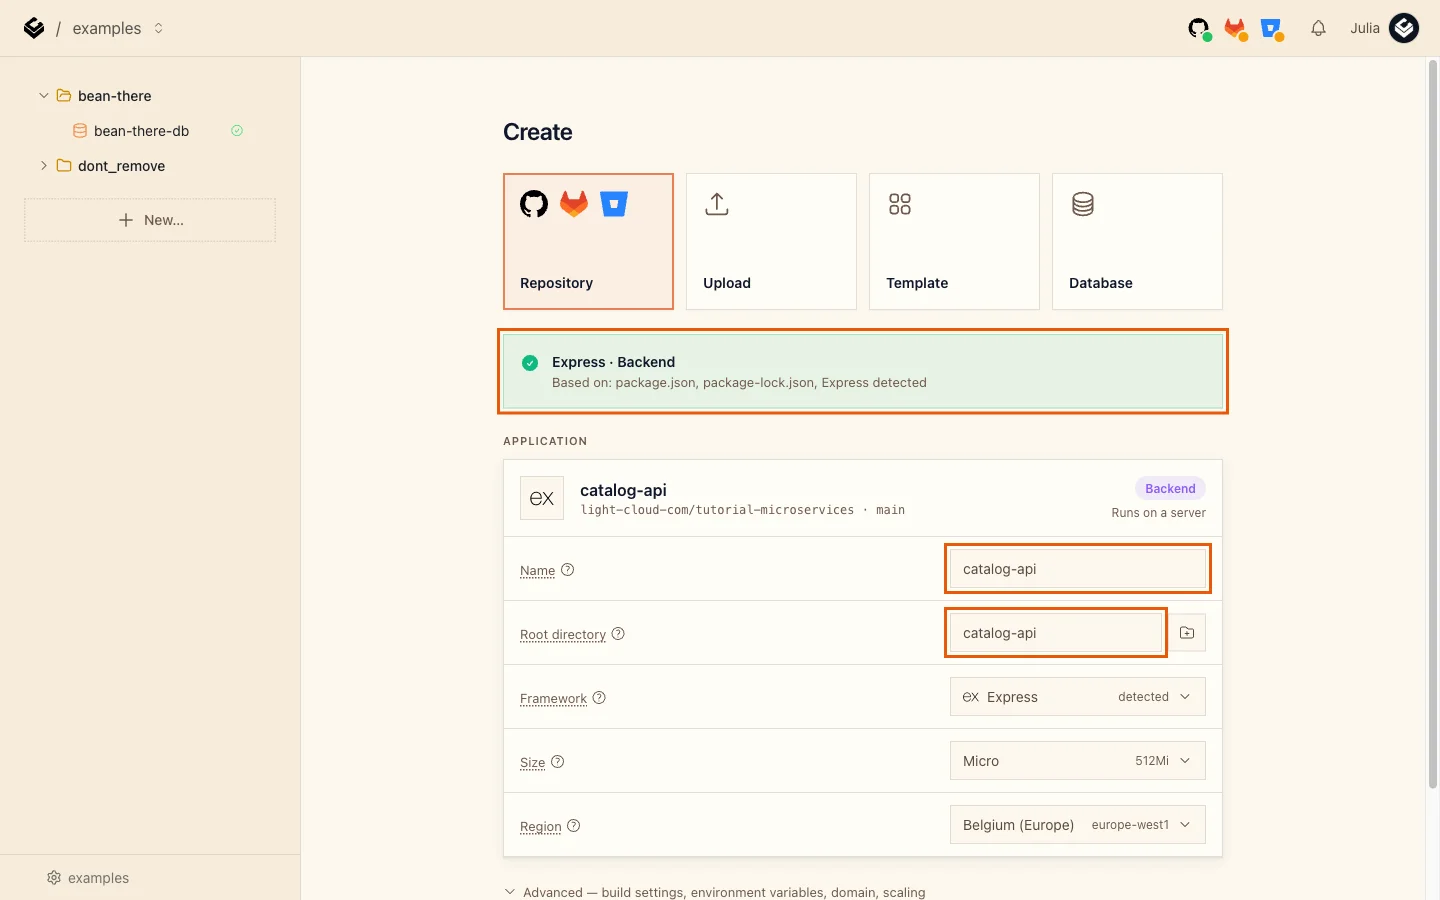
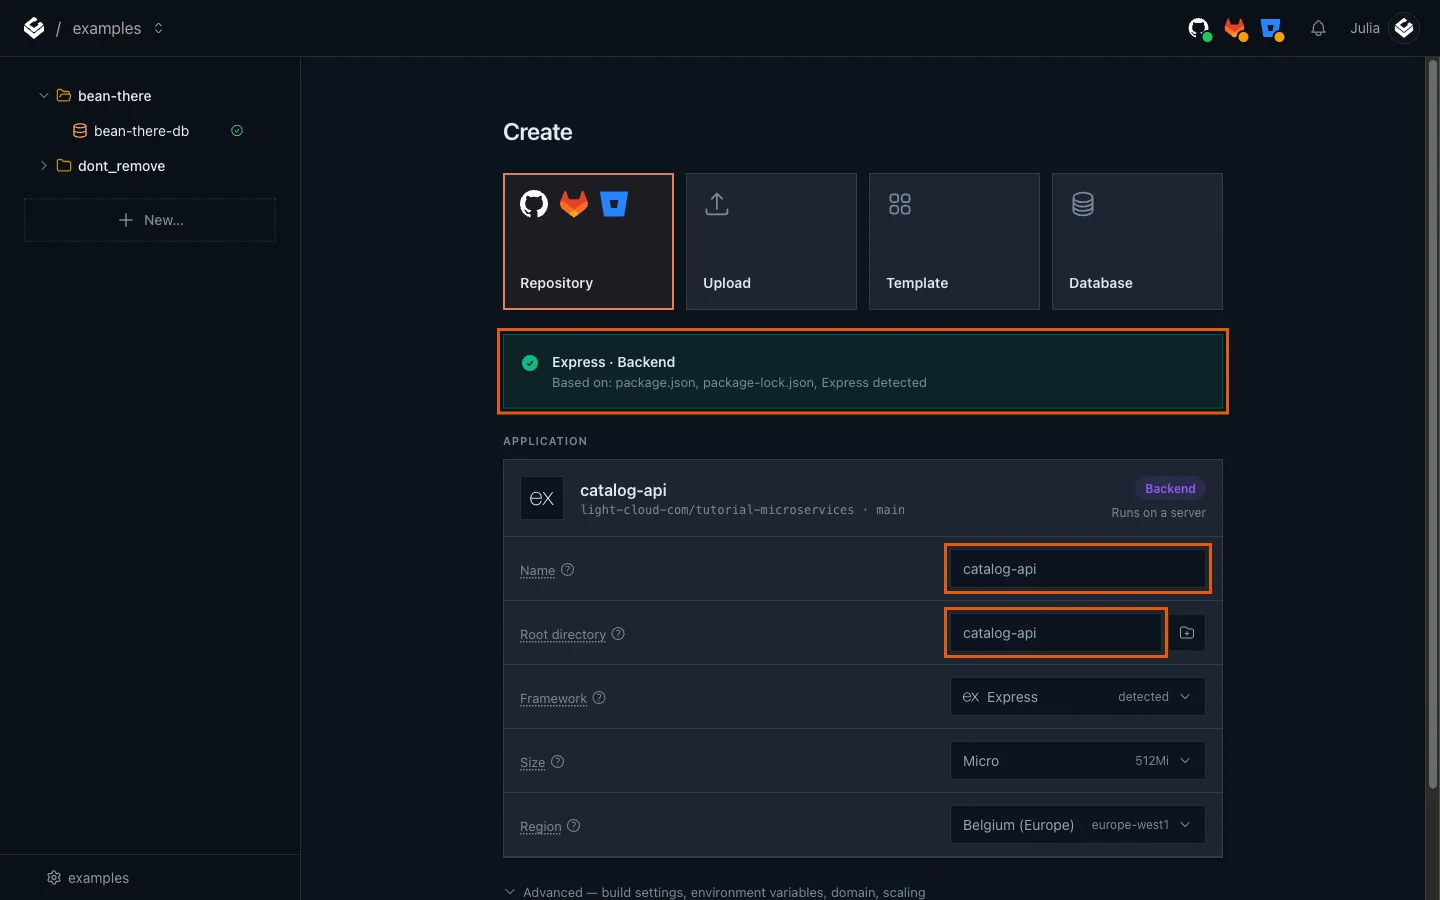
Light Cloud now looks at the root of the repository and shows "I're not sure what this is". That is expected: the root holds three apps, not one. You tell it which folder to use.
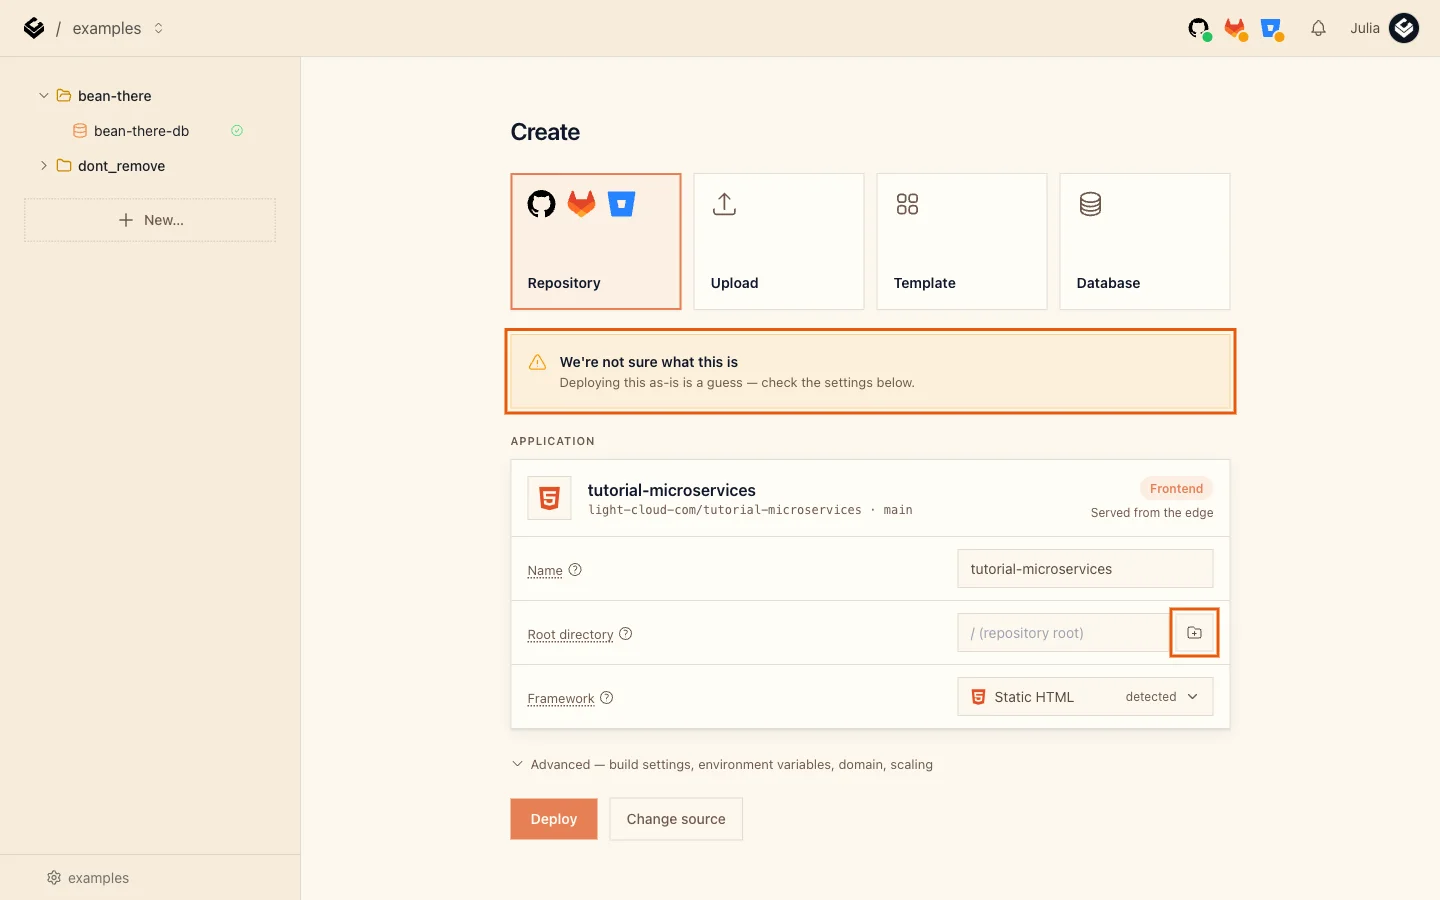
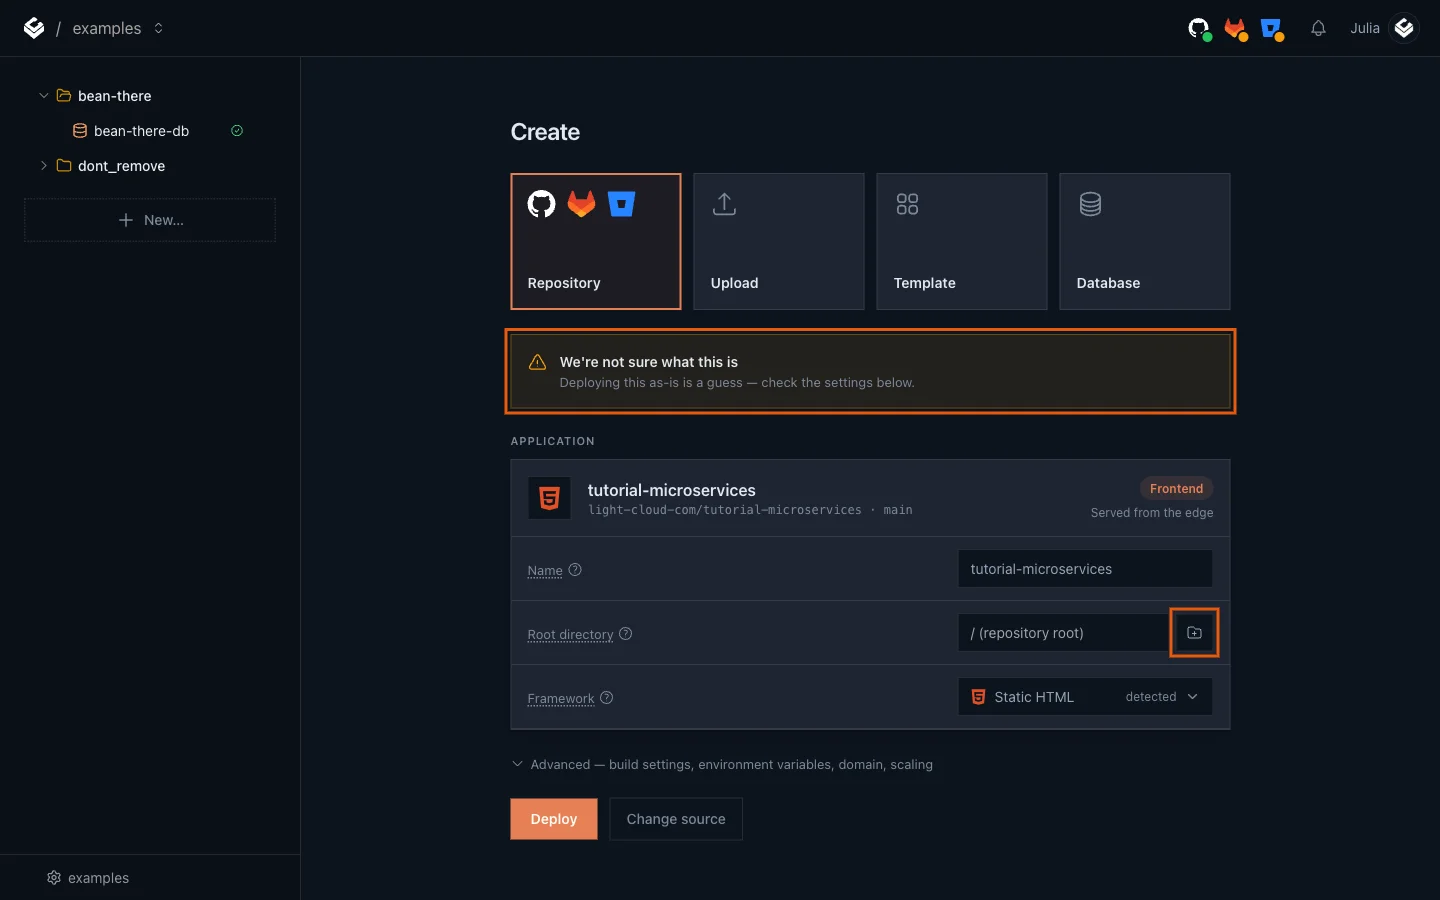
- Click the folder button next to Root directory and choose
catalog-api.
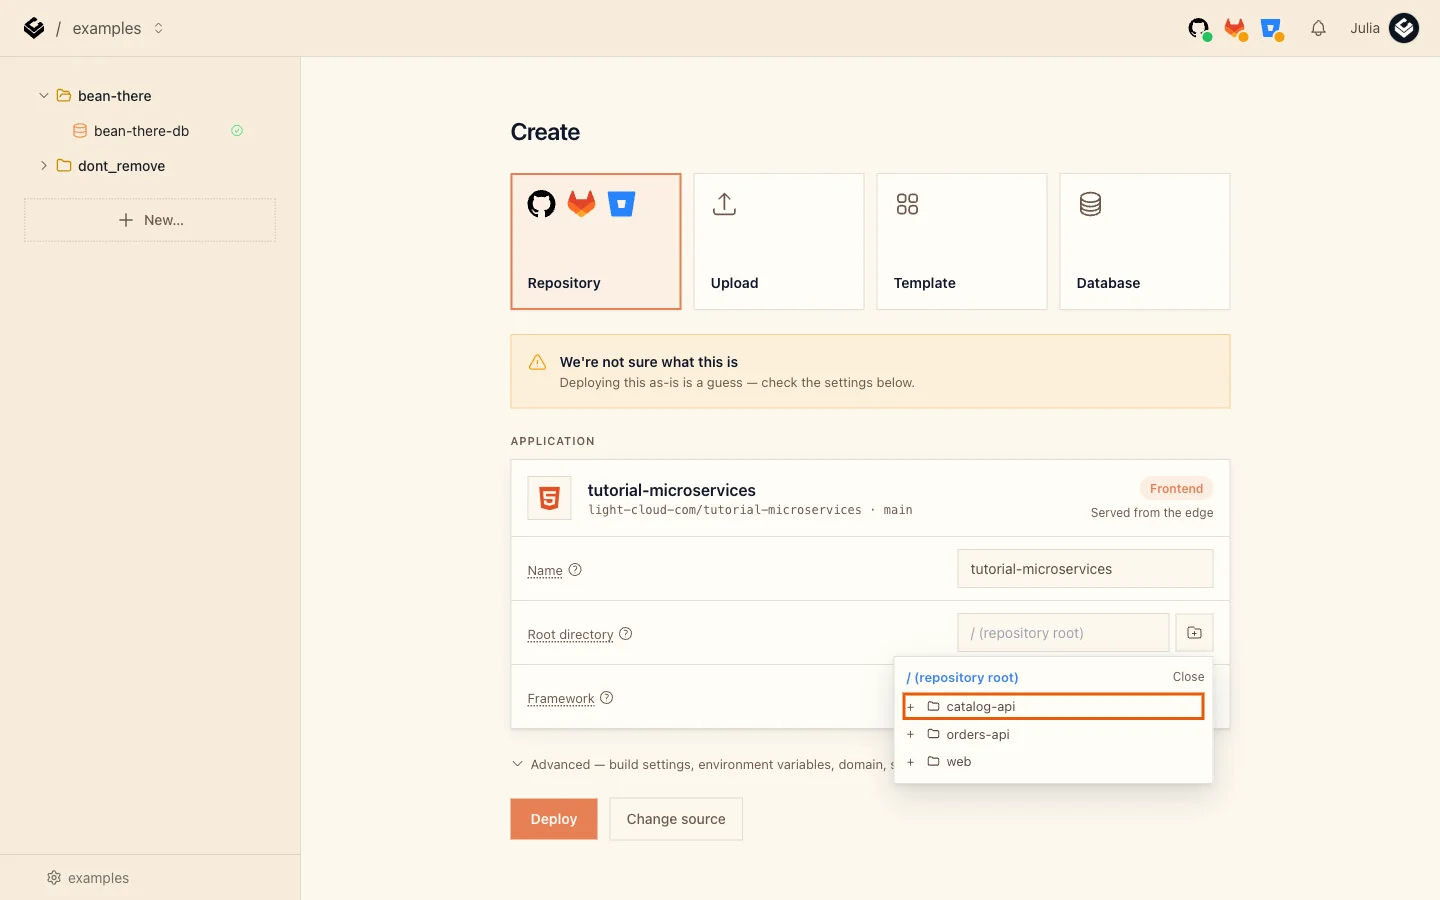
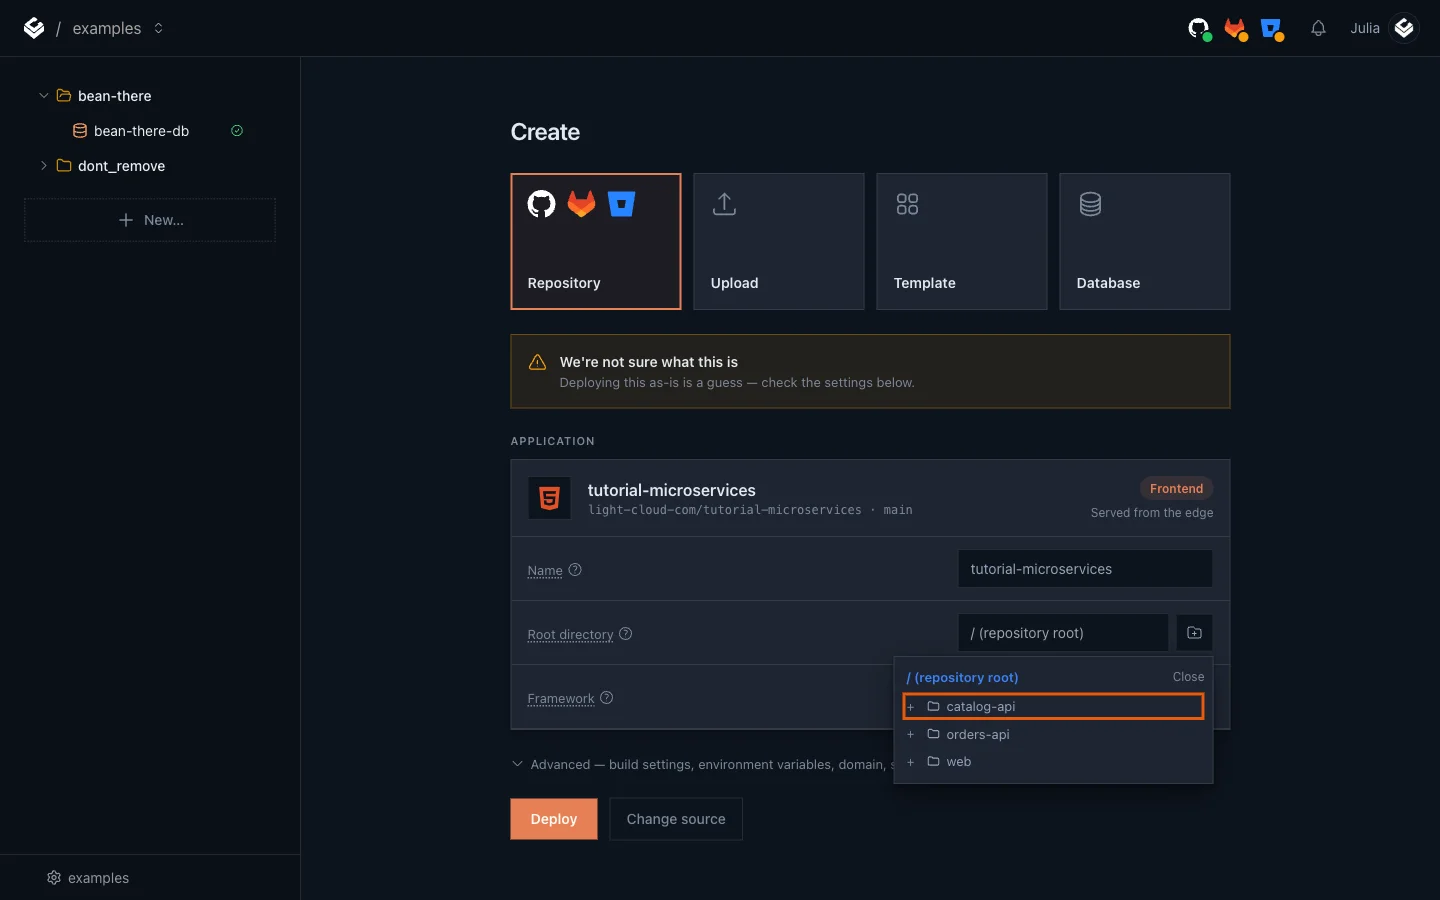
The banner turns green: Express / Backend, based on package.json. Light Cloud found Express in the dependencies, so it runs this folder as a server.
- The Name field still says
tutorial-microservices. Change it tocatalog-api. The name becomes part of the service's address.
- Click Advanced - build settings, environment variables, domain, scaling. Port is already
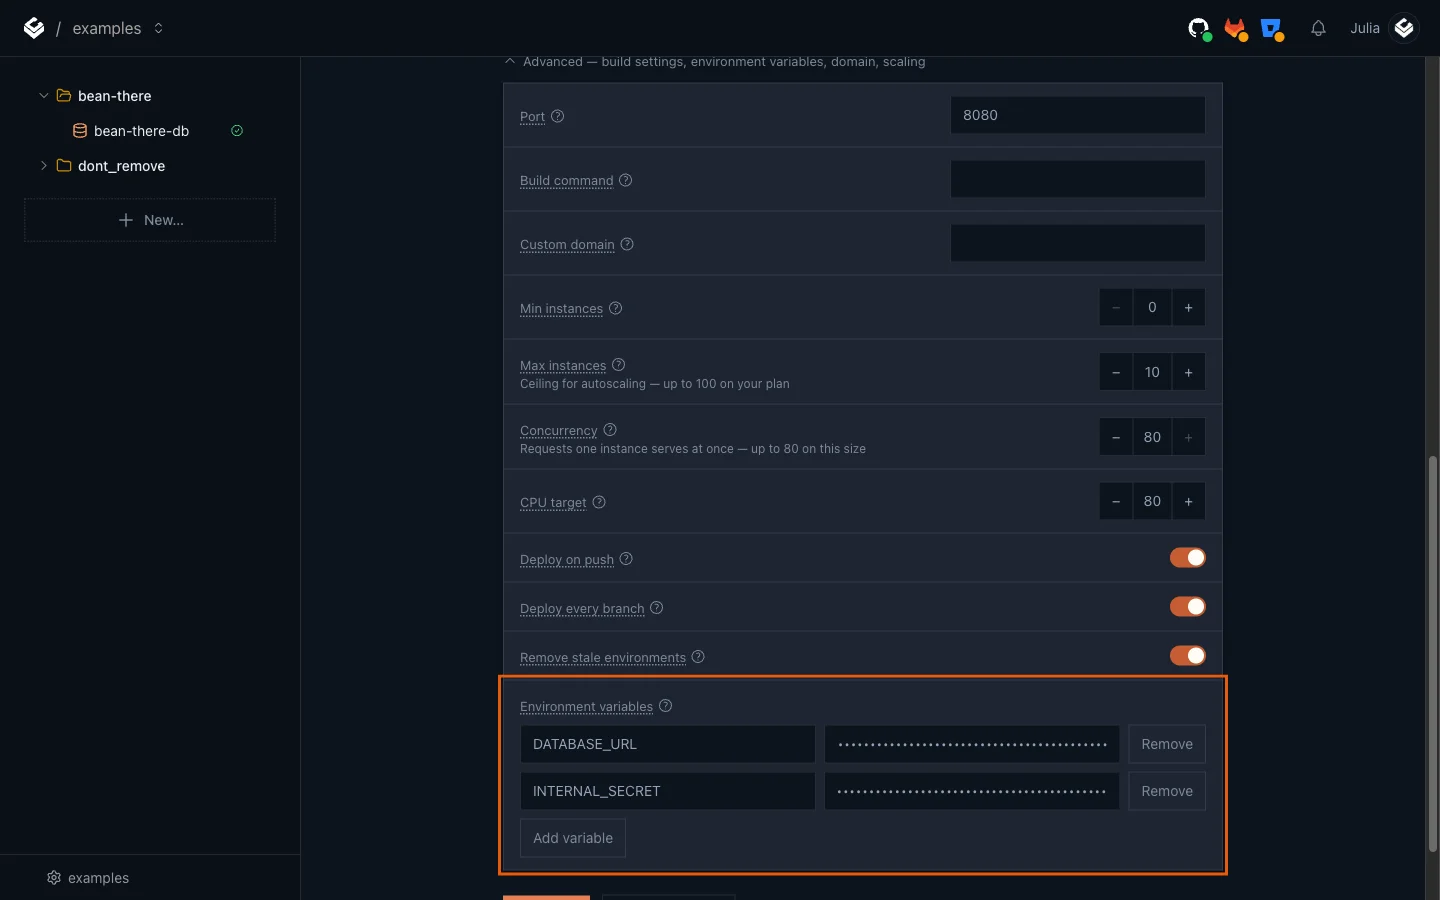
8080; leave the rest as it is. - Under Environment variables, click Add variable twice and fill in:
| KEY | value |
|---|---|
DATABASE_URL | your connection string, followed by ?sslmode=require&uselibpqcompat=true |
INTERNAL_SECRET | a long random string; keep it, orders-api needs the same one |
Put together, the two values look like this (stars hide your password and names):
DATABASE_URL     postgresql://u_******:********@bean-there-db-yourworkspace.db.light-cloud.io:5432/db******?sslmode=require&uselibpqcompat=true
INTERNAL_SECRET  cf91d1e26971527e2ec7362e9452f5abb4670e767ab1a0af
To make a random secret, run the command below. You should see one line of 48 random letters and digits; yours will be different:
$ openssl rand -hex 24
cf91d1e26971527e2ec7362e9452f5abb4670e767ab1a0af# Run this in Git Bash, which comes with Git for Windows.
$ openssl rand -hex 24
cf91d1e26971527e2ec7362e9452f5abb4670e767ab1a0af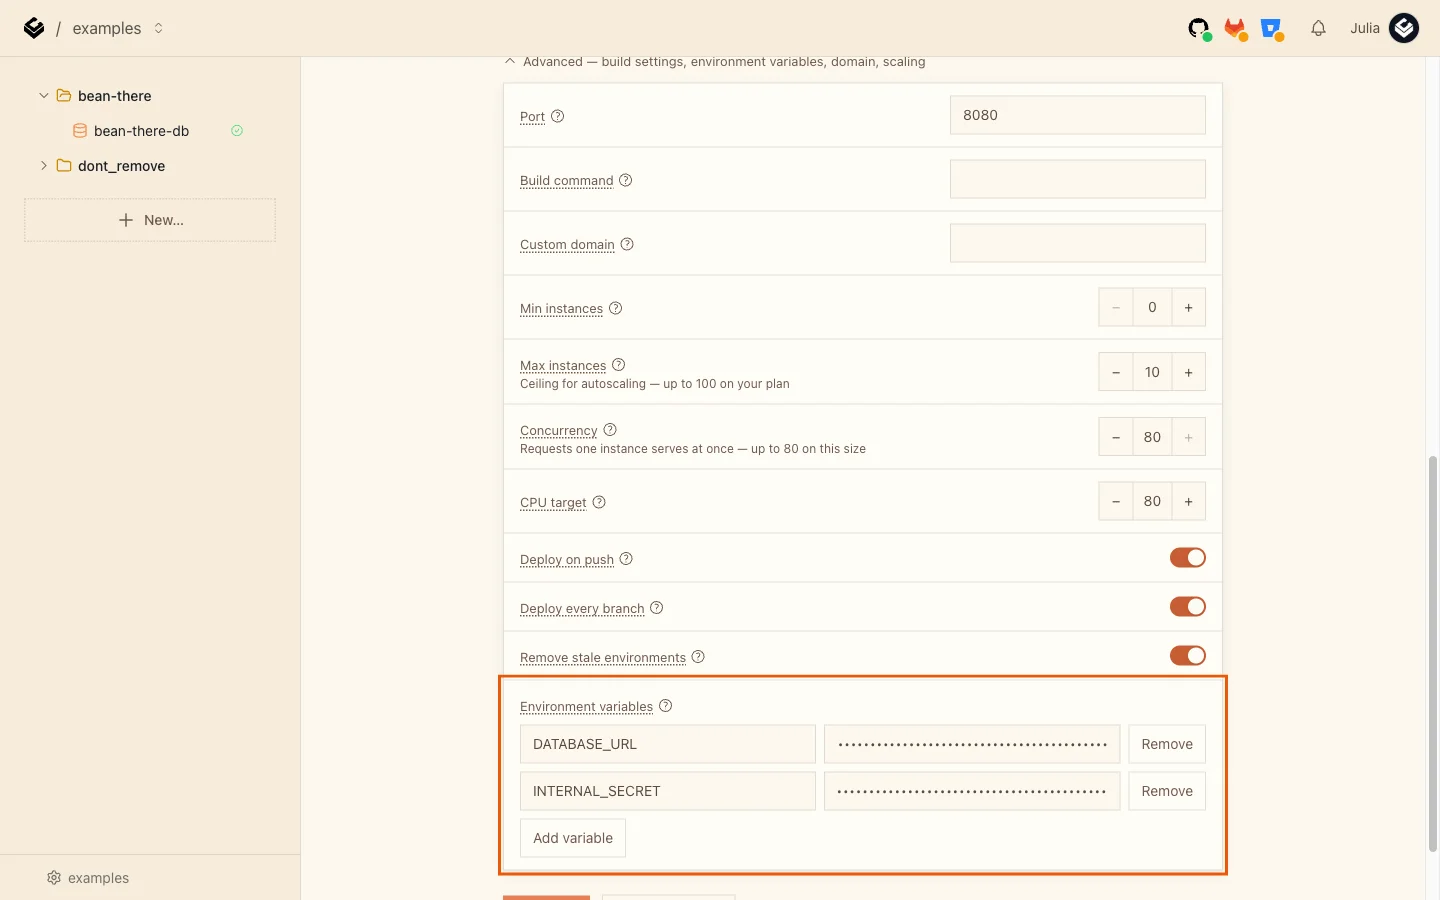
The ending ?sslmode=require&uselibpqcompat=true tells the Node.js pg driver to use an encrypted connection the way the PostgreSQL command-line tools do. Without it, catalog-api cannot connect to the database.
- Click Deploy.
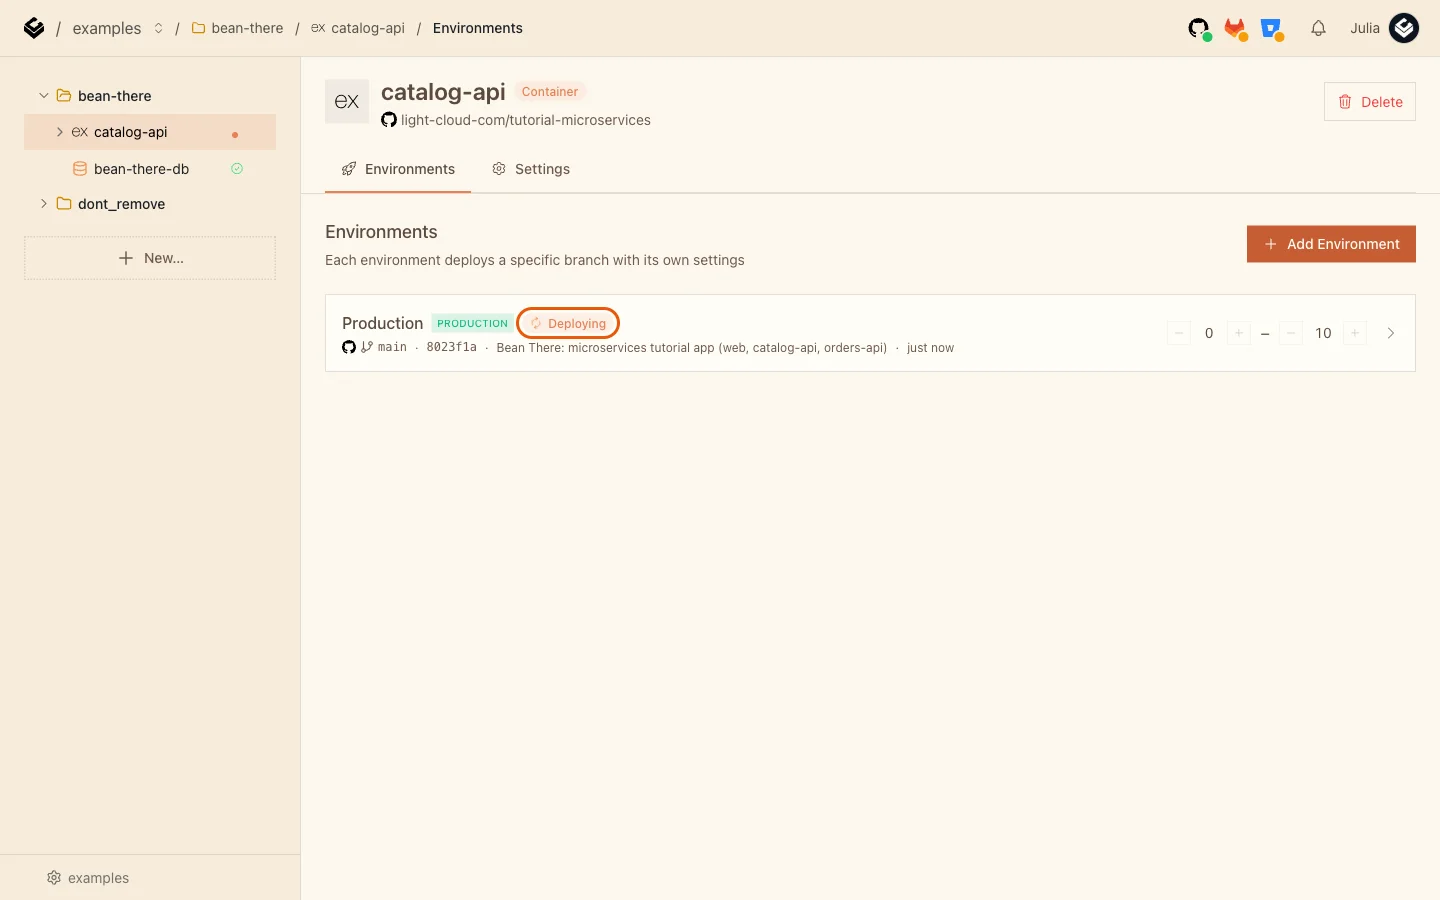
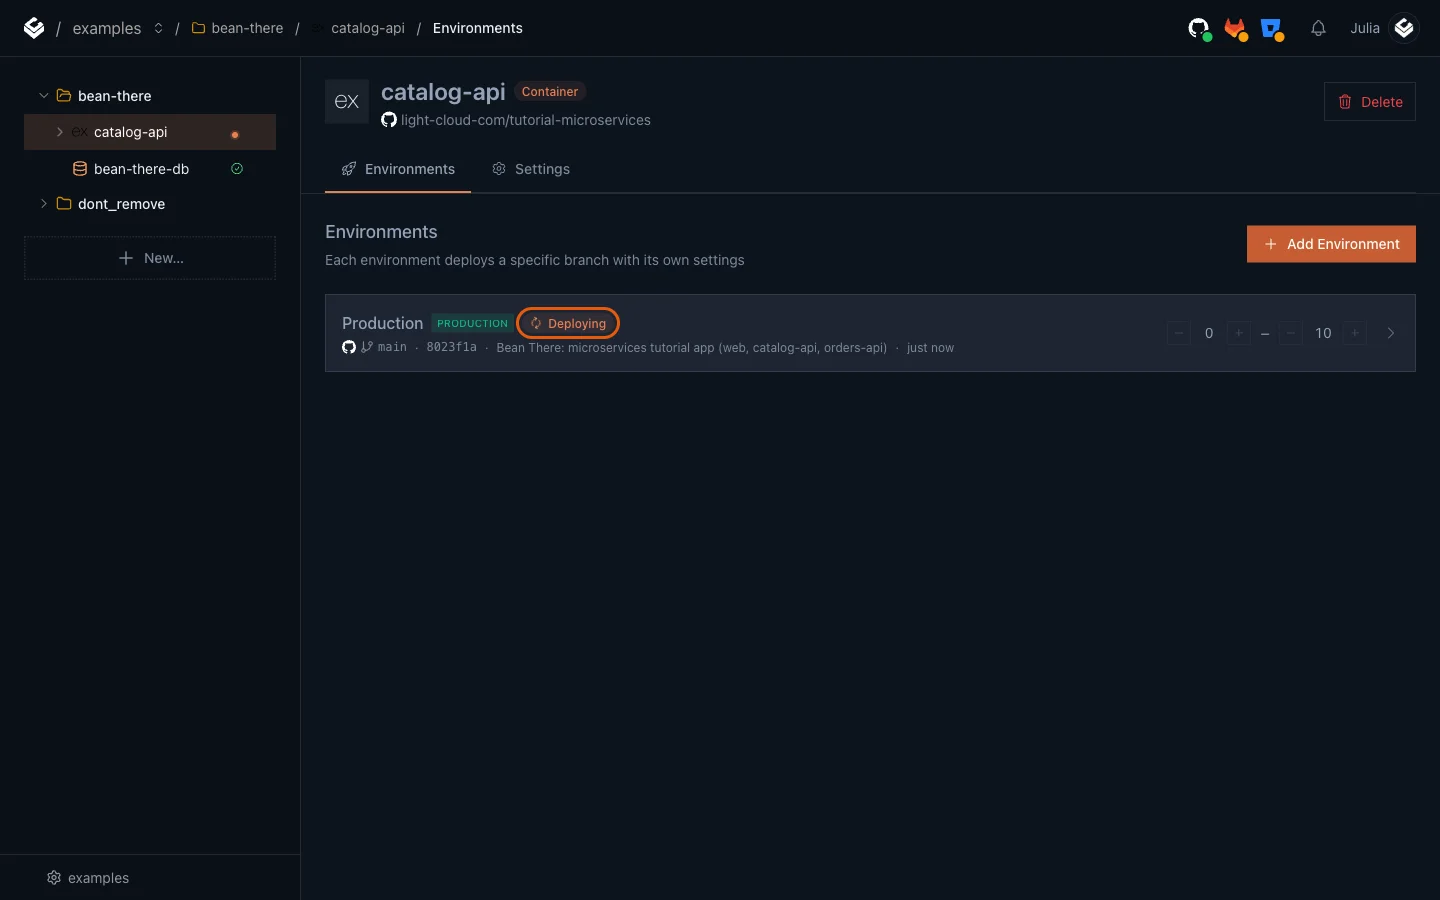
You should see the Production environment move from Deploying to Deployed. In my run that took about 75 seconds.
Step 6: Check that catalog-api works
A quick request confirms the service is up and can read the database.
Your service's address follows the pattern https://main-<app name>-<workspace>.light-cloud.io. You can also copy it from the URL card on the environment's Overview tab.
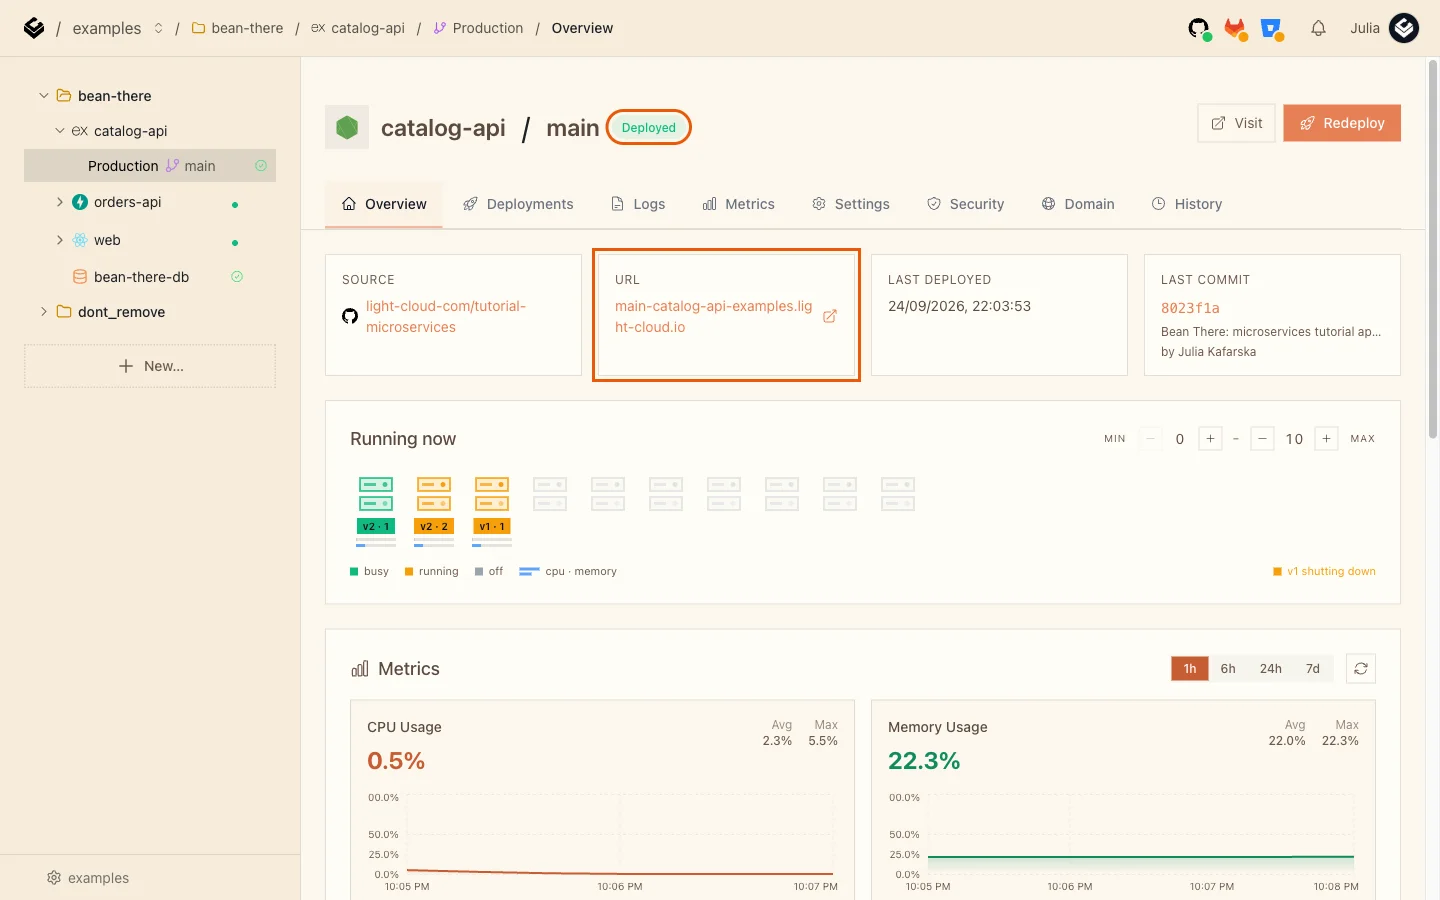
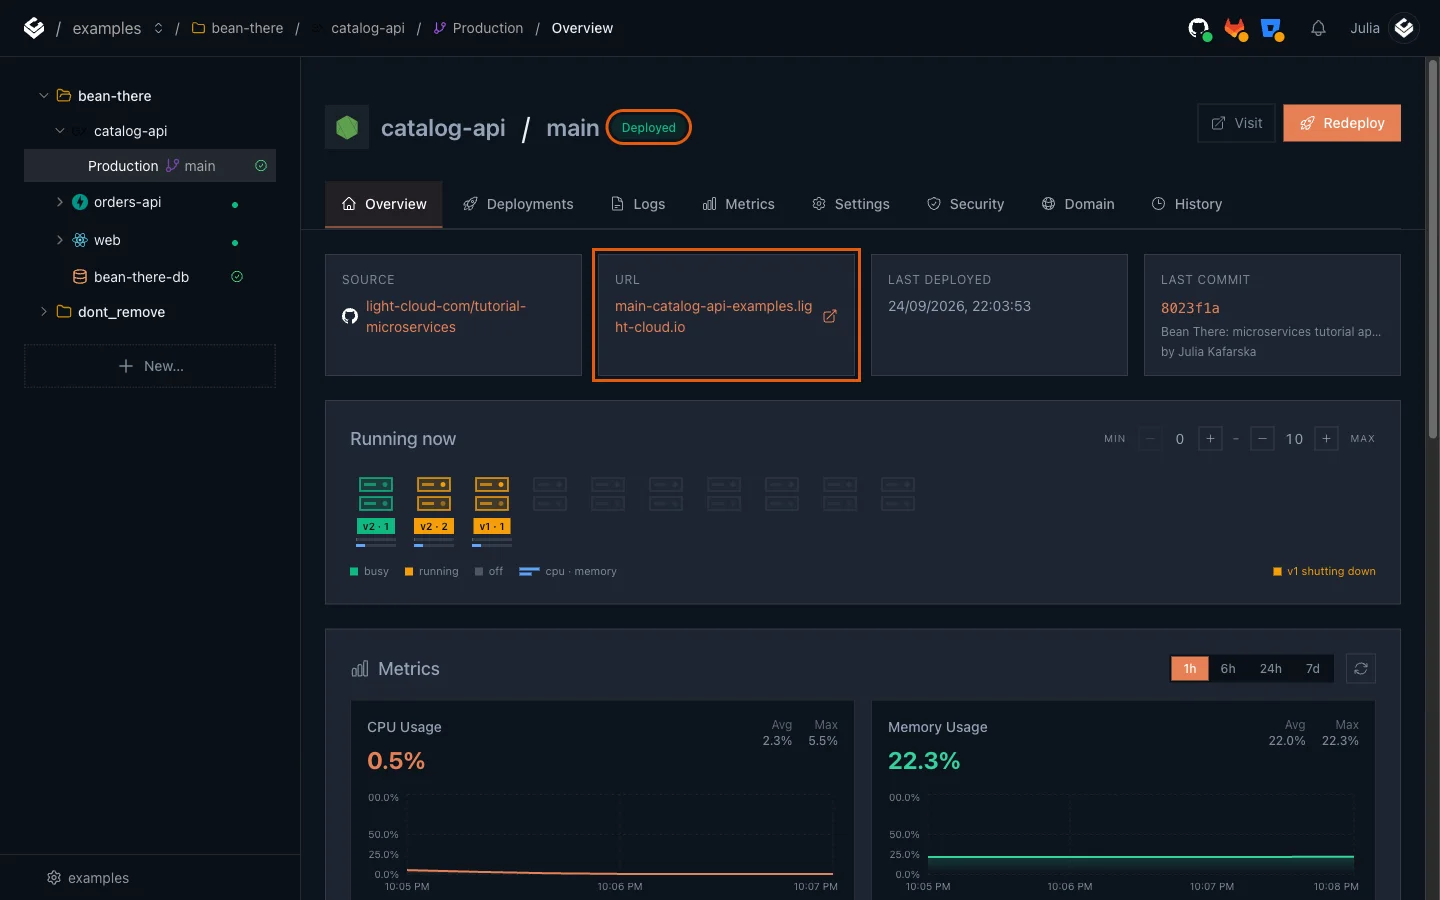
Ask it for its products. You should see the four products catalog-api created on its first start, on one line:
$ curl https://main-catalog-api-yourworkspace.light-cloud.io/products
[{"id":1,"name":"Espresso beans, 1 kg","price_cents":2400,"stock":40},{"id":2,"name":"Pour-over kettle","price_cents":5900,"stock":12},{"id":3,"name":"Ceramic mug","price_cents":1500,"stock":100},{"id":4,"name":"Paper filters, 100 pack","price_cents":600,"stock":250}]PS> curl.exe https://main-catalog-api-yourworkspace.light-cloud.io/products
[{"id":1,"name":"Espresso beans, 1 kg","price_cents":2400,"stock":40},{"id":2,"name":"Pour-over kettle","price_cents":5900,"stock":12},{"id":3,"name":"Ceramic mug","price_cents":1500,"stock":100},{"id":4,"name":"Paper filters, 100 pack","price_cents":600,"stock":250}]Now check that the internal route refuses callers without the secret. You should see the status line HTTP/2 401 and the error body (other headers left out here):
$ curl -i -X POST https://main-catalog-api-yourworkspace.light-cloud.io/internal/products/1/reserve \
  -H "content-type: application/json" -d '{"quantity":1}'
HTTP/2 401
content-type: application/json; charset=utf-8
x-powered-by: Express

{"error":"Unauthorized"}PS> curl.exe -i -X POST https://main-catalog-api-yourworkspace.light-cloud.io/internal/products/1/reserve `
-H "content-type: application/json" -d '{"quantity":1}'
HTTP/2 401
content-type: application/json; charset=utf-8
x-powered-by: Express
{"error":"Unauthorized"}Every Light Cloud address is public, so this check is what keeps strangers from changing your stock. This is the part that does it:
// Only other services may call /internal routes.
function requireInternalSecret(req, res, next) {
  if (!INTERNAL_SECRET || req.get("x-internal-secret") !== INTERNAL_SECRET) {
    return res.status(401).json({ error: "Unauthorized" });
  }
  next();
}
Step 7: Deploy orders-api
orders-api follows the same steps, with its own folder and one extra variable.
- Click + next to
bean-there, choose Deploy from GitHub, and pick your fork again. - Set Root directory to
orders-apiand change Name toorders-api.
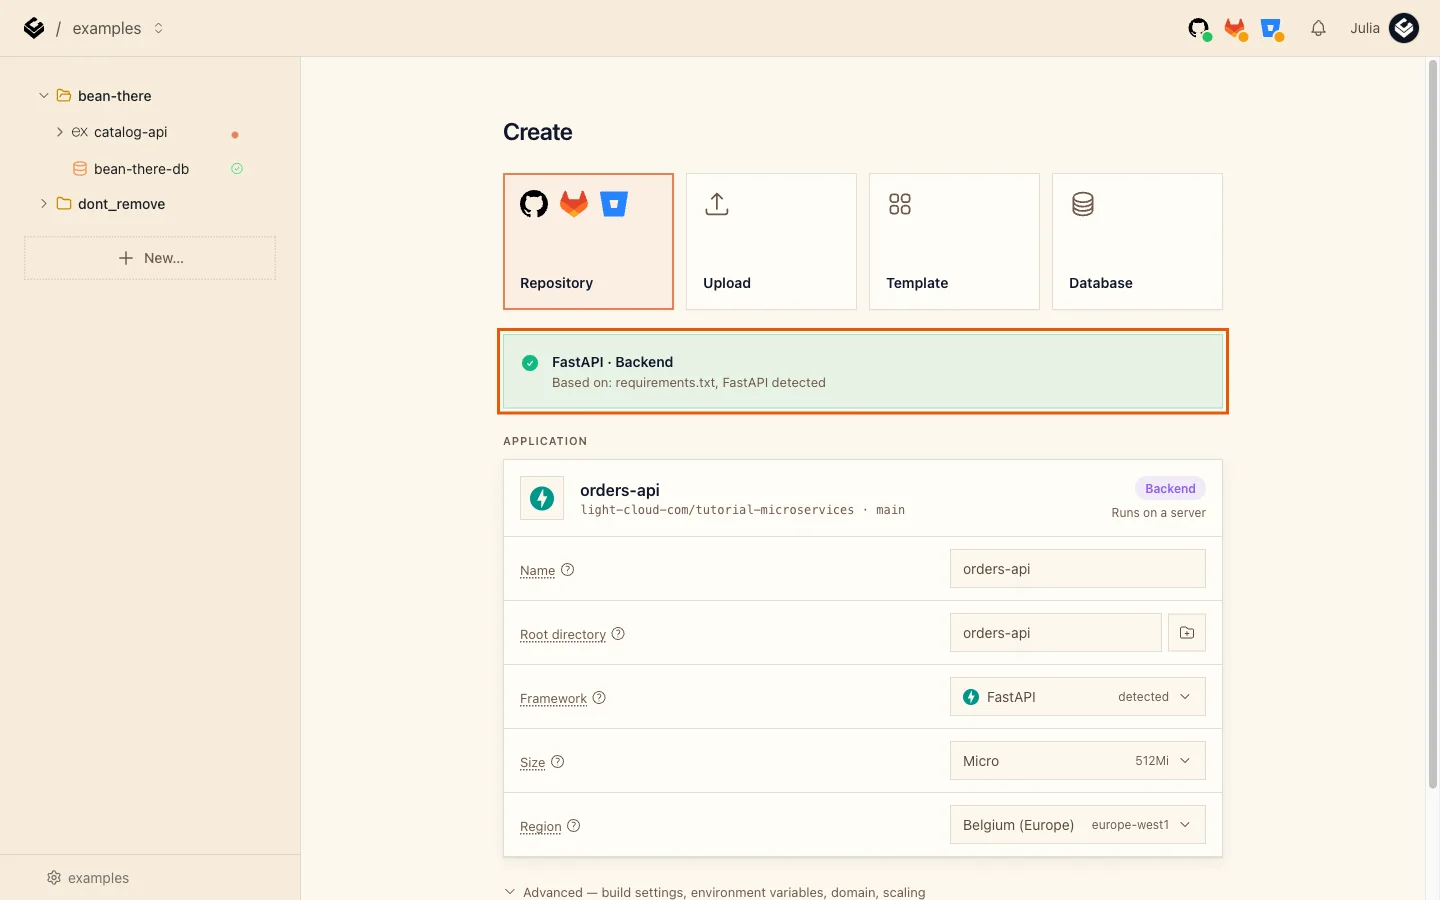
The banner reads FastAPI / Backend, based on requirements.txt. Light Cloud runs FastAPI with uvicorn on port 8000; you do not write a start command.
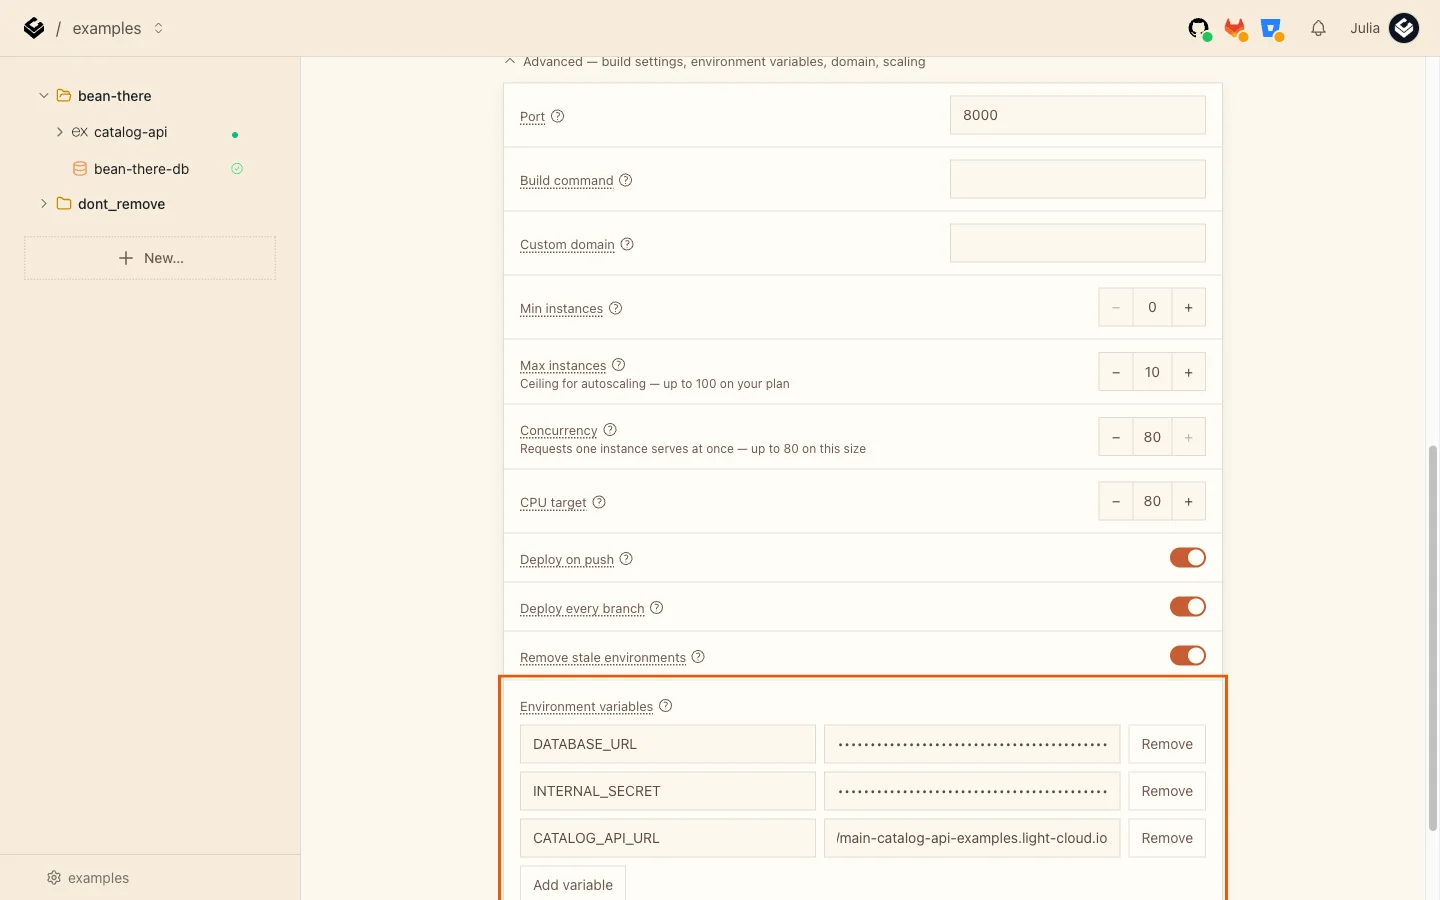
- Open Advanced and add three variables:
| KEY | value |
|---|---|
DATABASE_URL | your connection string, followed by ?sslmode=require |
INTERNAL_SECRET | the same secret you gave catalog-api |
CATALOG_API_URL | catalog-api's address, for example https://main-catalog-api-yourworkspace.light-cloud.io |
For example:
DATABASE_URL     postgresql://u_******:********@bean-there-db-yourworkspace.db.light-cloud.io:5432/db******?sslmode=require
INTERNAL_SECRET  cf91d1e26971527e2ec7362e9452f5abb4670e767ab1a0af
CATALOG_API_URL  https://main-catalog-api-yourworkspace.light-cloud.io
Python's psycopg driver only needs ?sslmode=require. The longer ending in Step 5 is specific to Node.js.
- Click Deploy.
This is how orders-api uses those variables when a customer buys something:
async with httpx.AsyncClient(timeout=10) as client:
    reply = await client.post(
        f"{CATALOG_API_URL}/internal/products/{order.product_id}/reserve",
        json={"quantity": order.quantity},
        headers={"x-internal-secret": INTERNAL_SECRET, "x-request-id": request_id},
    )
When it is deployed, check it. You should see:
$ curl https://main-orders-api-yourworkspace.light-cloud.io/health
{"status":"ok","service":"orders-api"}PS> curl.exe https://main-orders-api-yourworkspace.light-cloud.io/health
{"status":"ok","service":"orders-api"}Step 8: Deploy the web frontend
The shop front is a static site, so it needs both API addresses at build time.
- Click + next to
bean-there, choose Deploy from GitHub, and pick your fork. - Set Root directory to
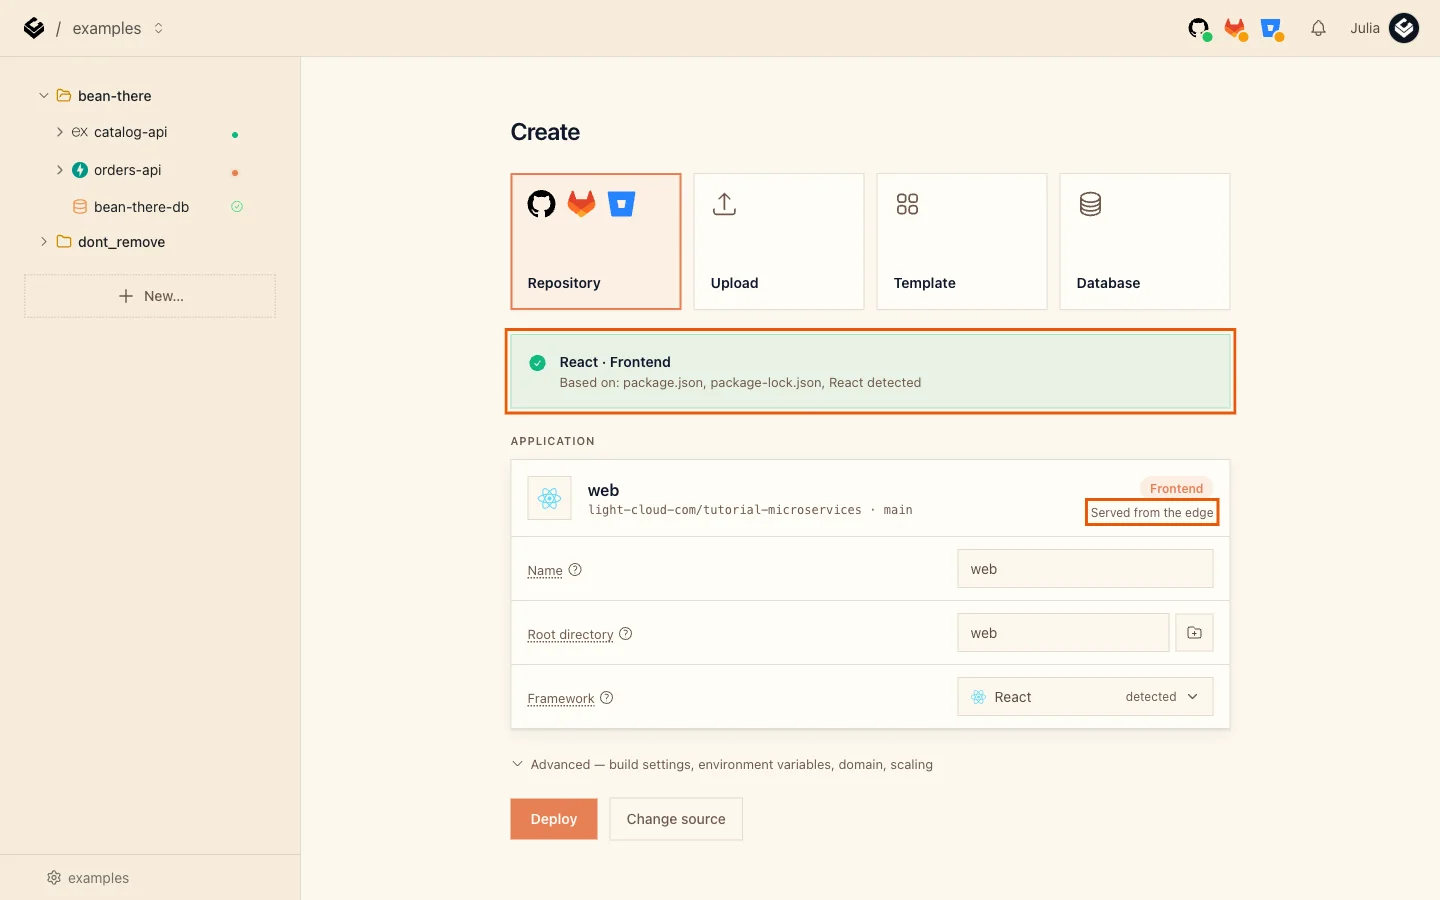
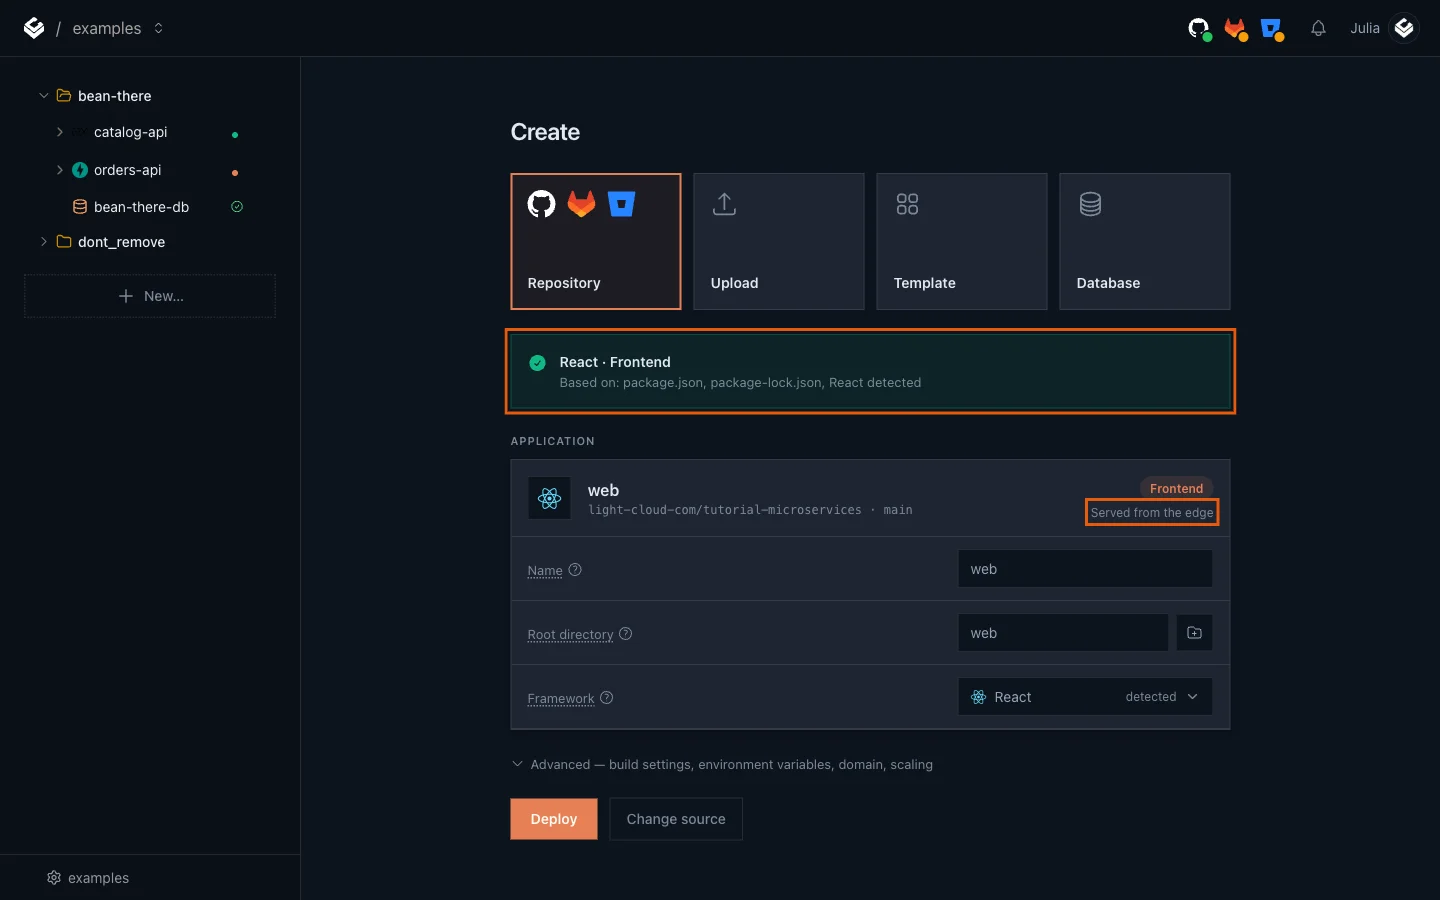
weband change Name toweb.
The banner reads React / Frontend and the card says Served from the edge: the built files go to a content delivery network, not to a server.
- Open Advanced. Light Cloud has already filled in
npm ci,npm run buildand the output folderdist. Add two variables:
| KEY | value |
|---|---|
VITE_CATALOG_API_URL | catalog-api's address |
VITE_ORDERS_API_URL | orders-api's address |
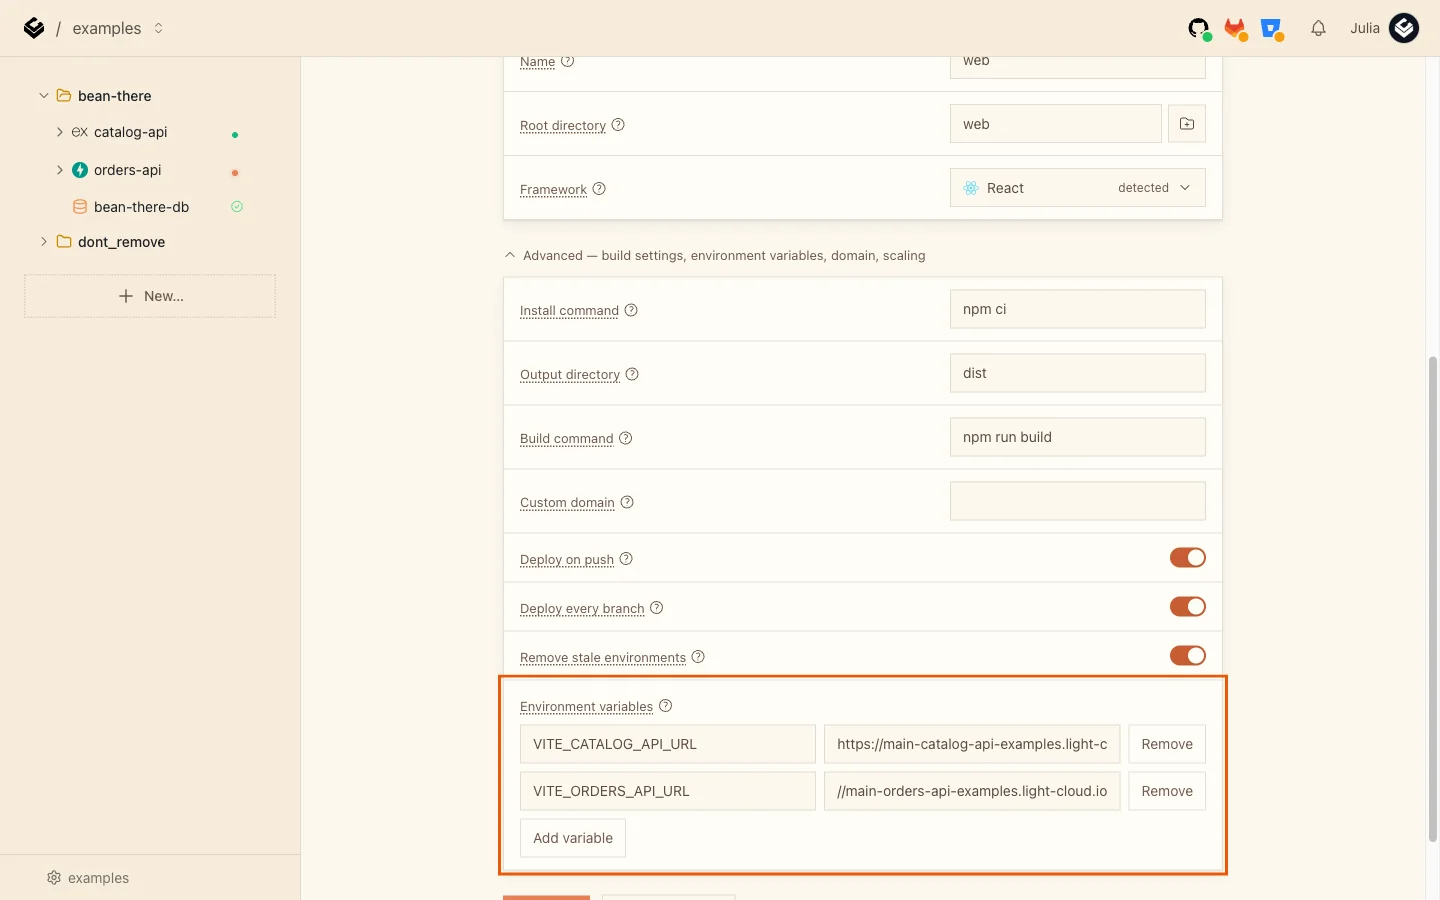
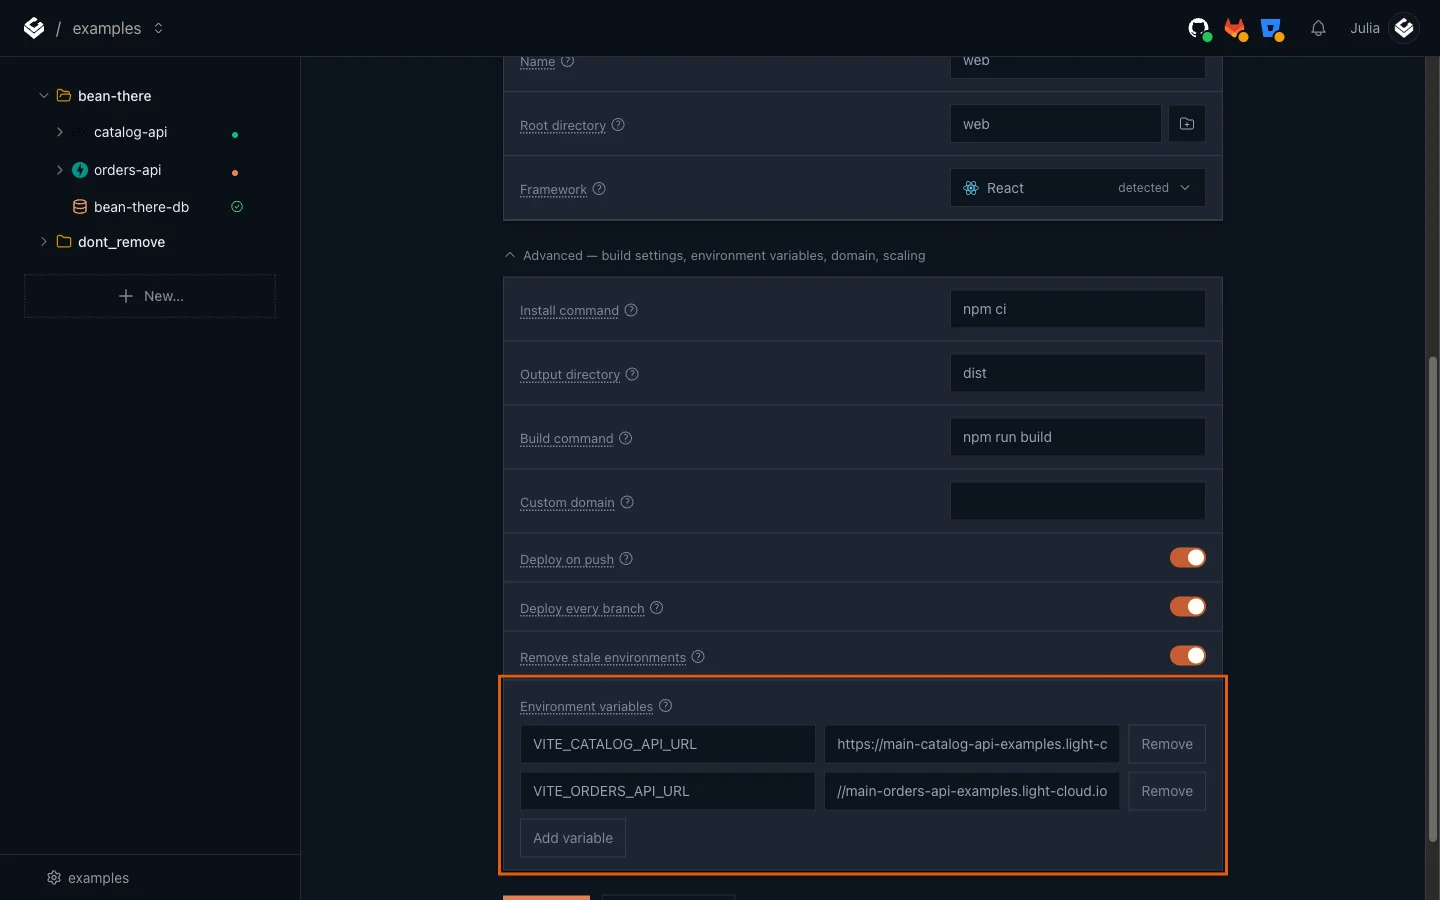
Vite copies variables that start with VITE_ into the JavaScript bundle during the build. That is why they must be set before the first deploy.
- Click Deploy.
Step 9: Allow the frontend to call the APIs
Open the web address, for example https://main-web-yourworkspace.light-cloud.io. The page loads, but the product list stays empty.
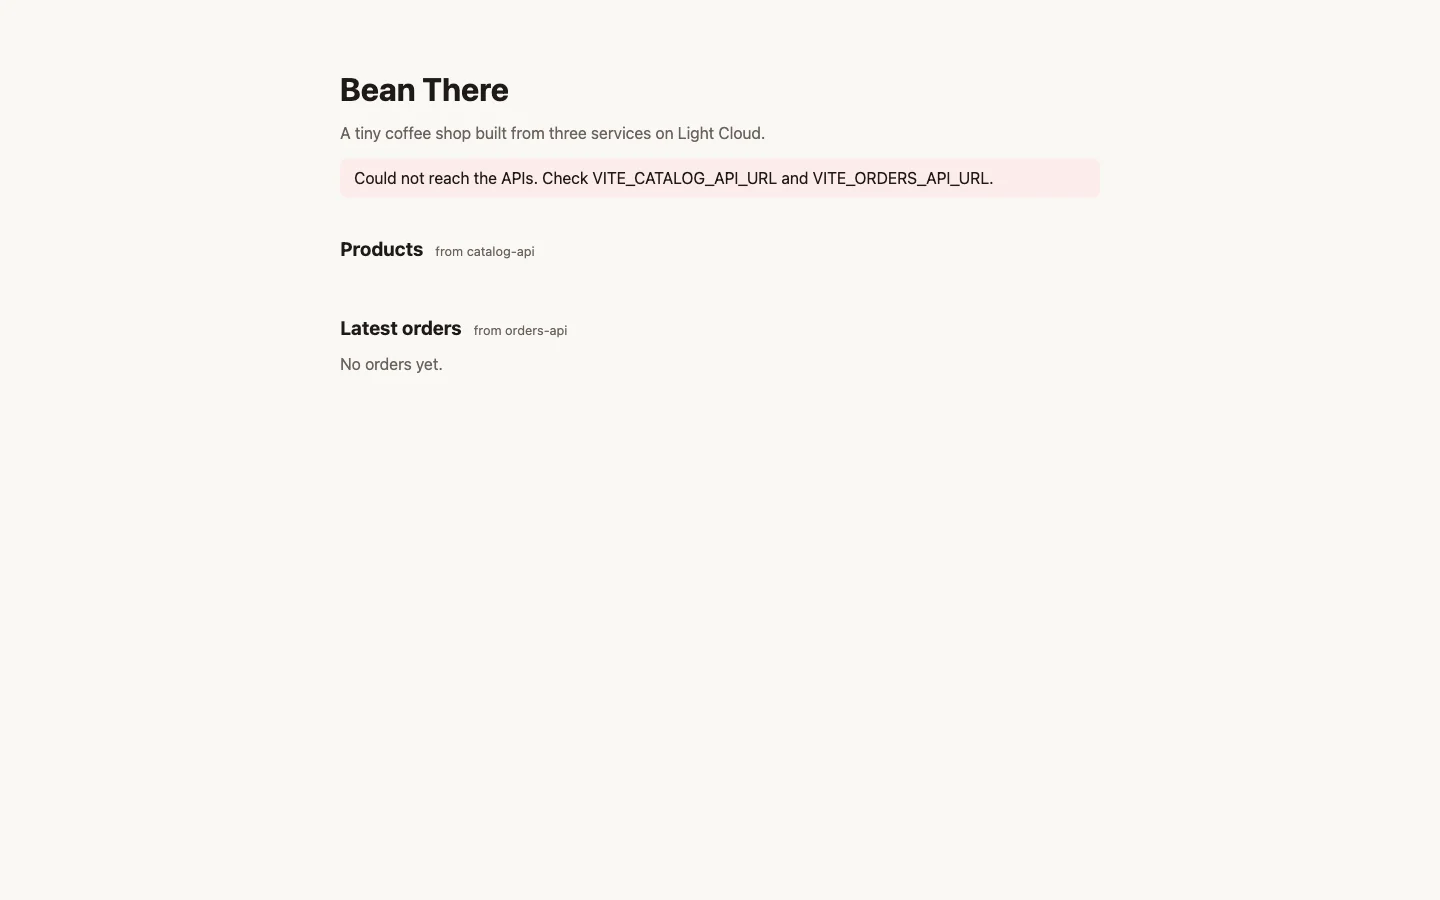
The browser blocked the calls because the APIs only allow http://localhost:5173, the address used during local development. This rule is called CORS (cross-origin resource sharing): a browser only lets a page on one address read answers from another address if that address says yes. Both APIs read the allowed address from WEB_ORIGIN:
app.use(cors({ origin: WEB_ORIGIN }));
Set it on catalog-api:
- In the sidebar, open catalog-api, then Production, then the Settings tab.
- In Environment Variables, click Edit, then Add.
- Enter
WEB_ORIGINas the key and your web address as the value, without a slash at the end. - Click Save.
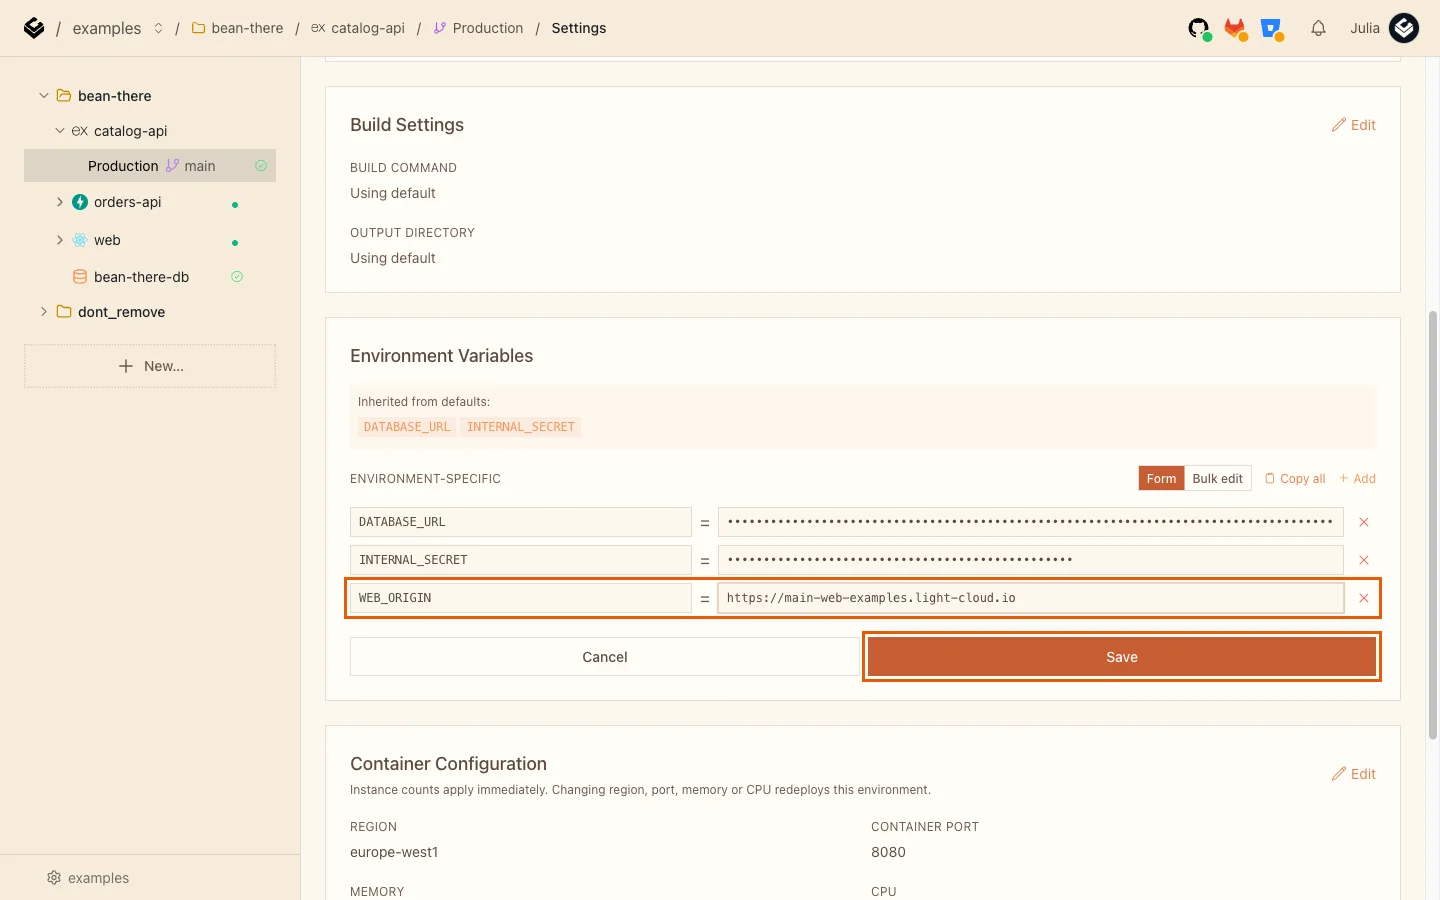
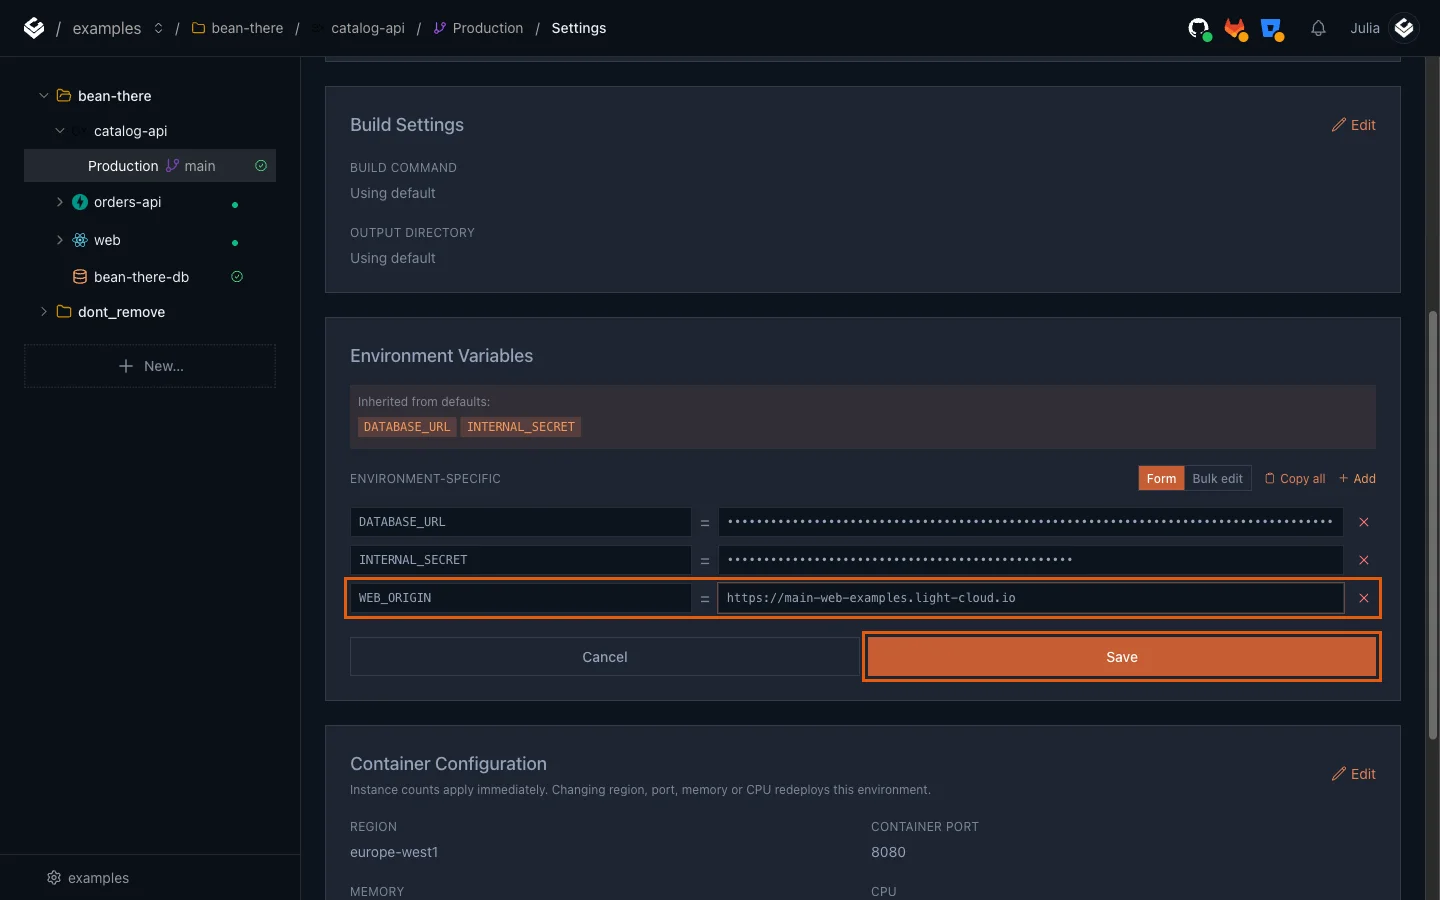
You should see "Environment variables saved". Saving redeploys the service by itself; there is no separate deploy button to press.
Repeat the same four steps for orders-api.
Step 10: Place an order
Reload the shop about a minute after saving. The products appear, each with a Buy button.
Click Buy on any product. You should see "Order #1 placed", the stock go down by one, and the order appear under Latest orders.
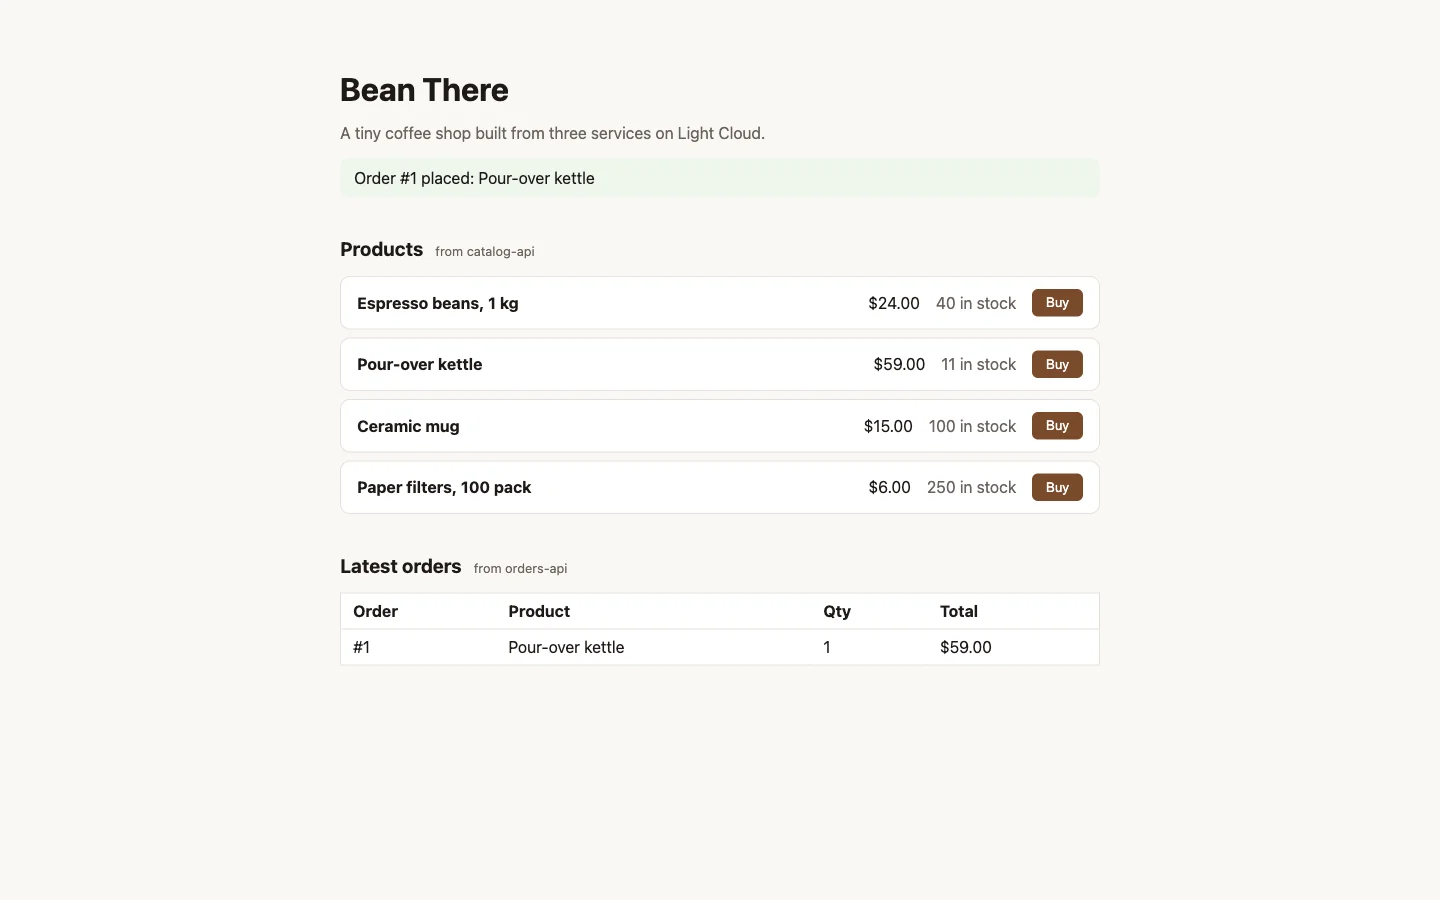
That one click went through all four parts: the browser called orders-api, orders-api asked catalog-api to reserve stock with the shared secret, catalog-api updated the products table, and orders-api saved the order in the orders table.
Troubleshooting
I're not sure what this is
You picked the repository but not a folder. Set Root directory to catalog-api, orders-api or web, and the detection banner turns green.
Access to fetch has been blocked by CORS policy
The full message starts with Access to fetch at 'https://main-catalog-api-...' from origin 'https://main-web-...' has been blocked by CORS policy. The API's WEB_ORIGIN is missing or does not match the web address exactly. Check for https://, and make sure there is no slash at the end. Saving the variable redeploys the service; wait about a minute and reload.
catalog-api fails to start with a certificate or SSL error
The DATABASE_URL on catalog-api is missing the ending ?sslmode=require&uselibpqcompat=true. Add it in Settings, Environment Variables, and save.
Placing an order says "Catalog service unavailable"
orders-api could not reserve stock. Either CATALOG_API_URL points to the wrong address, or INTERNAL_SECRET is not the same on both services. Check both, then save.
The product list is empty and there is no CORS error
The web app was built before VITE_CATALOG_API_URL and VITE_ORDERS_API_URL were set. Add them in the web app's Settings; saving rebuilds it with the new values.
FAQ
Do I need Kubernetes or Docker to run microservices on Light Cloud?
No. Light Cloud detects each service from its files (package.json, requirements.txt) and builds the container for you. A Dockerfile is optional.
Can my services talk to each other over a private network?
Not today. Services call each other over their public HTTPS addresses, so internal routes need their own check. This tutorial uses a shared secret header.
Why do both APIs use the same database?
To keep the tutorial cheap and simple. Each service owns its own table and never reads the other's, so you can split them into two databases later without changing the code.
Does it cost money when nobody is using the shop?
The APIs start with Min instances set to 0, so they scale to zero when idle. The plan price includes usage worth that price each month.
Can I write the services in other languages?
Yes. Each folder is detected on its own, so a Go, Java or .NET service can sit next to these two in the same repository.
Next steps
- Part 2: how the services find each other, and a closer look at service addresses, CORS and the shared secret.
- Part 3: autoscaling explained with a load test.
- Want the one-service version first? Deploy your app by asking Claude Code.