Tutorials
SaaS Part 1: Deploy Your App and Database
A complete Next.js SaaS with sign-up, teams, an admin panel and billing, live on Light Cloud with its PostgreSQL database in about 15 minutes.

To deploy a SaaS with a database on Light Cloud, fork the tutorial-saas-starter repository, create a PostgreSQL database, and deploy the repository from GitHub. Then set two environment variables: DATABASE_URL with the database's connection string, and AUTH_SECRET with a long random string. The app creates its own tables when it starts, so the first sign-up works straight away, with no email provider or Stripe account yet.
In my run the app was live 6 minutes after I clicked Deploy, and its first sign-up worked straight away.
What you will build
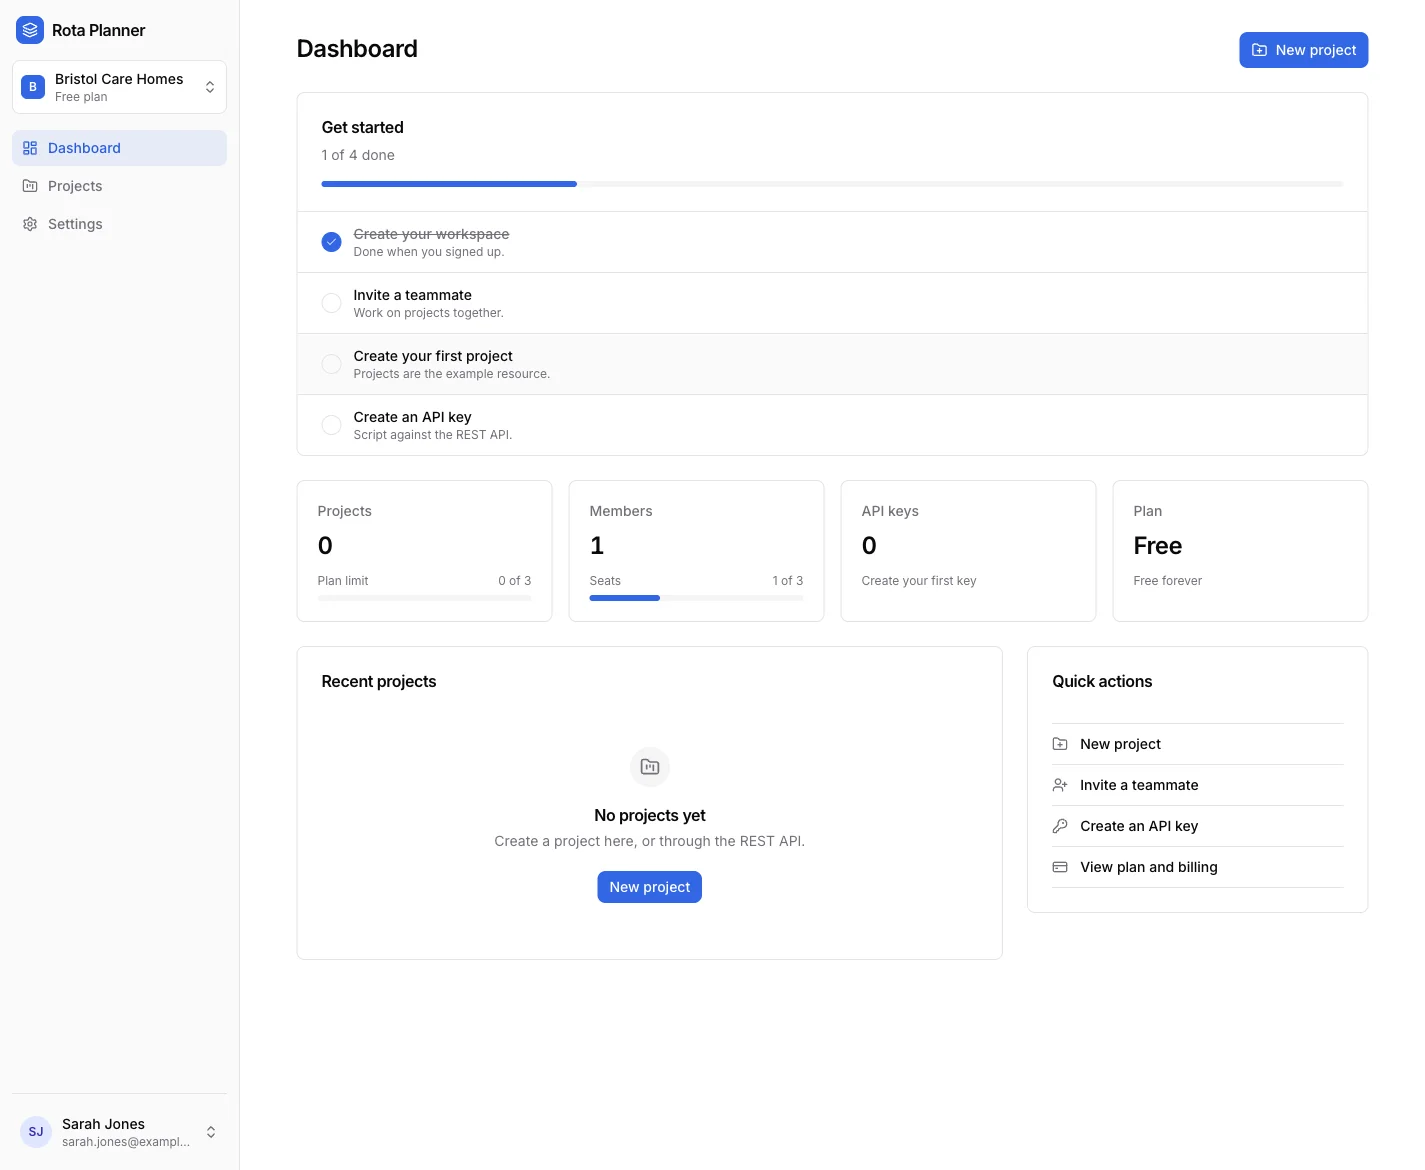
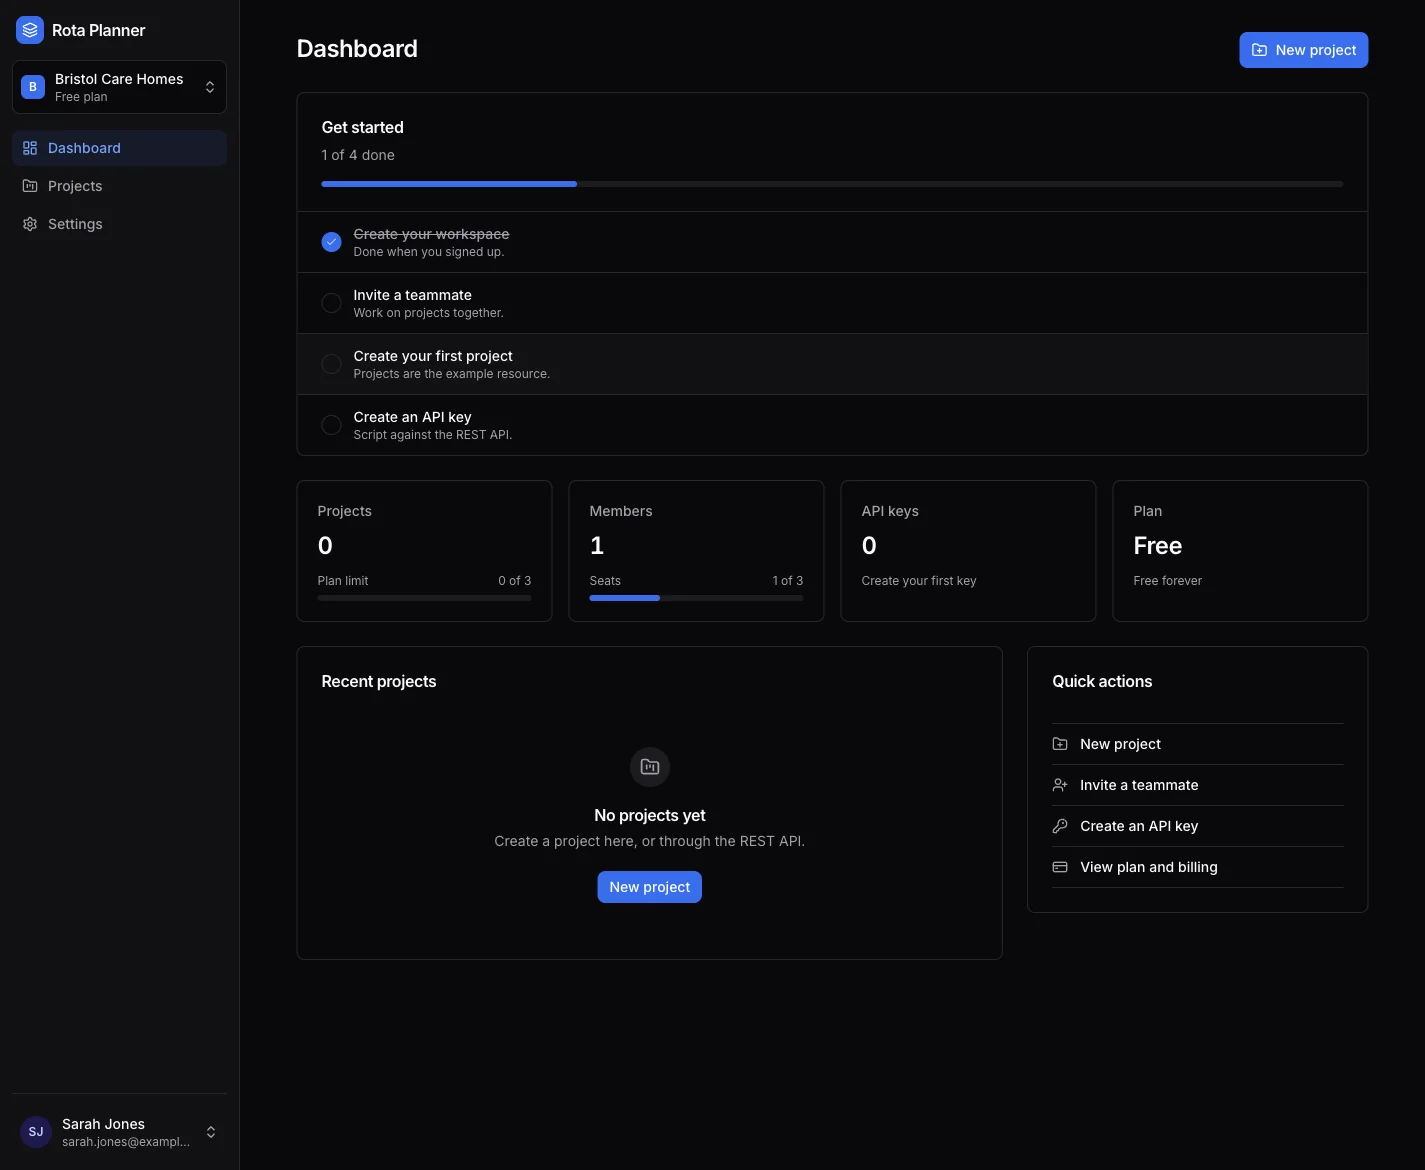
A complete SaaS app, live on a Light Cloud URL:
- sign-up, sign-in and password reset;
- teams, called workspaces, with owner, admin and member roles;
- an onboarding stepper after the first sign-up;
- an admin panel at
/admin; - a pricing page and billing, which stay switched off until part 3.
This is part 1 of Start a SaaS on Light Cloud. The series takes the same app all the way to launch:
- Deploy your app and database (this part)
- Send sign-up emails with Resend
- Take payments with Stripe, in test mode
- Add your own domain
- Add a password-protected staging site
- Preview every pull request
- Go live with real payments
Source code: github.com/light-cloud-com/tutorial-saas-starter. The app is our Next.js SaaS Starter Kit: Next.js 16, React 19, TypeScript, Better Auth, Drizzle ORM, Tailwind CSS and shadcn/ui.
Before you start
- A Light Cloud account on the Lite plan or higher. The Free plan has no databases.
- A GitHub account, connected to Light Cloud. Deploy from GitHub shows how.
- A terminal with OpenSSL, to make a random secret. It comes with macOS and Linux. On Windows, use Git Bash, which comes with Git for Windows.
You don't need Node.js on your laptop for this part. Light Cloud builds the app.
Step 1: Fork the repository
Open github.com/light-cloud-com/tutorial-saas-starter and click Fork, then Create fork. You get your own copy, so later parts can push changes to it.
Step 2: Create the database
- In the Light Cloud console, click New..., then New Database.
- Name it
saas-db, keep Size at Dev (a shared instance) and Storage at 1 GB, and click Create database. It was ready a few seconds later in my run.


- Open the Credentials tab. Under Connection String, choose Connect from: Node.js and click Copy.


The Node.js version of the string already ends with ?sslmode=require&uselibpqcompat=true, which makes the app encrypt its connection, as the database requires. With your own user, password and database name where the dots are, it looks like this:
postgresql://u_••••••:••••••••@saas-db-yourworkspace.db.light-cloud.io:5432/db••••••?sslmode=require&uselibpqcompat=true
This is your DATABASE_URL. Keep it private, because it contains the password.
Step 3: Make a session secret
AUTH_SECRET signs sign-in sessions and the links in emails. Any long random string works. Make one:
$ openssl rand -hex 32
cfd128d18c3df4f1d951527e89d771dc134ad90a77ccf22bbf09dd0a1719f747$ openssl rand -hex 32
cfd128d18c3df4f1d951527e89d771dc134ad90a77ccf22bbf09dd0a1719f747On Windows, run it in Git Bash. Yours will be different: use your own, not this one. Anyone who has it can forge a session, so keep it as private as the database password.
Step 4: Deploy the app with its variables
- In the console, click New..., then Deploy from GitHub, search for
tutorial-saas-starterand pick your fork.


- Light Cloud reads the repository and shows Next.js / Fullstack, with SSR mode (like Vercel) in the reasons and Runs on a server on the app. The size is Micro (512 MB), and the app scales between 0 and 3 instances.


- Open Advanced - build settings, environment variables, domain, scaling. Under Environment variables, Light Cloud has already listed every variable from the repository's
.env.example, each with its comment. Fill in three:
| Name | Value |
|---|---|
DATABASE_URL | the string from step 2. Replace the localhost example value that's there |
AUTH_SECRET | the output from step 3 |
APP_NAME | your product's name. I used Rota Planner |


Leave the others empty. Empty variables aren't sent, and later parts fill in the email and Stripe ones.
- Click Deploy. Light Cloud asks Deploy without these variables? and lists the empty ones. They're optional for this app, so click Deploy anyway.
The console opens the app's Production environment and shows each build stage as it runs. The first build installs the dependencies and runs next build in a container, which is the slow part: in my run Building container image took most of the 6 minutes.


When it's done, the badge says Deployed and the URL card has your app's address:


When the app starts, it applies the database migrations before Next.js starts. Open the Logs tab and you'll find this line:


Step 5: Sign up
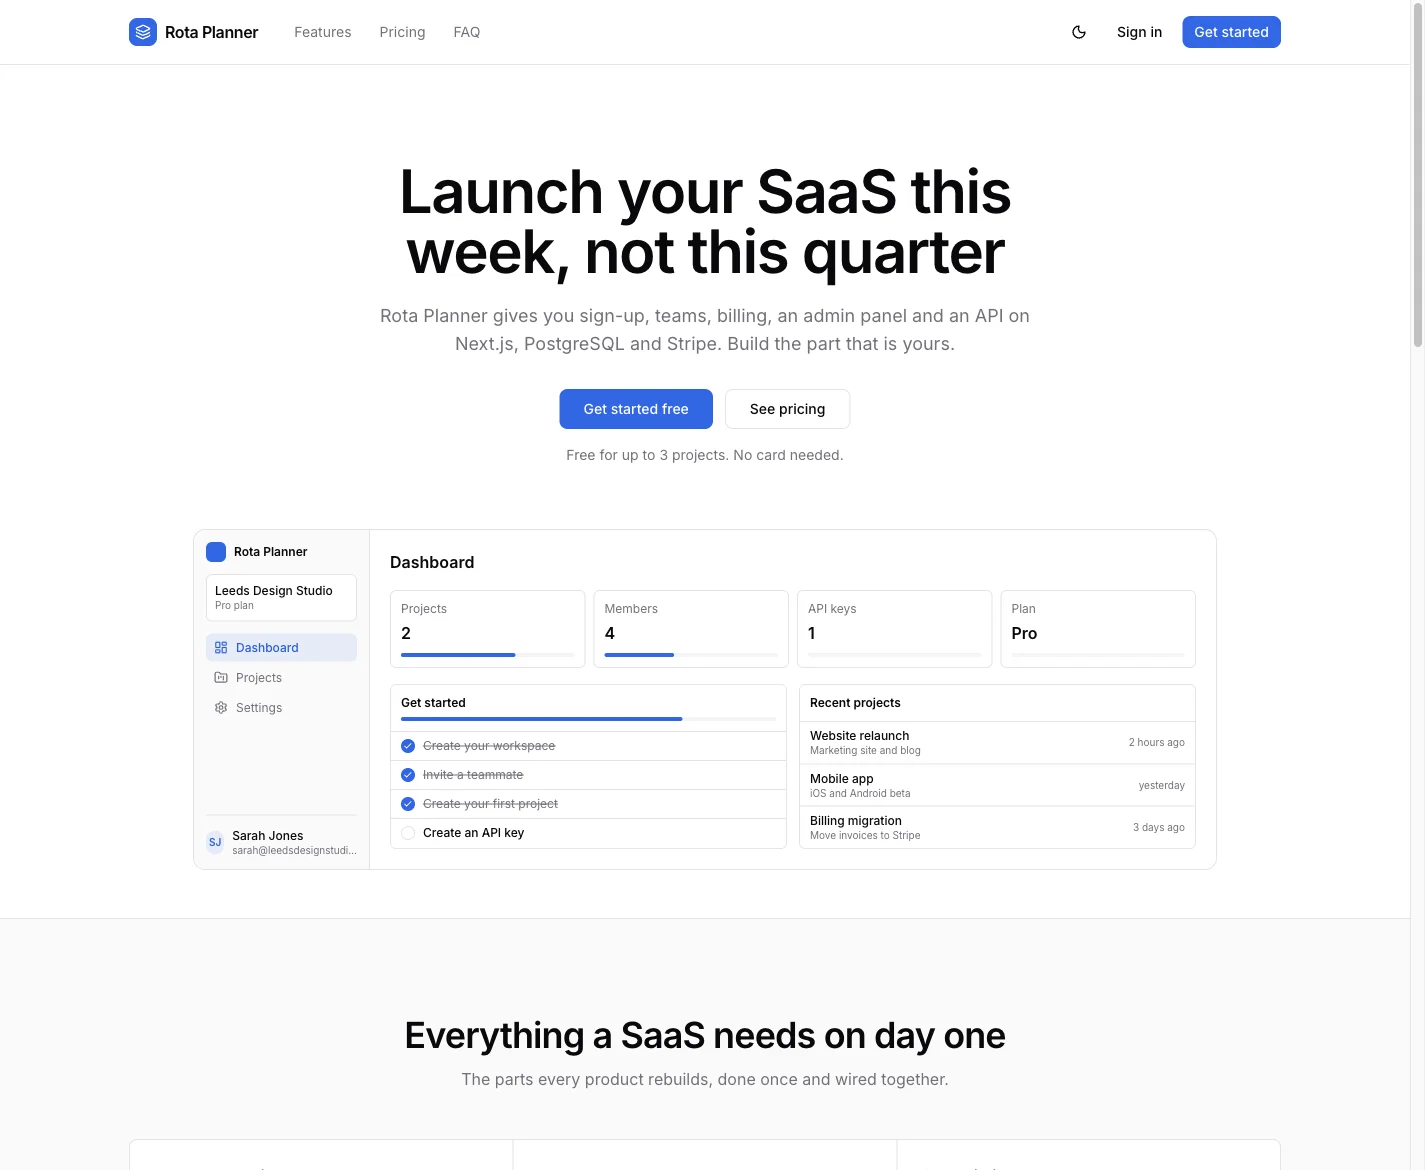
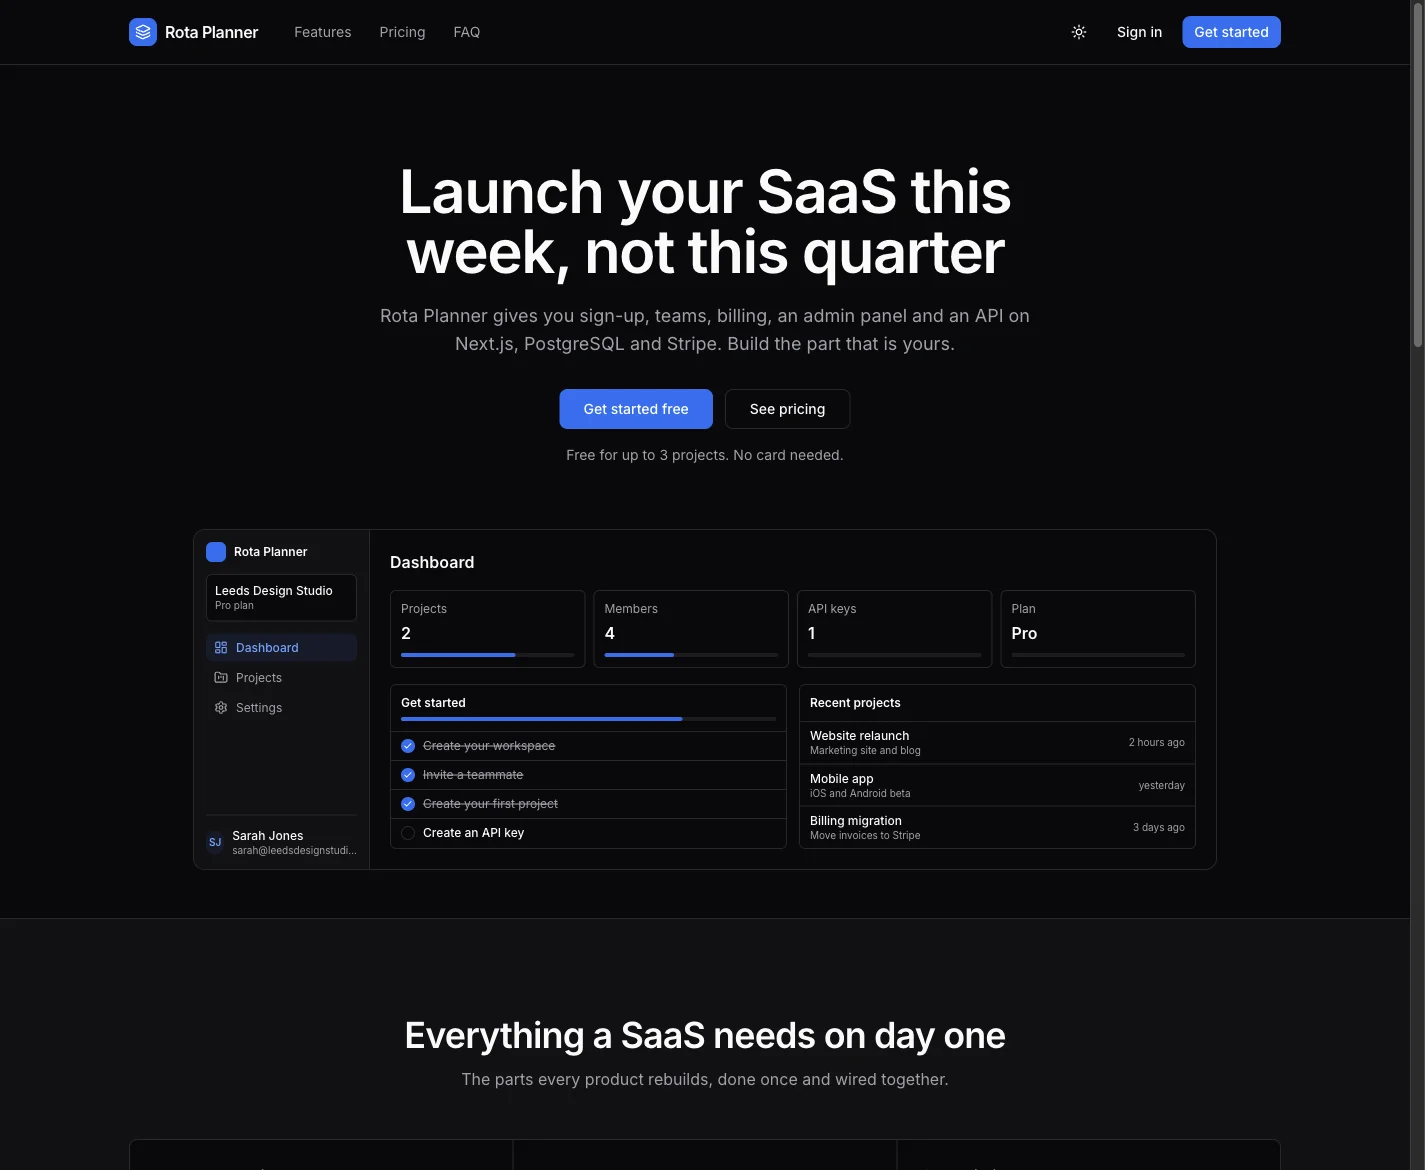
Open your app's URL from the Overview tab. Mine is https://main-tutorial-saas-starter-examples.light-cloud.io, and yours ends with your workspace's name instead of examples. The landing page already uses the APP_NAME you set:
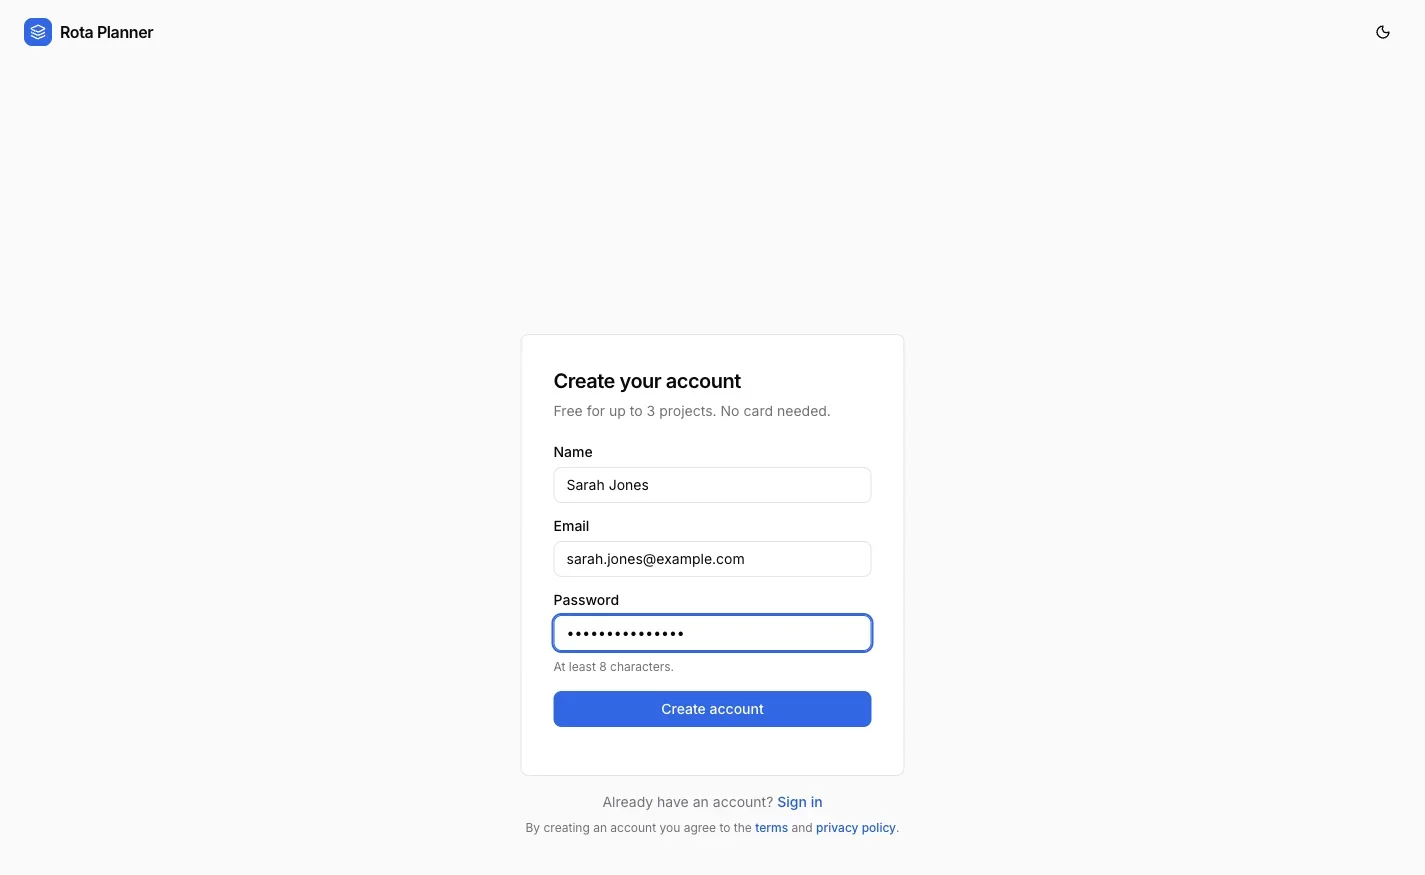
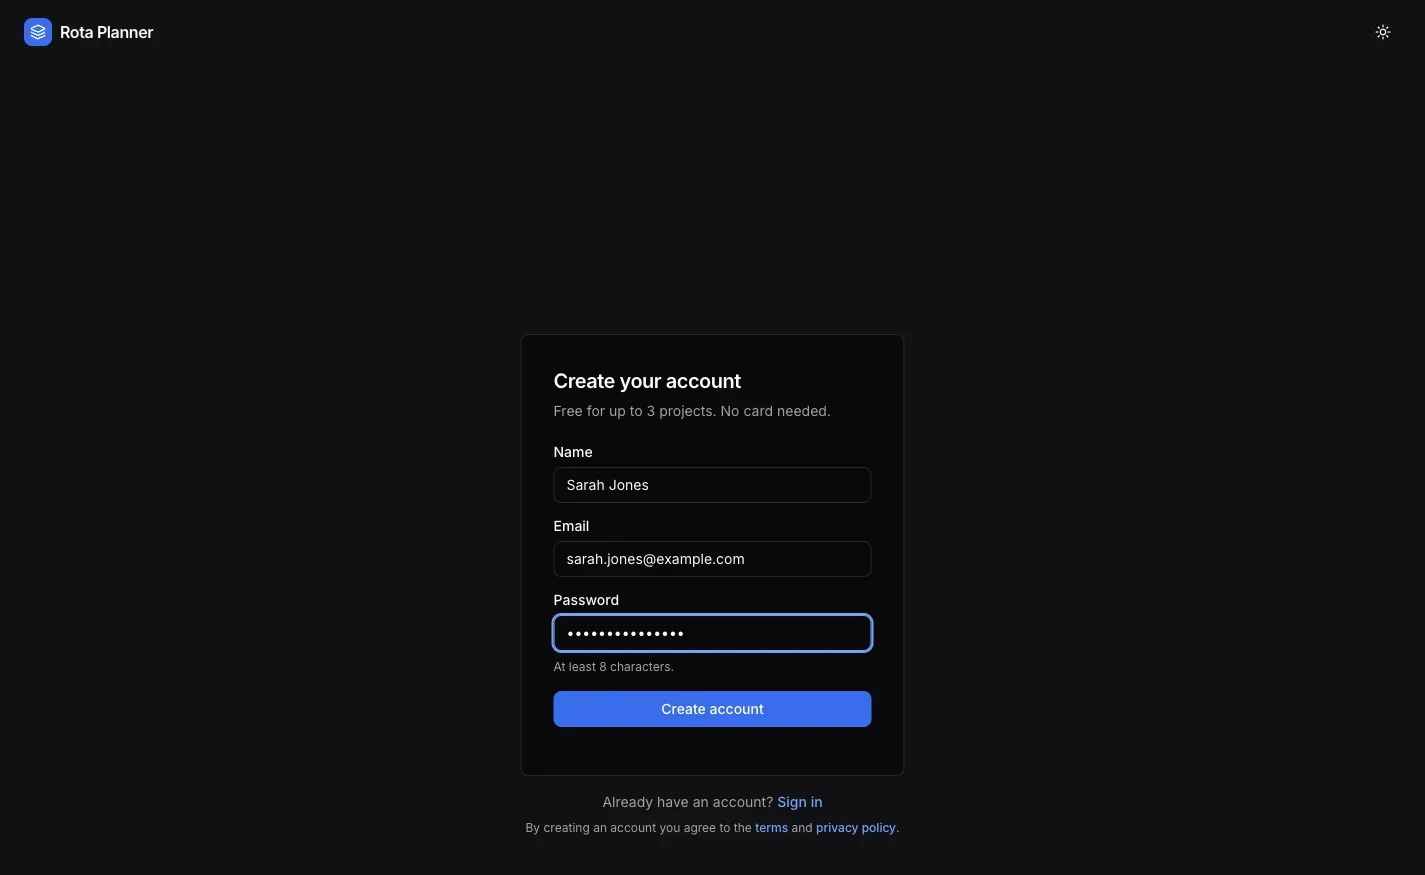
- Click Get started, enter your name, email and a password, and click Create account. I signed up as a test user, Sarah Jones.
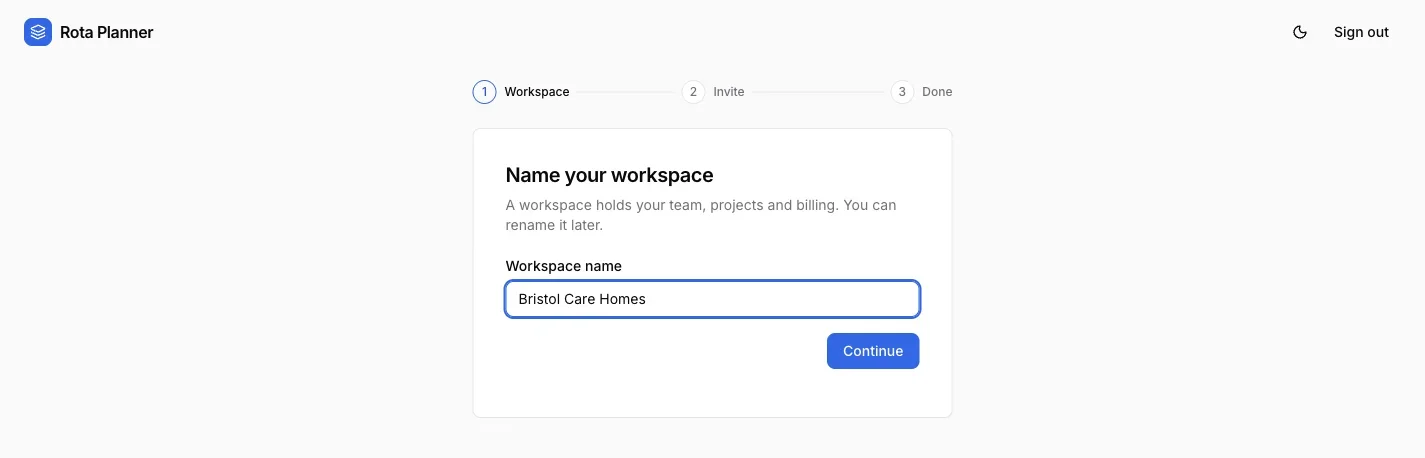
- The onboarding stepper asks for a workspace name. I used
Bristol Care Homes. Click Continue.

- It offers to invite teammates. Click Skip for now, then Go to dashboard.
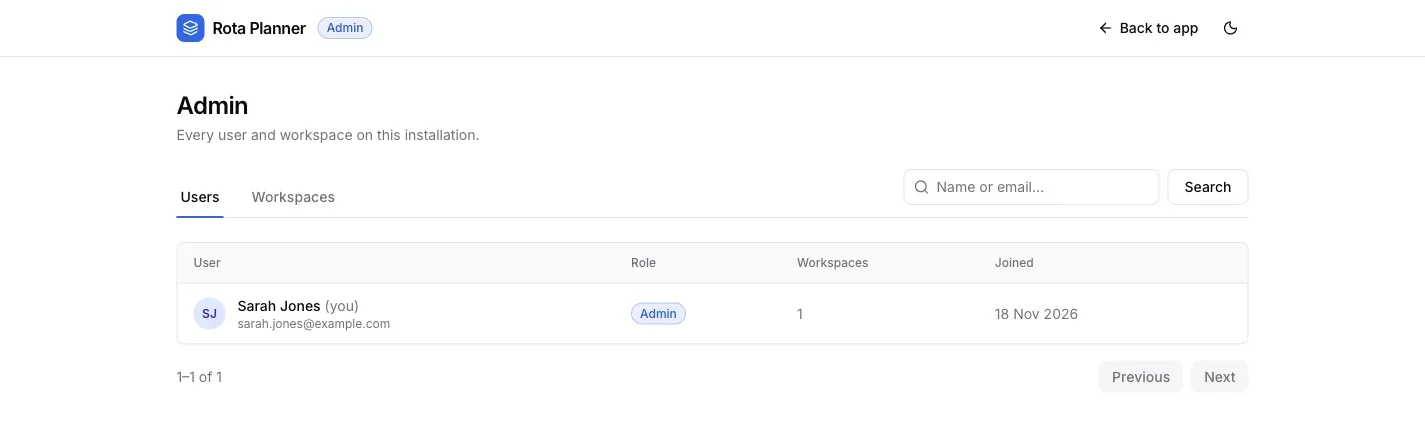
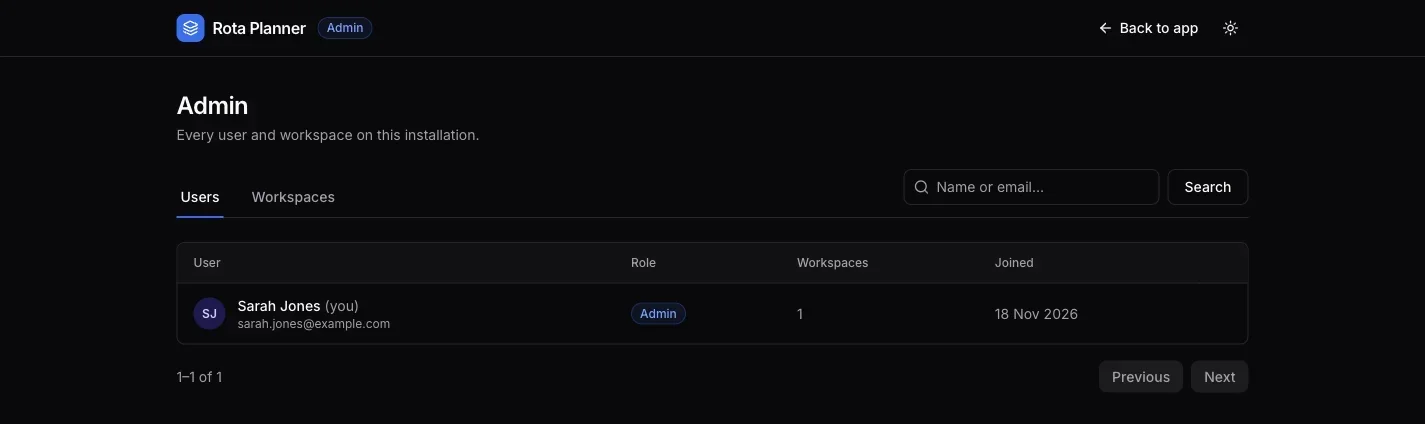
The first account to sign up becomes the admin, so open /admin now. It lists every user and workspace, and lets you disable a user or sign in as one.
The app normally sends a welcome email when someone signs up. It has no email provider yet, so it prints the email to the logs instead. Search the Logs tab for email:


[email] Not sent, RESEND_API_KEY is not set. To: sarah.jones@example.com
Subject: Welcome to Rota Planner
Hi Sarah Jones,
Thanks for signing up to Rota Planner. Your dashboard has a short checklist to get you going.
[email] end
Part 2 connects Resend, so those emails reach real inboxes and new accounts have to verify their address.
Check the health endpoint
The app has a health check that also tests the database:
$ curl https://main-tutorial-saas-starter-examples.light-cloud.io/api/health
{"status":"ok","database":"ok"}PS> curl.exe https://main-tutorial-saas-starter-examples.light-cloud.io/api/health
{"status":"ok","database":"ok"}What it costs
The app scales to zero: with nobody using it, no instance runs, and the Warm Instances card on the overview says idle is not billed. The price of that is a cold start. My first request after the deploy took 3.1 seconds while an instance started, and the next one 0.6 seconds. Pricing lists the plan and the Dev database.
How many connections?
Every running instance of the app opens its own pool of database connections. The tutorial repository keeps that pool at 3, in src/lib/db/index.ts, because a Dev database allows 10 connections per user. Three instances use 9 and leave one for you. If you raise Max instances, lower the pool size to match. Too many connections? explains the numbers.
Troubleshooting
If the app doesn't start, open the Logs tab and look for one of these errors.
DATABASE_URL is not set
The variable is missing. Add it under Production, Settings, Environment Variables, and save. Saving deploys the app again.
pg_hba.conf rejects connection ... no encryption
DATABASE_URL has no SSL setting. Add ?sslmode=require&uselibpqcompat=true to the end.
unable to verify the first certificate
DATABASE_URL ends with ?sslmode=require only. Add &uselibpqcompat=true.
Signing in works, then you're signed out after a redeploy
AUTH_SECRET changed, so the old sessions no longer match it. Set it once and keep it.