Django + PostgreSQL on Light Cloud: Migrations, Static Files and a Live Admin
A current Django 6 project, a managed PostgreSQL database, WhiteNoise for the admin's CSS, and the three settings every proxied Django site needs.



On this pageShowHide
- What you will build
- Before you start
- Step 1: Create the project
- Step 2: Read the settings from the environment
- Step 3: Add a model, the admin and one view
- Step 4: Create the database
- Step 5: Run the migrations from your laptop
- Step 6: Push to GitHub
- Step 7: Deploy it with its settings
- Step 8: Check the site and log in to the admin
- Troubleshooting
To deploy Django with PostgreSQL on Light Cloud, create a PostgreSQL database in the console, read DATABASE_URL, SECRET_KEY and ALLOWED_HOSTS from environment variables, serve static files with WhiteNoise, run migrate from your laptop, and deploy the repository from GitHub. Light Cloud detects Django, installs requirements.txt and starts gunicorn on your project's wsgi module. One setting is easy to miss: USE_X_FORWARDED_HOST = True, because requests arrive through Light Cloud's edge.
In my run the deploy took 89 seconds, and the admin worked on the first login.
What you will build
A Django 6 project with one app, books, stored in PostgreSQL on Light Cloud, with the Django admin online:
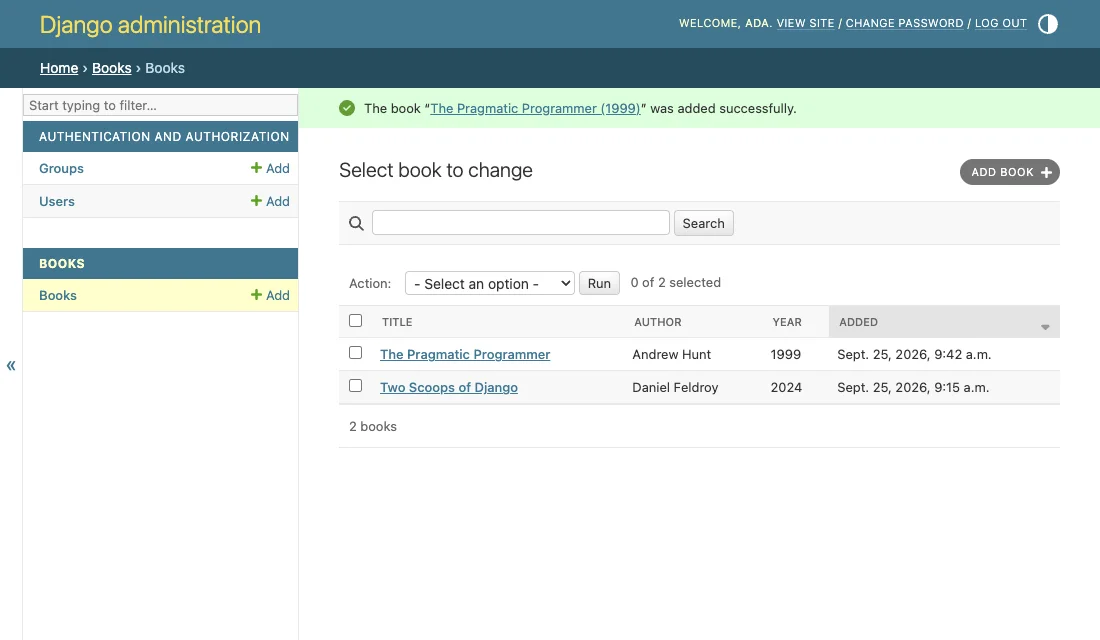
The home page returns the books as JSON, so you can check the database from a terminal.
Source code: github.com/light-cloud-com/tutorial-django-postgres.
Before you start
- Python 3.12 or later. Django 6 requires 3.12; I used Python 3.13.
- Git and a GitHub account.
- A Light Cloud account on the Starter plan or higher: the free Hobby plan has no databases.
- A terminal with curl. On Windows, use PowerShell 7 and
curl.exe, which ships with Windows 10 and 11.
Step 1: Create the project
Make a folder, a virtual environment, and install Django with the four packages production needs:
$ mkdir tutorial-django-postgres
$ cd tutorial-django-postgres
$ python3 -m venv .venv
$ source .venv/bin/activate
$ pip install django gunicorn "psycopg[binary]" dj-database-url whitenoise
$ django-admin startproject config .
$ python manage.py startapp booksPS> mkdir tutorial-django-postgres
PS> cd tutorial-django-postgres
PS> py -m venv .venv
PS> .venv\Scripts\Activate.ps1
PS> pip install django gunicorn "psycopg[binary]" dj-database-url whitenoise
PS> django-admin startproject config .
PS> python manage.py startapp booksOn Windows, mkdir also prints a short table describing the new folder. What each package is for:
- gunicorn runs Django in production;
runserveris for your laptop only. - psycopg is the PostgreSQL driver.
- dj-database-url turns one
DATABASE_URLstring into Django's database settings. - whitenoise serves static files, such as the admin's CSS, from the app itself.
Pin the exact versions you tested, and tell Light Cloud which Python to use:
dj-database-url==3.1.2
Django==6.1.1
gunicorn==26.2.0
psycopg[binary]==3.3.6
whitenoise==6.12.0
3.13
Light Cloud reads .python-version to pick the Python image. Without it you get Python 3.12, which also runs Django 6.
Keep local files out of Git:
.venv/
__pycache__/
db.sqlite3
.env
staticfiles/
Step 2: Read the settings from the environment
Change these parts of config/settings.py. The rest stays as startproject wrote it.
import os
from pathlib import Path

import dj_database_url

BASE_DIR = Path(__file__).resolve().parent.parent

# SECURITY WARNING: keep the secret key used in production secret!
# On Light Cloud it comes from the SECRET_KEY environment variable.
SECRET_KEY = os.environ.get('SECRET_KEY', 'django-insecure-local-only')

# SECURITY WARNING: don't run with debug turned on in production!
DEBUG = os.environ.get('DEBUG', 'false').lower() == 'true'

# Comma-separated host names, for example main-myapp-myteam.light-cloud.io
ALLOWED_HOSTS = os.environ.get('ALLOWED_HOSTS', 'localhost,127.0.0.1').split(',')
CSRF_TRUSTED_ORIGINS = [f'https://{host}' for host in ALLOWED_HOSTS]

# Light Cloud serves the site through its edge: the visitor's host name
# arrives in X-Forwarded-Host and the original scheme in X-Forwarded-Proto.
USE_X_FORWARDED_HOST = True
SECURE_PROXY_SSL_HEADER = ('HTTP_X_FORWARDED_PROTO', 'https')

INSTALLED_APPS = [
    'django.contrib.admin',
    'django.contrib.auth',
    'django.contrib.contenttypes',
    'django.contrib.sessions',
    'django.contrib.messages',
    'django.contrib.staticfiles',
    'books',
]

MIDDLEWARE = [
    'django.middleware.security.SecurityMiddleware',
    'whitenoise.middleware.WhiteNoiseMiddleware',
    'django.contrib.sessions.middleware.SessionMiddleware',
    # ... the rest of the default middleware
]

# DATABASE_URL points at PostgreSQL on Light Cloud; without it, SQLite on your machine.
DATABASES = {
    'default': dj_database_url.config(
        default=f"sqlite:///{BASE_DIR / 'db.sqlite3'}",
        conn_max_age=600,
    )
}

STATIC_URL = 'static/'

# WhiteNoise serves the admin's CSS and JavaScript from the app itself.
# USE_FINDERS lets it find them without running collectstatic in the build.
WHITENOISE_USE_FINDERS = True
Three of these are specific to running behind a proxy such as Light Cloud's edge:
USE_X_FORWARDED_HOST = True. Your app receives requests from the edge, not from the visitor. The address the visitor typed arrives in theX-Forwarded-Hostheader, and Django only uses it with this setting. Without it every request fails with400 Bad Request(I hit that; see Troubleshooting).SECURE_PROXY_SSL_HEADER. HTTPS ends at the edge. This tells Django the original request was HTTPS, so secure cookies and redirects are right.CSRF_TRUSTED_ORIGINS. Django 4 and later check the origin of every form post. Built fromALLOWED_HOSTS, it lets you log in to the admin.
Step 3: Add a model, the admin and one view
from django.db import models


class Book(models.Model):
    title = models.CharField(max_length=200)
    author = models.CharField(max_length=100)
    year = models.PositiveIntegerField()
    added = models.DateTimeField(auto_now_add=True)

    class Meta:
        ordering = ["-added"]

    def __str__(self):
        return f"{self.title} ({self.year})"
from django.contrib import admin

from .models import Book


@admin.register(Book)
class BookAdmin(admin.ModelAdmin):
    list_display = ["title", "author", "year", "added"]
    search_fields = ["title", "author"]
from django.http import JsonResponse

from .models import Book


def book_list(request):
    books = Book.objects.values("id", "title", "author", "year")
    return JsonResponse({"books": list(books)})
from django.contrib import admin
from django.urls import path

from books.views import book_list

urlpatterns = [
    path("", book_list),
    path("admin/", admin.site.urls),
]
Create the migration for the new model:
$ python manage.py makemigrations books
Migrations for 'books':
  books/migrations/0001_initial.py
+ Create model BookPS> python manage.py makemigrations books
Migrations for 'books':
books\migrations\0001_initial.py
+ Create model BookStep 4: Create the database
- In the Light Cloud console, click New..., then New Database, and choose PostgreSQL.
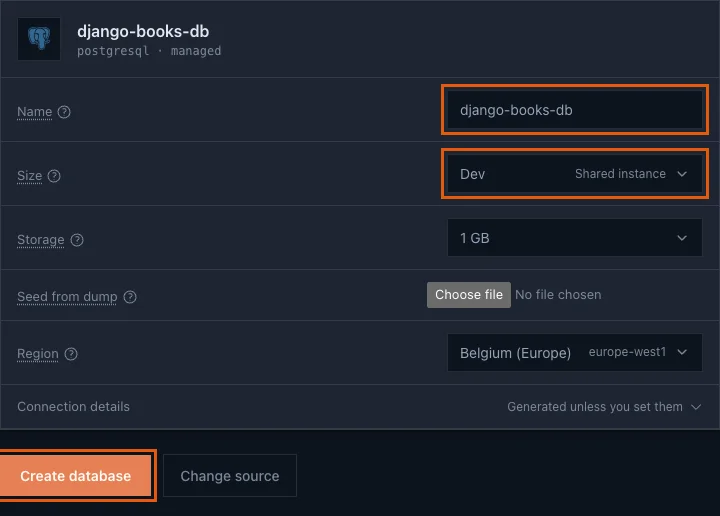
- Name it, keep Size at Dev (a shared instance, the smallest and cheapest), and click Create database.
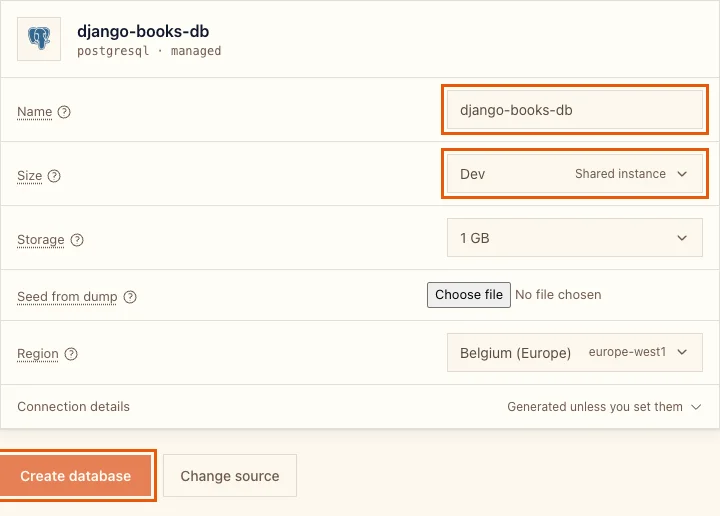
It was Ready in about 4 seconds. Open the Credentials tab and click Copy under Connection String:


The database only accepts encrypted connections, so add ?sslmode=require to the end of the string wherever you use it.
Step 5: Run the migrations from your laptop
Point your local Django at the new database for one terminal session and apply the migrations. Your real connection string goes where the stars are:
$ export DATABASE_URL='postgresql://u_******:********@django-books-db-yourworkspace.db.light-cloud.io:5432/db******?sslmode=require'
$ python manage.py migrate
Operations to perform:
  Apply all migrations: admin, auth, books, contenttypes, sessions
Running migrations:
  Applying contenttypes.0001_initial... OK
  Applying auth.0001_initial... OK
  Applying books.0001_initial... OK
  Applying sessions.0001_initial... OK
$ python manage.py createsuperuser
Username (leave blank to use 'you'): ada
Email address: ada@example.com
Password:
Password (again):
Superuser created successfully.
$ python manage.py shell
13 objects imported automatically (use -v 2 for details).
>>> from books.models import Book
>>> Book.objects.create(title="Two Scoops of Django", author="Daniel Feldroy", year=2024)
<Book: Two Scoops of Django (2024)>
>>> exit()PS> $env:DATABASE_URL = 'postgresql://u_******:********@django-books-db-yourworkspace.db.light-cloud.io:5432/db******?sslmode=require'
PS> python manage.py migrate
Operations to perform:
Apply all migrations: admin, auth, books, contenttypes, sessions
Running migrations:
Applying contenttypes.0001_initial... OK
Applying auth.0001_initial... OK
Applying books.0001_initial... OK
Applying sessions.0001_initial... OK
PS> python manage.py createsuperuser
Username (leave blank to use 'you'): ada
Email address: ada@example.com
Password:
Password (again):
Superuser created successfully.
PS> python manage.py shell
13 objects imported automatically (use -v 2 for details).
>>> from books.models import Book
>>> Book.objects.create(title="Two Scoops of Django", author="Daniel Feldroy", year=2024)
<Book: Two Scoops of Django (2024)>
>>> exit()The migrate output is trimmed; Django applies 19 migrations in total, and the shell also prints the Python version before its >>> prompt. Type the two lines after >>> yourself. The admin user you create here is the one you log in with on the live site, and the last command stores a first book so the live site has something to show. Close the terminal afterwards, or run unset DATABASE_URL (Remove-Item Env:DATABASE_URL on Windows), so your next local run uses SQLite again.
Running migrations from your machine keeps the deploy simple and lets you see every change before it touches the database. Do it before you deploy code that needs the new tables.
Step 6: Push to GitHub
$ git init -b main
$ git add -A
$ git commit -m "Django project with PostgreSQL settings and a Book admin"
# Create an empty repository named tutorial-django-postgres on github.com/new first.
$ git remote add origin https://github.com/YOUR-USERNAME/tutorial-django-postgres.git
$ git push -u origin main
To https://github.com/YOUR-USERNAME/tutorial-django-postgres.git
 * [new branch]      main -> main
branch 'main' set up to track 'origin/main'.PS> git init -b main
PS> git add -A
PS> git commit -m "Django project with PostgreSQL settings and a Book admin"
# Create an empty repository named tutorial-django-postgres on github.com/new first.
PS> git remote add origin https://github.com/YOUR-USERNAME/tutorial-django-postgres.git
PS> git push -u origin main
To https://github.com/YOUR-USERNAME/tutorial-django-postgres.git
* [new branch] main -> main
branch 'main' set up to track 'origin/main'.Step 7: Deploy it with its settings
Make a new secret key first. It only needs to be long and random:
$ python3 -c "import secrets; print(secrets.token_urlsafe(50))"
********************************************************************PS> py -c "import secrets; print(secrets.token_urlsafe(50))"
********************************************************************- In the console, click New..., then Deploy from GitHub, and pick
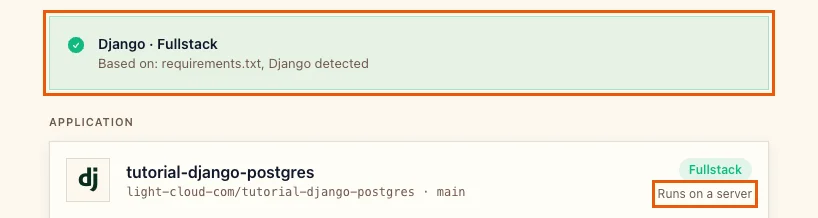
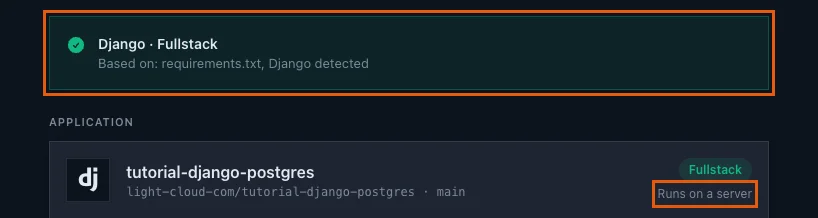
tutorial-django-postgres. Light Cloud shows Django / Fullstack, based onrequirements.txt, and Runs on a server:
- Add three environment variables, either under Advanced in the deploy form, or afterwards in the environment's Settings tab under Environment Variables, Edit:
| Name | Value |
|---|---|
SECRET_KEY | the key you just generated |
ALLOWED_HOSTS | main-tutorial-django-postgres-yourworkspace.light-cloud.io |
DATABASE_URL | the connection string with ?sslmode=require at the end |
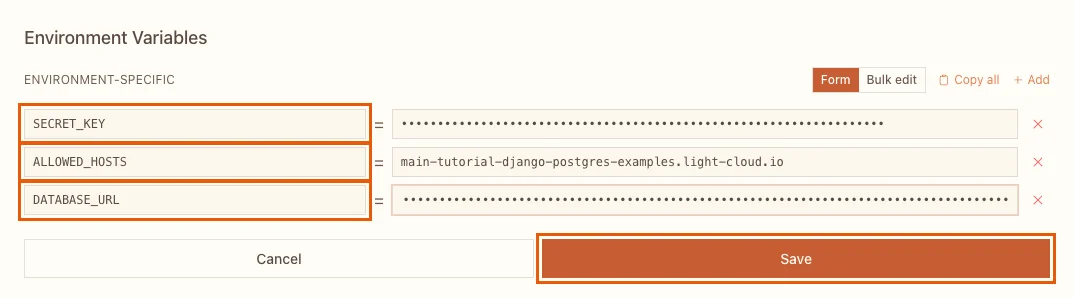
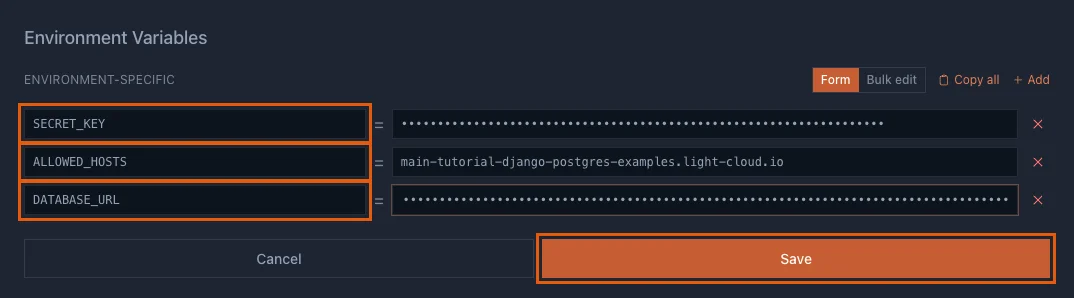
ALLOWED_HOSTS is the app's address without https://. It follows the pattern main-<app>-<workspace>.light-cloud.io. Leave DEBUG unset: it defaults to off.
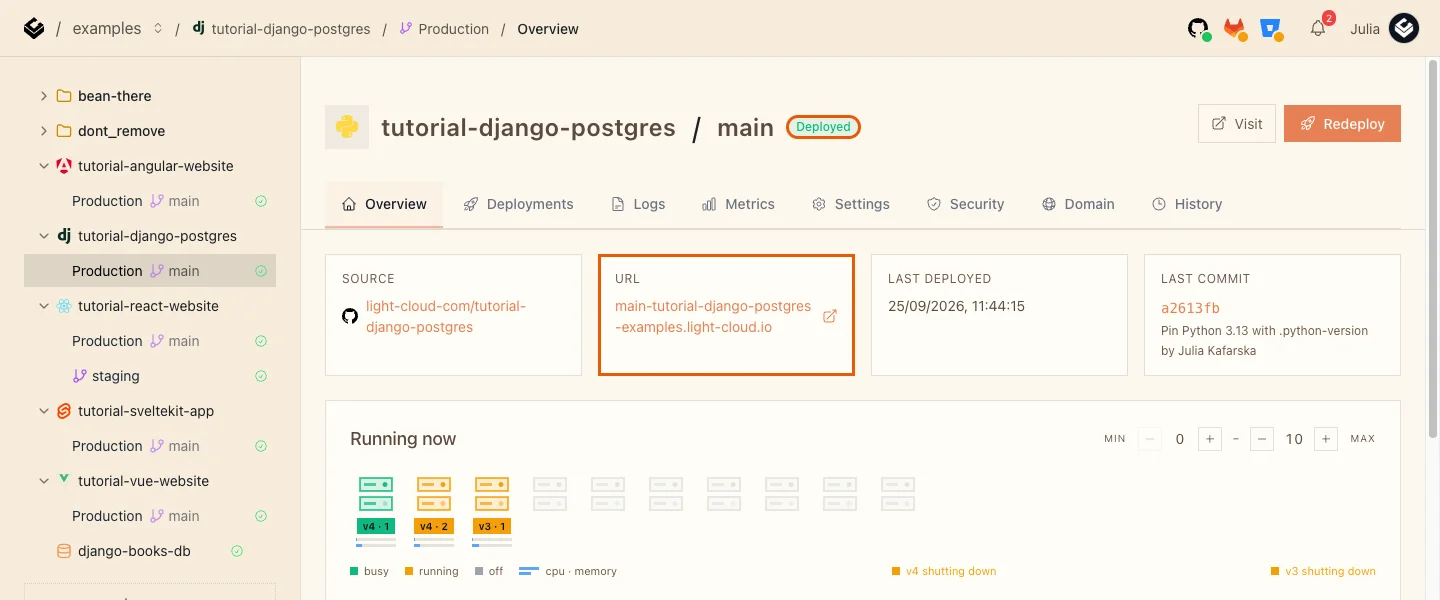
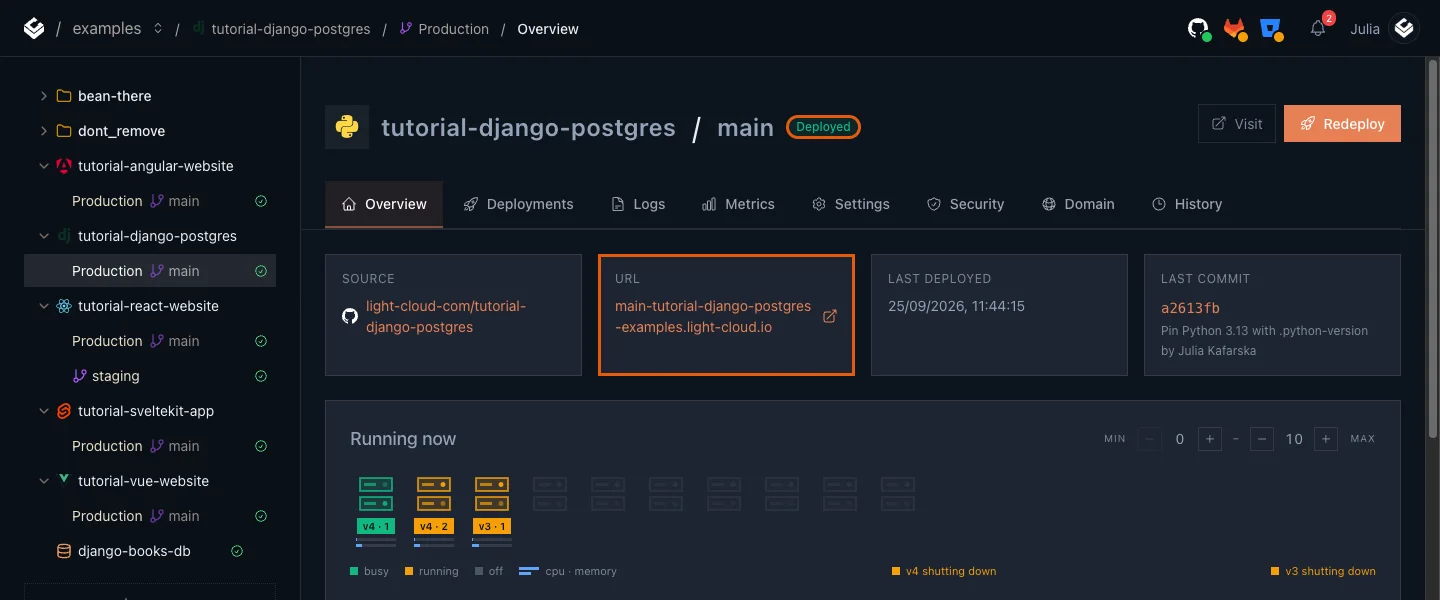
- Deploy (or Save, which redeploys) and wait for Deployed; 89 seconds in my run.
Step 8: Check the site and log in to the admin
$ curl https://main-tutorial-django-postgres-yourworkspace.light-cloud.io/
{"books": [{"id": 1, "title": "Two Scoops of Django", "author": "Daniel Feldroy", "year": 2024}]}PS> curl.exe https://main-tutorial-django-postgres-yourworkspace.light-cloud.io/
{"books": [{"id": 1, "title": "Two Scoops of Django", "author": "Daniel Feldroy", "year": 2024}]}The book you stored from your laptop, read from PostgreSQL by the live site. Now open /admin/ on your address and log in as the user from Step 5:
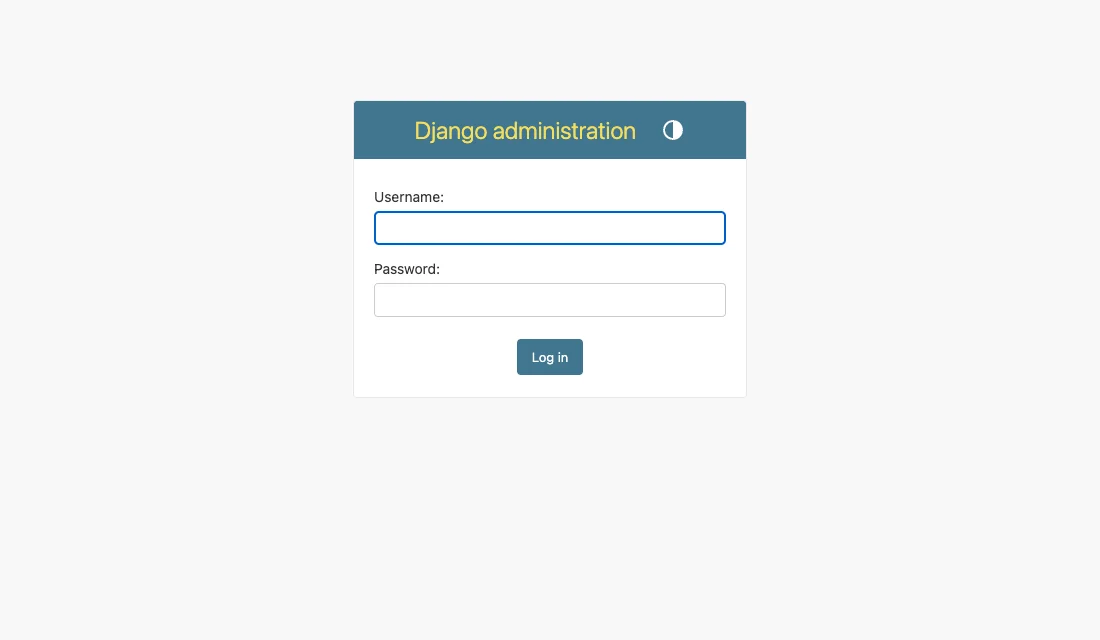
The page is styled, so WhiteNoise is serving the admin's CSS. Under Books, click Add, fill in a book and click Save:
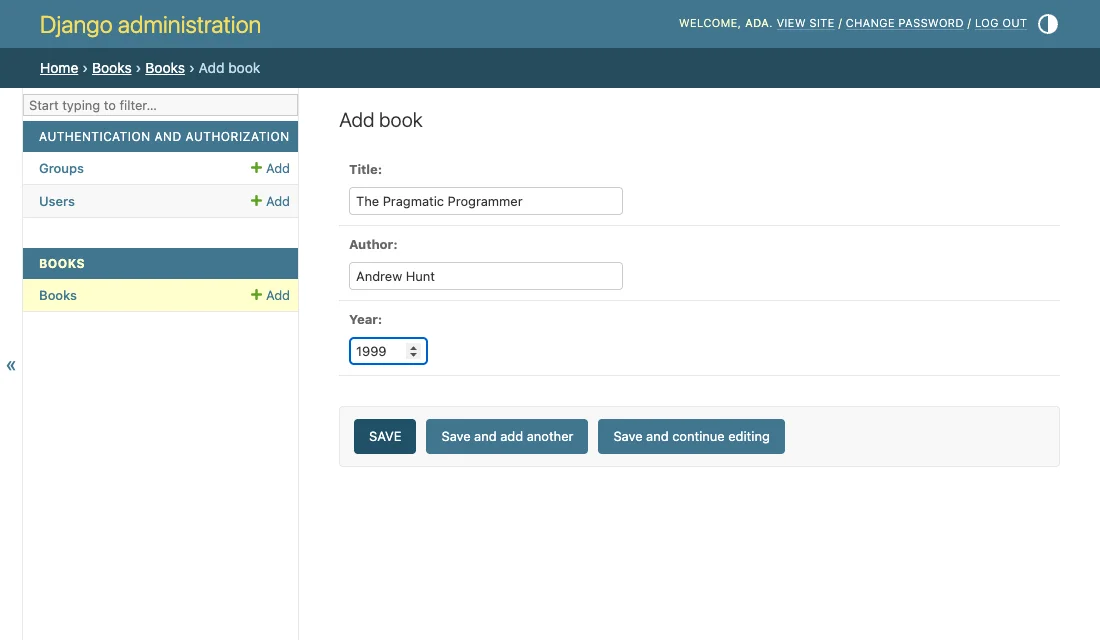
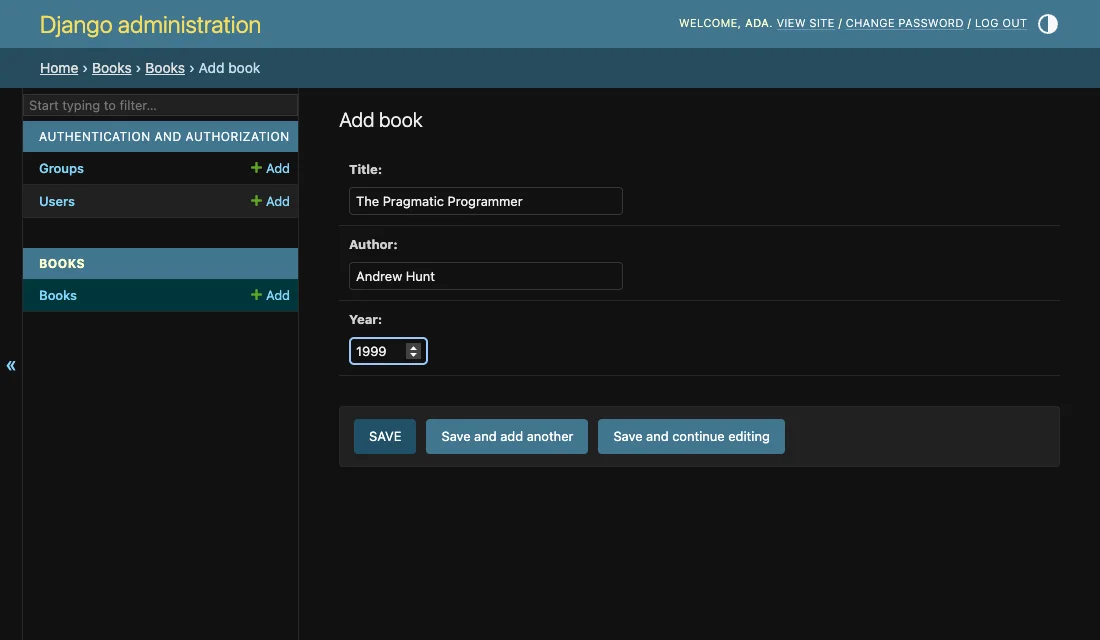
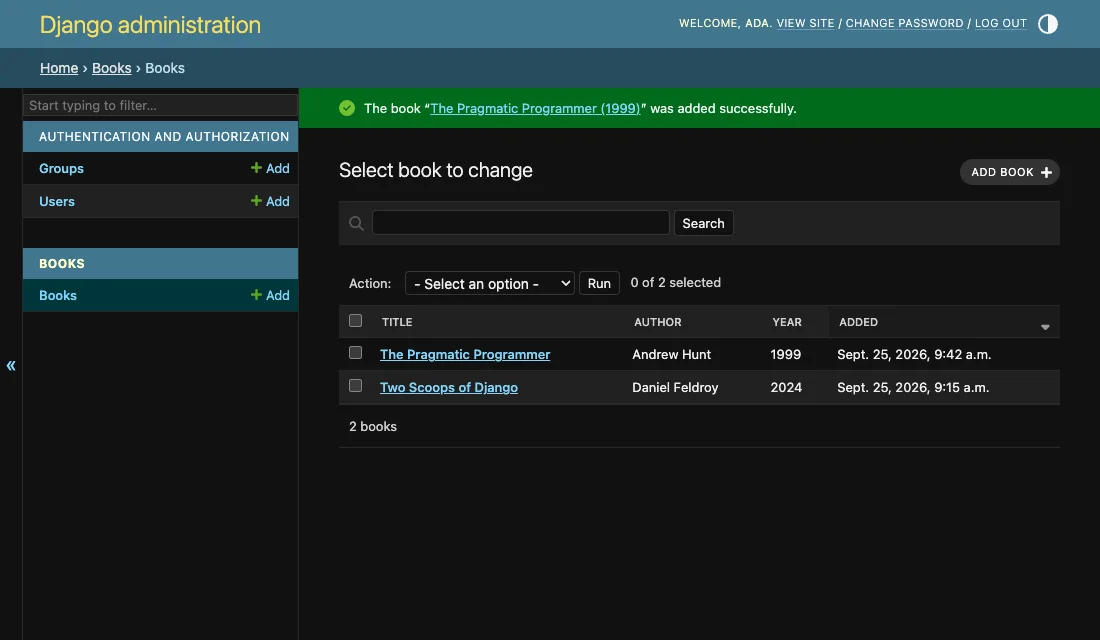
Both books are now in the list (the screenshot at the top), and the home page returns them, newest first:
$ curl https://main-tutorial-django-postgres-yourworkspace.light-cloud.io/
{"books": [{"id": 2, "title": "The Pragmatic Programmer", "author": "Andrew Hunt", "year": 1999}, {"id": 1, "title": "Two Scoops of Django", "author": "Daniel Feldroy", "year": 2024}]}PS> curl.exe https://main-tutorial-django-postgres-yourworkspace.light-cloud.io/
{"books": [{"id": 2, "title": "The Pragmatic Programmer", "author": "Andrew Hunt", "year": 1999}, {"id": 1, "title": "Two Scoops of Django", "author": "Daniel Feldroy", "year": 2024}]}The admin follows your system's light or dark setting.
Troubleshooting
Every page answers 400 Bad Request
Bad Request (400)
Django rejected the host name. My first deploy did exactly this: requests reach the app through Light Cloud's edge, so the Host header Django sees is an internal address, and the visitor's address is in X-Forwarded-Host. Add USE_X_FORWARDED_HOST = True to the settings, and check that ALLOWED_HOSTS holds your address without https:// and without a trailing slash.
The build fails with "No matching distribution found for Django"
ERROR: Ignored the following versions that require a different python version: 6.0 Requires-Python >=3.12 ...
ERROR: No matching distribution found for Django==6.1.1
The build used a Python older than Django needs. Add a .python-version file with 3.12 or 3.13 (Step 1), commit and push.
The admin has no styling
WhiteNoise is missing or in the wrong place. whitenoise.middleware.WhiteNoiseMiddleware must come right after SecurityMiddleware, and WHITENOISE_USE_FINDERS = True must be set, because the build does not run collectstatic.
"CSRF verification failed" when logging in
CSRF_TRUSTED_ORIGINS does not contain https:// plus your address, or SECURE_PROXY_SSL_HEADER is missing, so Django thinks the request came over plain HTTP. Both are in Step 2.
relation "books_book" does not exist
The migrations have not been applied to this database. Run Step 5 again with the right DATABASE_URL.
More tutorials


Microservices Part 1: Deploy a Frontend, Two APIs and a Database
Deploy a React frontend, a Node.js API, a Python FastAPI API and PostgreSQL from one GitHub monorepo on Light Cloud, step by step, with every screen shown.
 Julia
Julia

FastAPI in Production: From main.py to a Public URL
Deploy a FastAPI app to Light Cloud without a Dockerfile: requirements.txt and main.py are enough, uvicorn is started on the right port, and the Swagger docs at /docs are live in about 90 seconds.
Julia

Put a Node.js Express API Online: Port, Environment Variables and Logs
Deploy an Express 5 API on Light Cloud without a Dockerfile: listen on PORT, read settings from environment variables, write JSON logs with a severity, and find every request in the Logs tab.
Julia