Deploy a SvelteKit Site as Static Files: adapter-static and Prerendering
sv create, one line that turns on prerendering, and a deploy that serves every page as real HTML from the edge.



On this pageShowHide
To deploy a SvelteKit site on Light Cloud as static files, create it with adapter-static, add export const prerender = true to src/routes/+layout.ts, push it to GitHub and click Deploy in the console. Light Cloud detects SvelteKit and adapter-static, runs npm run build and serves the build folder from the edge. Each page is a real HTML file, so /about opened directly shows the About page.
In my run the deploy took 30 seconds.
What you will build
A two-page SvelteKit site, Home and About, prerendered to HTML at build time and live on a light-cloud.io address. It follows the visitor's light or dark system setting.

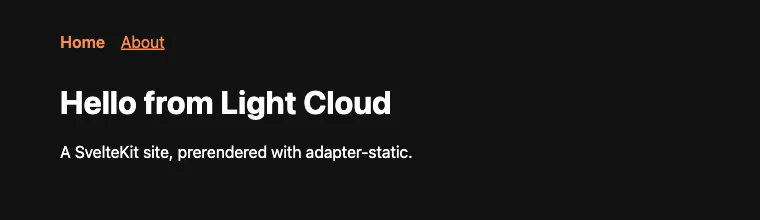
Live demo: main-tutorial-sveltekit-app-examples.light-cloud.io. Source code: github.com/light-cloud-com/tutorial-sveltekit-app.
Static or server: which adapter?
SvelteKit builds for a target through an adapter. The two that matter here:
- adapter-static builds every page to HTML ahead of time. Nothing runs on a server; the files are served from the edge. Good for sites, docs, blogs and portfolios, and it runs on the free plan. This guide uses it.
- adapter-node builds a Node.js server that renders pages on each request. You need it for form actions, server
loadfunctions that read per-visitor data, or API routes. On Light Cloud that runs as a container.
If you are not sure, start static. Moving to adapter-node later is a change of adapter, not a rewrite.
Before you start
- Node.js 20.19 or later, or 22.12 or later (what Vite 8 requires); I used Node.js 24.
- Git and a GitHub account.
- A free Light Cloud account at console.light-cloud.com with GitHub connected.
- On Windows, use PowerShell 7. The last check uses curl (on Windows,
curl.exe, which ships with Windows 10 and 11).
Step 1: Create the SvelteKit app
The Svelte CLI, sv, can add adapter-static while it creates the project:
$ npx sv@latest create tutorial-sveltekit-app --template minimal --types ts --add sveltekit-adapter="adapter:static" --install npm
┌  Welcome to the Svelte CLI! (v0.17.1)
│
◆  Project created
│
◆  Successfully setup add-ons: sveltekit-adapter
│
◆  Successfully installed dependencies with npm
│
└ You're all set!PS> npx sv@latest create tutorial-sveltekit-app --template minimal --types ts --add sveltekit-adapter="adapter:static" --install npm
┌ Welcome to the Svelte CLI! (v0.17.1)
│
◆ Project created
│
◆ Successfully setup add-ons: sveltekit-adapter
│
◆ Successfully installed dependencies with npm
│
└ You're all set!--template minimal gives an almost empty site and --types ts sets up TypeScript. Output is trimmed.
Looking for svelte.config.js? New projects no longer have one. The adapter is set in vite.config.ts:
import adapter from '@sveltejs/adapter-static';
import { sveltekit } from '@sveltejs/kit/vite';
import { defineConfig } from 'vite';

export default defineConfig({
	plugins: [
		sveltekit({
			compilerOptions: {
				// Force runes mode for the project, except for libraries. Can be removed in svelte 6.
				runes: ({ filename }) => filename.split(/[/\\]/).includes('node_modules') ? undefined : true
			},
			adapter: adapter()
		})
	]
});
Step 2: Turn on prerendering
adapter-static can only publish pages that were built ahead of time, and SvelteKit does not prerender by default. Build the new project as it is and it stops with Error: Encountered dynamic routes (the full message is under Troubleshooting).
One line fixes it for the whole site. Create this file:
export const prerender = true;
Step 3: Add the pages
A shared layout with two links and a few styles. color-scheme: light dark lets the browser follow the visitor's system theme:
<script lang="ts">
	import { page } from '$app/state';
	import favicon from '$lib/assets/favicon.svg';

	let { children } = $props();
</script>

<svelte:head>
	<link rel="icon" href={favicon} />
</svelte:head>

<nav>
	<a href="/" aria-current={page.url.pathname === '/' ? 'page' : undefined}>Home</a>
	<a href="/about" aria-current={page.url.pathname === '/about' ? 'page' : undefined}>About</a>
</nav>

<main>
	{@render children()}
</main>

<style>
	:global(:root) {
		color-scheme: light dark;
		font-family: system-ui, sans-serif;
	}

	:global(body) {
		max-width: 40rem;
		margin: 0 auto;
		padding: 2rem 1rem;
	}

	nav {
		display: flex;
		gap: 1rem;
		margin-bottom: 2rem;
	}

	a {
		color: light-dark(#d93a00, #ff8a4c);
	}

	a[aria-current='page'] {
		font-weight: 600;
		text-decoration: none;
	}
</style>
Replace the starter home page:
<svelte:head>
	<title>Home</title>
</svelte:head>

<h1>Hello from Light Cloud</h1>
<p>A SvelteKit site, prerendered with adapter-static.</p>
In SvelteKit a folder is a route, so the About page lives in an about folder:
<svelte:head>
	<title>About</title>
</svelte:head>

<h1>About</h1>
<p>This page was prerendered to HTML at build time and is served from the edge.</p>
Step 4: Run it and build it
$ npm run dev
  VITE v8.3.1  ready in 441 ms

  ➜  Local:   http://localhost:5173/
$ npm run build
✓ built in 974ms
> Using @sveltejs/adapter-static
  Wrote site to "build"
  ✔ done
$ ls build
_app
about.html
index.html
robots.txtPS> npm run dev
VITE v8.3.1 ready in 441 ms
➜ Local: http://localhost:5173/
PS> npm run build
✓ built in 974ms
> Using @sveltejs/adapter-static
Wrote site to "build"
✔ done
PS> Get-ChildItem build -Name
_app
about.html
index.html
robots.txtOpen http://localhost:5173, click between the two pages, then stop the server with Ctrl+C before you build. Build output is trimmed.
The build folder is the whole site: one HTML file per page, plus the JavaScript in _app that makes links switch pages without a reload.
Step 5: Push it to GitHub
$ git init -b main
$ git add -A
$ git commit -m "SvelteKit site with adapter-static"
# Create an empty repository named tutorial-sveltekit-app on github.com/new first.
$ git remote add origin https://github.com/YOUR-USERNAME/tutorial-sveltekit-app.git
$ git push -u origin main
To https://github.com/YOUR-USERNAME/tutorial-sveltekit-app.git
 * [new branch]      main -> main
branch 'main' set up to track 'origin/main'.PS> git init -b main
PS> git add -A
PS> git commit -m "SvelteKit site with adapter-static"
# Create an empty repository named tutorial-sveltekit-app on github.com/new first.
PS> git remote add origin https://github.com/YOUR-USERNAME/tutorial-sveltekit-app.git
PS> git push -u origin main
To https://github.com/YOUR-USERNAME/tutorial-sveltekit-app.git
* [new branch] main -> main
branch 'main' set up to track 'origin/main'.The project's .gitignore already keeps node_modules, .svelte-kit and build out of Git.
Step 6: Deploy it
- In the Light Cloud console, click New..., then Deploy from GitHub.
- Search for
tutorial-sveltekit-appand click it.
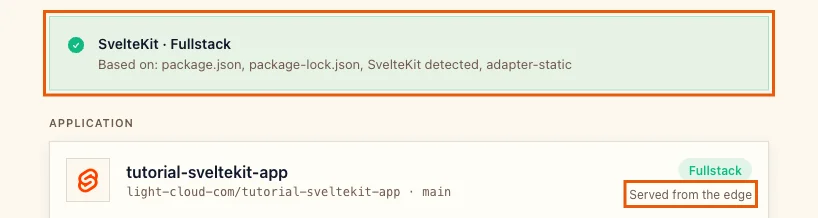
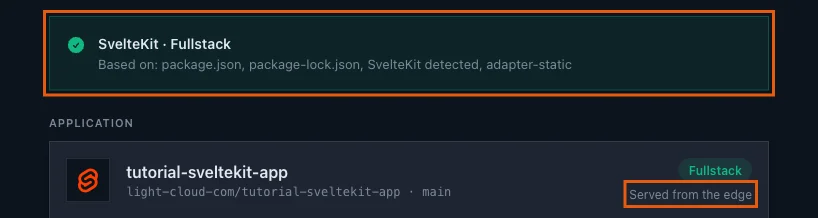
Light Cloud shows SvelteKit and, in the reasons, adapter-static, with Served from the edge. It found adapter-static in package.json, so it deploys the site as static files rather than as a server.
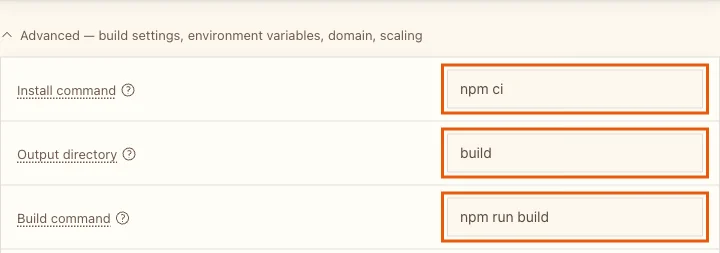
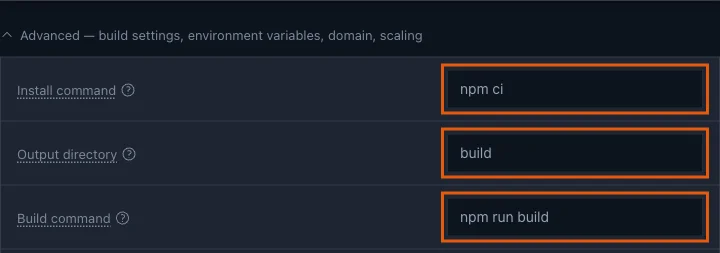
- Optional: under Advanced - build settings, environment variables, domain, scaling you can see
npm ci,npm run buildand the output directorybuild. Nothing to change.
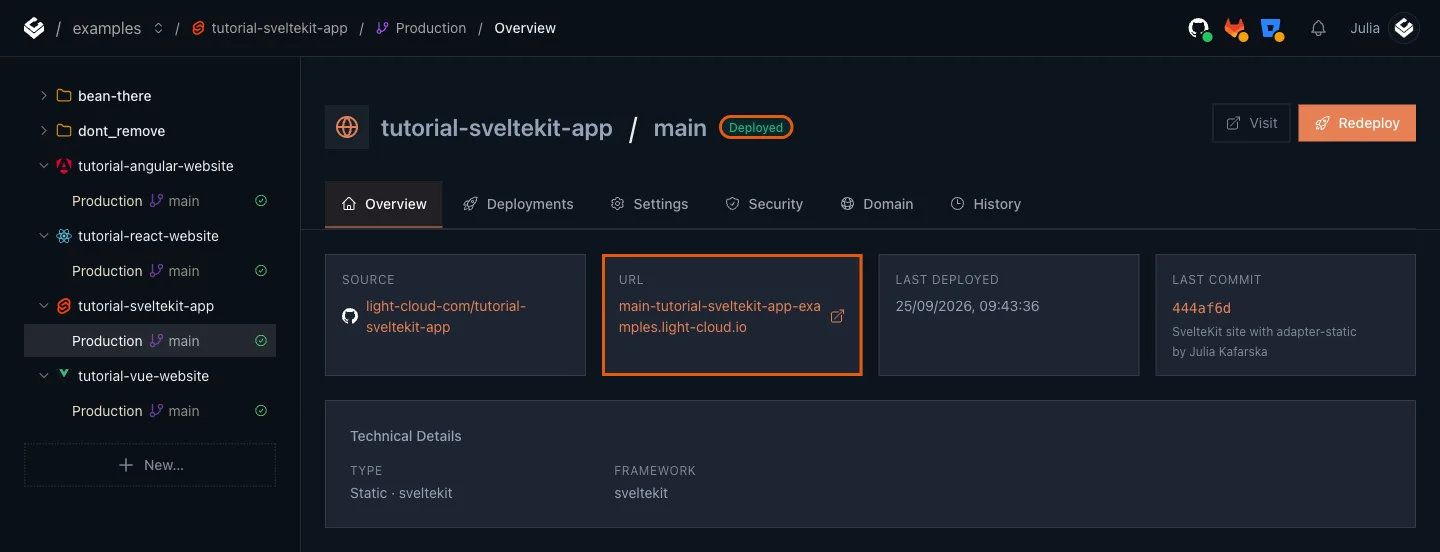
- Click Deploy and wait for Deployed (30 seconds in my run). Open the address from the URL card:
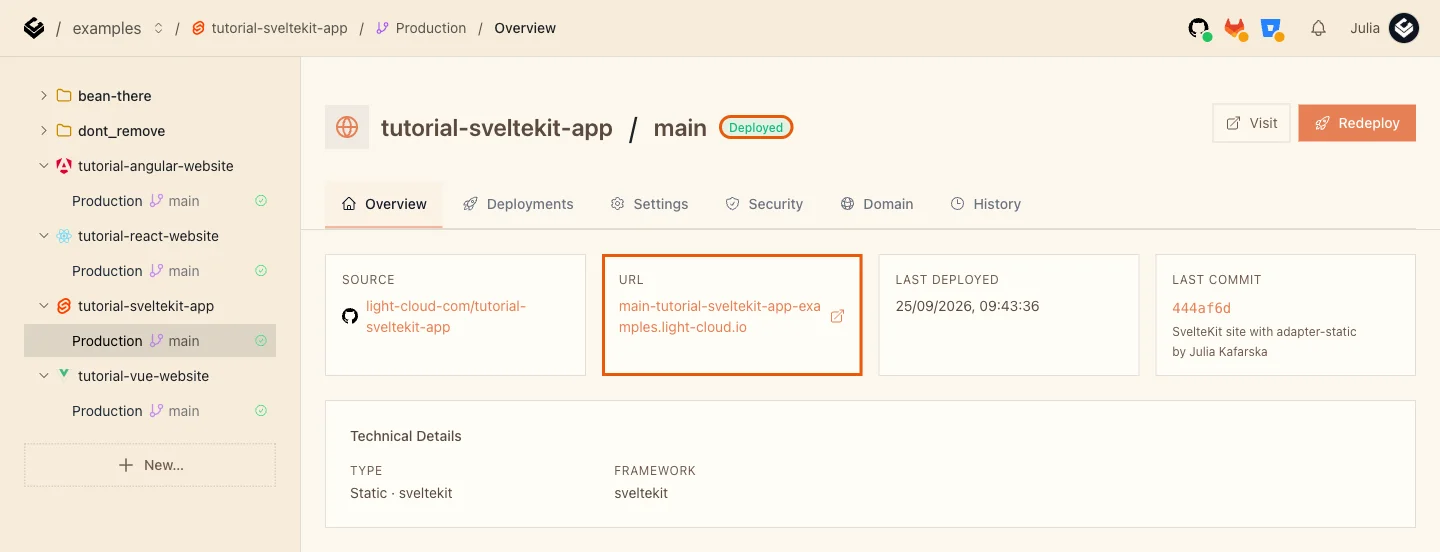
From now on, every push to main redeploys the site by itself.
Step 7: Open a page directly
Open https://main-tutorial-sveltekit-app-yourworkspace.light-cloud.io/about in a new tab, or refresh the page while on About. Light Cloud serves about.html for /about, so the page comes straight from the prerendered file:


To see that the page really comes prerendered, right-click it and choose View Page Source: the HTML already contains <h1>About</h1>, before any JavaScript runs.
/about/ with a trailing slash works too. A path with no page, such as /nope, falls back to index.html.
Troubleshooting
Error: Encountered dynamic routes
@sveltejs/adapter-static: all routes must be fully prerenderable, but found the following routes that are dynamic:
  - src/routes/
error during build:
Error: Encountered dynamic routes
Prerendering is off. Add export const prerender = true; to src/routes/+layout.ts (Step 2), build again, commit and push.
More tutorials


How to Deploy an Angular App on Light Cloud, Deep Links Included
Deploy an Angular 22 app made with the Angular CLI to Light Cloud: the dist/<project>/browser output folder is detected automatically, Angular Router deep links work, and every git push redeploys.
 Julia
Julia

How to Deploy a Vue 3 App with Vue Router and TypeScript on Light Cloud
Deploy a Vue 3 app made with create-vue, including Vue Router history mode and TypeScript, to Light Cloud: detected automatically and live in about 30 seconds.
Julia

Deploy a React App in Minutes: Your First Light Cloud Website, for Free
Create a React app with Vite, push it to GitHub and deploy it on Light Cloud's free plan: detected automatically, built in 15 seconds, updated on every git push.
Julia