How to Deploy an Angular App on Light Cloud, Deep Links Included
ng new, a push to GitHub and one click. Light Cloud finds Angular's nested build folder by itself, and routes like /about work when opened directly.



On this pageShowHide
To deploy an Angular app on Light Cloud, push it to GitHub, choose Deploy from GitHub in the console and click Deploy. Light Cloud detects Angular, reads angular.json to find the nested build folder (dist/<project name>/browser), runs npm ci and npm run build, and serves the result from the edge. Angular Router deep links such as /about work without any redirect rules.
In my run the first deploy took 41 seconds, and a pushed change was live about a minute after git push.
What you will build
A small Angular app with two pages, Home and About, linked with Angular Router and live on a light-cloud.io address. It follows the visitor's light or dark system setting.
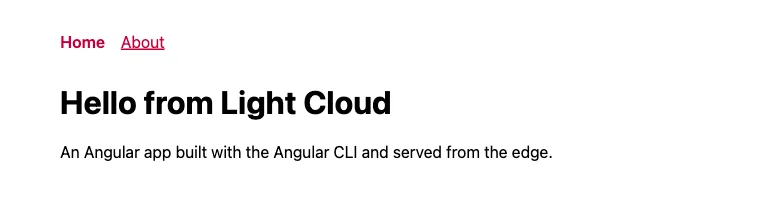
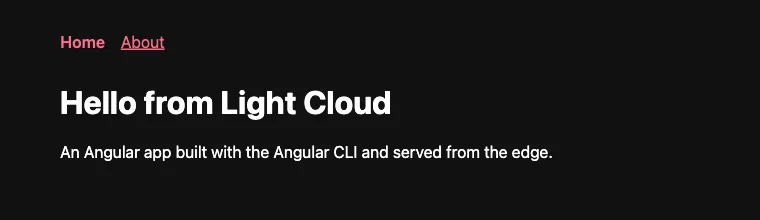
Live demo: main-tutorial-angular-website-examples.light-cloud.io. Source code: github.com/light-cloud-com/tutorial-angular-website.
Before you start
- Node.js 22.22.3 or later, or 24.15.0 or later. This is what the Angular CLI 22.2 requires; I used Node.js 24.
- Git and a GitHub account.
- A free Light Cloud account at console.light-cloud.com with GitHub connected.
- On Windows, use PowerShell 7. The last check uses curl (on Windows,
curl.exe, which ships with Windows 10 and 11).
New to deploying from GitHub? The React guide walks through the same console screens in more detail.
Step 1: Create the Angular app
--defaults accepts the recommended answers without asking, and --ssr=false keeps the app static, with no server-side rendering:
$ npx @angular/cli@latest new tutorial-angular-website --defaults --ssr=false
CREATE tutorial-angular-website/angular.json (1957 bytes)
CREATE tutorial-angular-website/package.json (800 bytes)
CREATE tutorial-angular-website/src/main.ts (222 bytes)
CREATE tutorial-angular-website/src/app/app.ts (307 bytes)
CREATE tutorial-angular-website/src/app/app.routes.ts (77 bytes)
✔ Packages installed successfully.
Successfully initialized git.PS> npx @angular/cli@latest new tutorial-angular-website --defaults --ssr=false
CREATE tutorial-angular-website/angular.json (1957 bytes)
CREATE tutorial-angular-website/package.json (800 bytes)
CREATE tutorial-angular-website/src/main.ts (222 bytes)
CREATE tutorial-angular-website/src/app/app.ts (307 bytes)
CREATE tutorial-angular-website/src/app/app.routes.ts (77 bytes)
✔ Packages installed successfully.
Successfully initialized git.Output is trimmed; the CLI lists every file it creates. It also installs the packages and makes the first Git commit for you.
Step 2: Run it and build it once
$ cd tutorial-angular-website
$ npm start
Watch mode enabled. Watching for file changes...
  ➜  Local:   http://localhost:4200/
$ npm run build
Initial chunk files | Names         |  Raw size | Estimated transfer size
main-AMMXP5ZW.js    | main          | 218.81 kB |                59.99 kB
styles-5INURTSO.css | styles        |   0 bytes |                 0 bytes

Application bundle generation complete. [1.918 seconds]

Output location: /Users/you/tutorial-angular-website/dist/tutorial-angular-websitePS> cd tutorial-angular-website
PS> npm start
Watch mode enabled. Watching for file changes...
➜ Local: http://localhost:4200/
PS> npm run build
Initial chunk files | Names | Raw size | Estimated transfer size
main-AMMXP5ZW.js | main | 218.81 kB | 59.99 kB
styles-5INURTSO.css | styles | 0 bytes | 0 bytes
Application bundle generation complete. [1.918 seconds]
Output location: C:\Users\you\tutorial-angular-website\dist\tutorial-angular-websiteOpen http://localhost:4200 to see the Angular starter page, then stop the server with Ctrl+C before you build. Output is trimmed.
Look at the output location: the site's files end up one level deeper, in dist/tutorial-angular-website/browser. That nested folder is the one a host must publish, and it is the most common reason an Angular deploy shows a blank page elsewhere. Light Cloud finds it for you in Step 4.
Step 3: Push it to GitHub
The Angular CLI already created the repository and the first commit, so one command creates the GitHub repository and pushes:
# Create an empty repository named tutorial-angular-website on github.com/new first.
$ git remote add origin https://github.com/YOUR-USERNAME/tutorial-angular-website.git
$ git push -u origin main
To https://github.com/YOUR-USERNAME/tutorial-angular-website.git
 * [new branch]      main -> main
branch 'main' set up to track 'origin/main'.# Create an empty repository named tutorial-angular-website on github.com/new first.
PS> git remote add origin https://github.com/YOUR-USERNAME/tutorial-angular-website.git
PS> git push -u origin main
To https://github.com/YOUR-USERNAME/tutorial-angular-website.git
* [new branch] main -> main
branch 'main' set up to track 'origin/main'.The branch is named after your Git setting init.defaultBranch. If yours is master, that is fine; Light Cloud deploys whichever branch the repository uses.
Step 4: Deploy it
- In the Light Cloud console, click New..., then Deploy from GitHub.
- Search for
tutorial-angular-websiteand click it.
Light Cloud shows Angular / Frontend and Served from the edge. The banner also lists what it read from angular.json: Custom output: dist/tutorial-angular-website/browser.
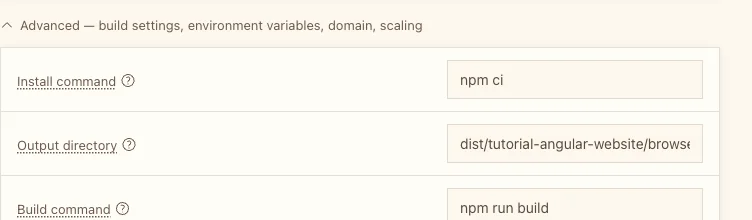
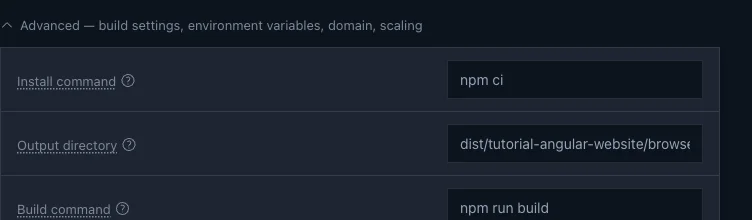
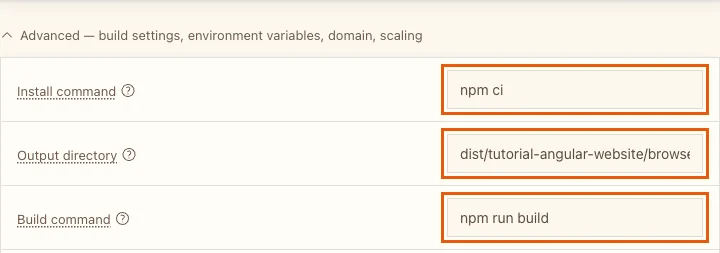
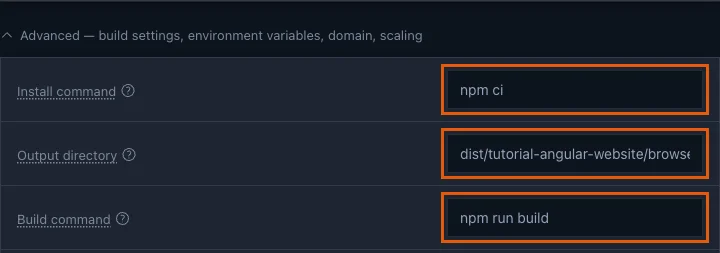
- Optional: open Advanced - build settings, environment variables, domain, scaling. The Output directory already holds the nested folder, next to
npm ciandnpm run build. Nothing to change.
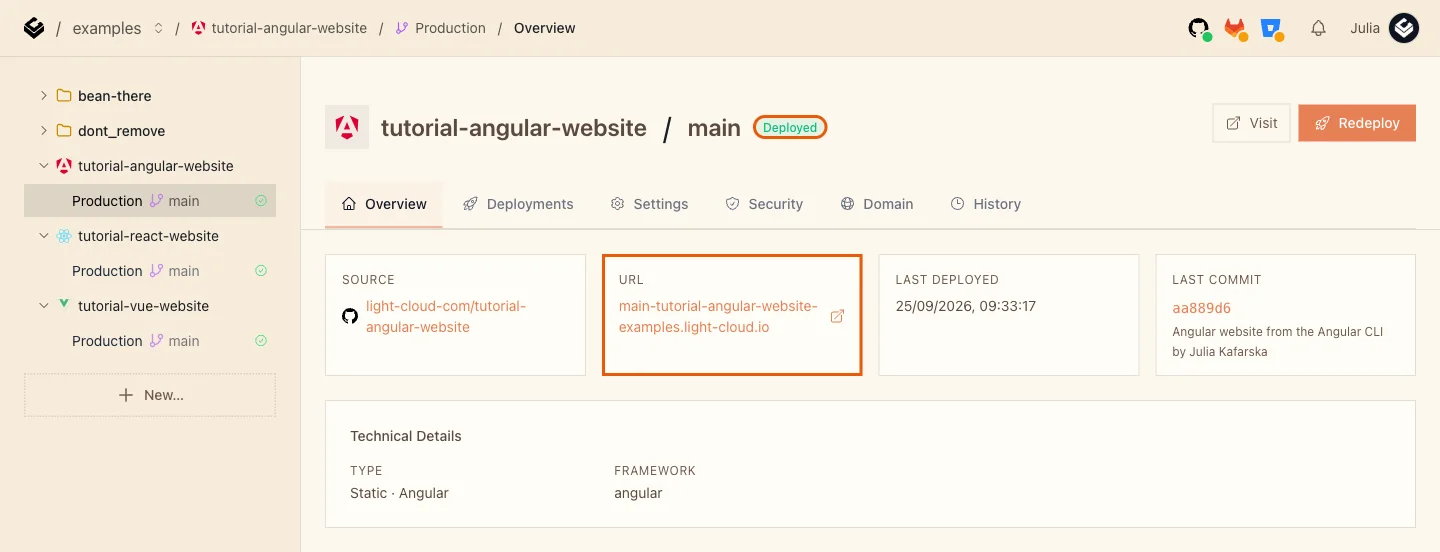
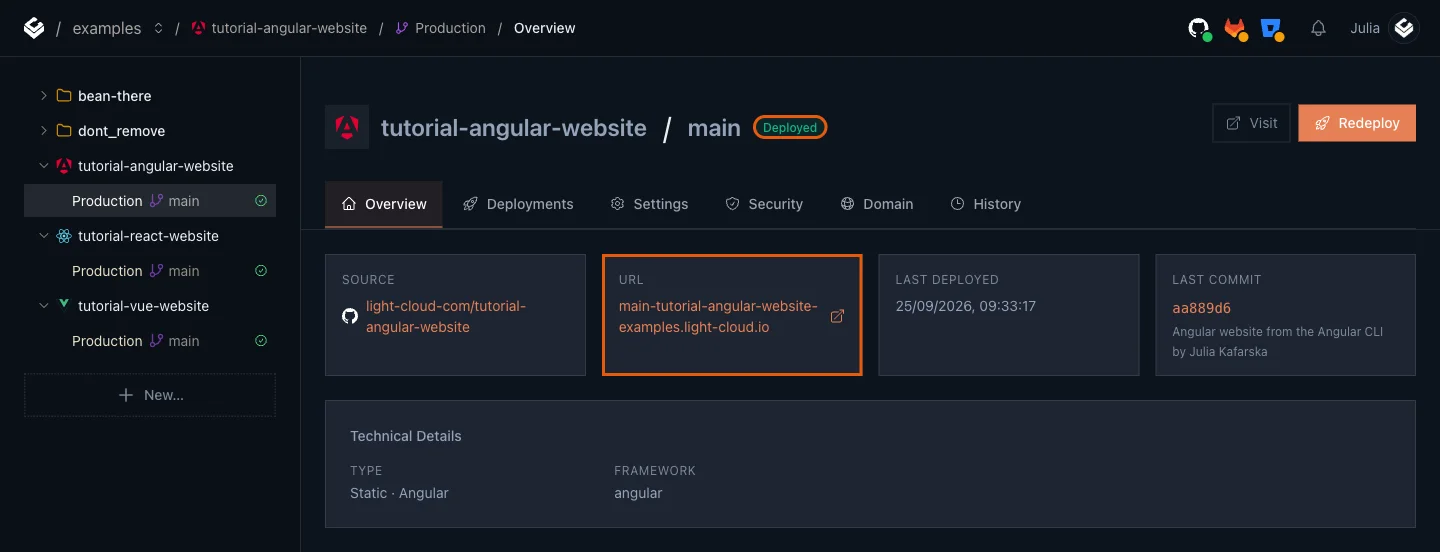
- Click Deploy and wait for Deployed (41 seconds in my run). Open the address from the URL card:
Step 5: Add a second page with Angular Router
The starter has a router but no routes. Generate two page components:
$ npx ng generate component home
CREATE src/app/home/home.css (0 bytes)
CREATE src/app/home/home.spec.ts (518 bytes)
CREATE src/app/home/home.ts (177 bytes)
CREATE src/app/home/home.html (19 bytes)
$ npx ng generate component about
CREATE src/app/about/about.css (0 bytes)
CREATE src/app/about/about.spec.ts (525 bytes)
CREATE src/app/about/about.ts (181 bytes)
CREATE src/app/about/about.html (20 bytes)PS> npx ng generate component home
CREATE src/app/home/home.css (0 bytes)
CREATE src/app/home/home.spec.ts (518 bytes)
CREATE src/app/home/home.ts (177 bytes)
CREATE src/app/home/home.html (19 bytes)
PS> npx ng generate component about
CREATE src/app/about/about.css (0 bytes)
CREATE src/app/about/about.spec.ts (525 bytes)
CREATE src/app/about/about.ts (181 bytes)
CREATE src/app/about/about.html (20 bytes)Give each page a path. title sets the browser tab title:
import { Routes } from '@angular/router';
import { About } from './about/about';
import { Home } from './home/home';

export const routes: Routes = [
  { path: '', component: Home, title: 'Home' },
  { path: 'about', component: About, title: 'About' },
];
Replace the whole starter page with two links and the router outlet, where the current page appears:
<nav>
  <a routerLink="/" routerLinkActive="active" [routerLinkActiveOptions]="{ exact: true }">Home</a>
  <a routerLink="/about" routerLinkActive="active">About</a>
</nav>
<main>
  <router-outlet />
</main>
The links need RouterLink and RouterLinkActive in the component's imports:
import { Component } from '@angular/core';
import { RouterLink, RouterLinkActive, RouterOutlet } from '@angular/router';

@Component({
  imports: [RouterOutlet, RouterLink, RouterLinkActive],
  selector: 'app-root',
  styleUrl: './app.css',
  templateUrl: './app.html',
})
export class App {}
Write the two pages:
<h1>Hello from Light Cloud</h1>
<p>An Angular app built with the Angular CLI and served from the edge.</p>
<h1>About</h1>
<p>This page lives at /about. Open it directly or refresh it, and Angular Router still shows it.</p>
And a few global styles. color-scheme: light dark lets the browser follow the visitor's system theme:
:root {
  color-scheme: light dark;
  font-family: system-ui, sans-serif;
}

body {
  max-width: 40rem;
  margin: 0 auto;
  padding: 2rem 1rem;
}

nav {
  display: flex;
  gap: 1rem;
  margin-bottom: 2rem;
}

a {
  color: light-dark(#c3002f, #ff6b8b);
}

a.active {
  font-weight: 600;
  text-decoration: none;
}
Check it with npm start, then commit and push:
$ git add -A
$ git commit -m "Add Home and About pages with Angular Router"
$ git pushPS> git add -A
PS> git commit -m "Add Home and About pages with Angular Router"
PS> git pushDeploy on push is on by default, so Light Cloud builds the new version by itself. The Deployments tab lists it as deployed by GitHub Auto-Deploy:
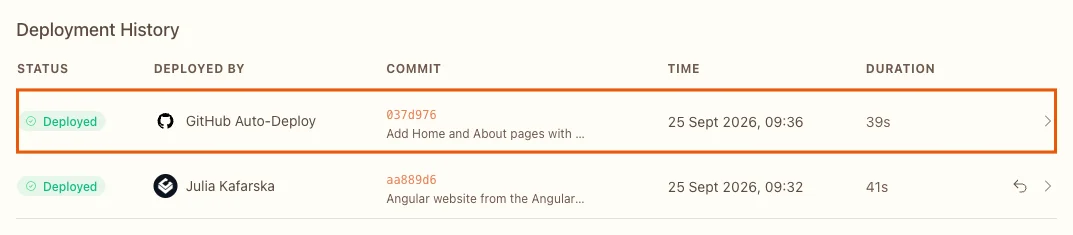
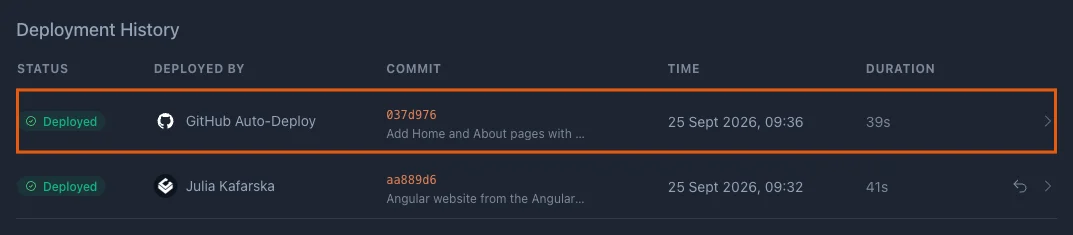
In my run the new pages were live about a minute after git push.
The starter's test in src/app/app.spec.ts still looks for the old heading, so npx ng test now fails. The deploy does not run tests, but the repository has the updated test if you want it green.
Step 6: Open a deep link
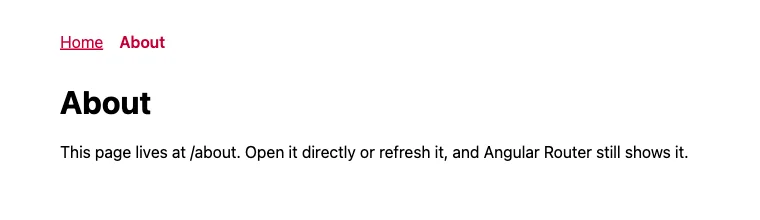
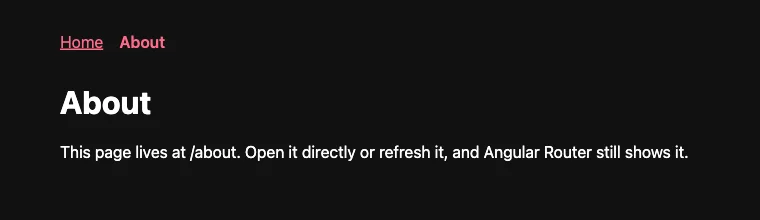
Angular Router uses real-looking paths such as /about. There is no about file in the build, so on many static hosts opening that address directly returns a 404. On Light Cloud any path that is not a file is answered with index.html, and Angular Router shows the right page.
Open https://main-tutorial-angular-website-yourworkspace.light-cloud.io/about directly, or refresh the page while on About:
Troubleshooting
The Angular CLI requires a minimum Node.js version
Node.js version v22.16.0 detected.
The Angular CLI requires a minimum Node.js version of v22.22.3 or v24.15.0 or v26.0.0.
Your Node.js is older than Angular 22 needs. Install a current Node.js 22 or 24 from nodejs.org and run the command again.
The site shows a blank page or "Not found"
The Output directory does not point at the folder with index.html. For the Angular CLI it is dist/<project name>/browser. If you renamed the project in angular.json or set your own outputPath, open Production, then the Settings tab, click Edit next to Build Settings, correct the Output directory and redeploy.
More tutorials


How to Deploy a Vue 3 App with Vue Router and TypeScript on Light Cloud
Deploy a Vue 3 app made with create-vue, including Vue Router history mode and TypeScript, to Light Cloud: detected automatically and live in about 30 seconds.
 Julia
Julia

Deploy a React App in Minutes: Your First Light Cloud Website, for Free
Create a React app with Vite, push it to GitHub and deploy it on Light Cloud's free plan: detected automatically, built in 15 seconds, updated on every git push.
Julia

Microservices Part 1: Deploy a Frontend, Two APIs and a Database
Deploy a React frontend, a Node.js API, a Python FastAPI API and PostgreSQL from one GitHub monorepo on Light Cloud, step by step, with every screen shown.
Julia