Deploying Next.js with Server Rendering (and When to Use Static Export)
A Next.js 16 app with a server-rendered page, a prerendered page and a route handler, deployed from GitHub. Then one config line that cut the image from 201 MB to 74 MB.



On this pageShowHide
To deploy Next.js with server rendering on Light Cloud, push the project to GitHub and click Deploy from GitHub. Light Cloud detects Next.js, runs next build and serves the app with next start in a container, so dynamic pages, server components and route handlers work as they do on your machine. Add output: "standalone" to next.config.ts for a much smaller image. If your site needs no server at all, output: "export" turns it into a static site served from the edge.
In my run output: "standalone" shrank the image from 201 MB to 74 MB.
What you will build
A Next.js 16 app with the three kinds of routes most apps mix:
/is rendered on the server for every request, and shows when./aboutis prerendered once, at build time./api/timeis a route handler that returns JSON.
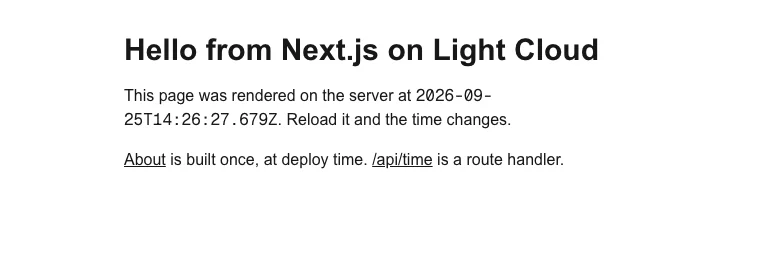
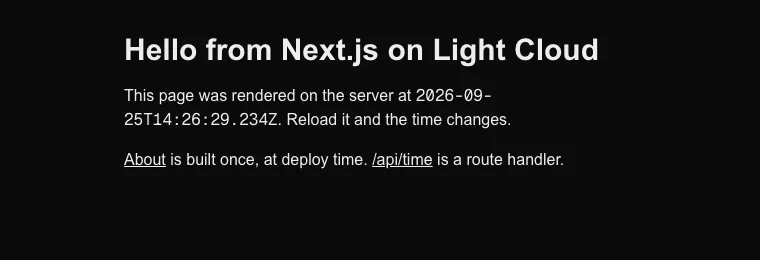
Source code: github.com/light-cloud-com/tutorial-nextjs-app.
Before you start
- Node.js 20.9 or later; I used Node.js 24.
- Git and a GitHub account.
- A free Light Cloud account at console.light-cloud.com with GitHub connected. The Free plan includes three server apps, enough for a server-rendered app.
- A terminal with curl. On Windows, use PowerShell 7 and
curl.exe, which ships with Windows 10 and 11.
Step 1: Create the app
$ npx create-next-app@latest tutorial-nextjs-app --yes
Initialized a git repository.
Success! Created tutorial-nextjs-app at /Users/you/tutorial-nextjs-app
$ cd tutorial-nextjs-appPS> npx create-next-app@latest tutorial-nextjs-app --yes
Initialized a git repository.
Success! Created tutorial-nextjs-app at C:\Users\you\tutorial-nextjs-app
PS> cd tutorial-nextjs-app--yes takes the defaults: TypeScript, Tailwind CSS, ESLint and the App Router. Output is trimmed. I got Next.js 16.3.6 and React 19.2.8.
Step 2: Add the three routes
Replace the starter home page with one that renders on every request:
import Link from "next/link";

// Render this page on the server for every request, not once at build time.
export const dynamic = "force-dynamic";

export default function Home() {
  const renderedAt = new Date().toISOString();

  return (
    <main className="mx-auto max-w-xl p-8 space-y-4">
      <h1 className="text-3xl font-bold">Hello from Next.js on Light Cloud</h1>
      <p>
        This page was rendered on the server at{" "}
        <time className="font-mono">{renderedAt}</time>. Reload it and the time changes.
      </p>
      <p>
        <Link className="underline" href="/about">About</Link> is built once, at deploy time.{" "}
        <Link className="underline" href="/api/time">/api/time</Link> is a route handler.
      </p>
    </main>
  );
}
A page with no dynamic data, which Next.js prerenders:
import Link from "next/link";

// No dynamic data here, so Next.js renders this page once, during `next build`.
export default function About() {
  const builtAt = new Date().toISOString();

  return (
    <main className="mx-auto max-w-xl p-8 space-y-4">
      <h1 className="text-3xl font-bold">About</h1>
      <p>
        This page was prerendered at build time, at{" "}
        <time className="font-mono">{builtAt}</time>. Reloading does not change it.
      </p>
      <p>
        <Link className="underline" href="/">Home</Link>
      </p>
    </main>
  );
}
And a route handler:
// A route handler: an API endpoint that lives next to the pages.
export const dynamic = "force-dynamic";

export function GET() {
  return Response.json({
    now: new Date().toISOString(),
    node: process.version,
  });
}
Build it once to see how Next.js classifies each route:
$ npm run build
Route (app)
┌ ƒ /
├ ○ /_not-found
├ ○ /about
└ ƒ /api/time

○  (Static)   prerendered as static content
ƒ (Dynamic) server-rendered on demandPS> npm run build
Route (app)
┌ ƒ /
├ ○ /_not-found
├ ○ /about
└ ƒ /api/time
○ (Static) prerendered as static content
ƒ (Dynamic) server-rendered on demandOutput is trimmed. Routes marked Dynamic need a server; that is what decides between server rendering and static export (see When to use static export).
Step 3: Push it to GitHub
create-next-app already made the repository and a first commit:
$ git add -A
$ git commit -m "Server-rendered home, prerendered about, route handler"
# Create an empty repository named tutorial-nextjs-app on github.com/new first.
$ git remote add origin https://github.com/YOUR-USERNAME/tutorial-nextjs-app.git
$ git push -u origin main
To https://github.com/YOUR-USERNAME/tutorial-nextjs-app.git
 * [new branch]      main -> main
branch 'main' set up to track 'origin/main'.PS> git add -A
PS> git commit -m "Server-rendered home, prerendered about, route handler"
# Create an empty repository named tutorial-nextjs-app on github.com/new first.
PS> git remote add origin https://github.com/YOUR-USERNAME/tutorial-nextjs-app.git
PS> git push -u origin main
To https://github.com/YOUR-USERNAME/tutorial-nextjs-app.git
* [new branch] main -> main
branch 'main' set up to track 'origin/main'.Step 4: Deploy it
In the Light Cloud console, click New..., then Deploy from GitHub, and pick tutorial-nextjs-app. Light Cloud shows Next.js / Fullstack, with SSR mode (like Vercel) in the reasons, and Runs on a server:
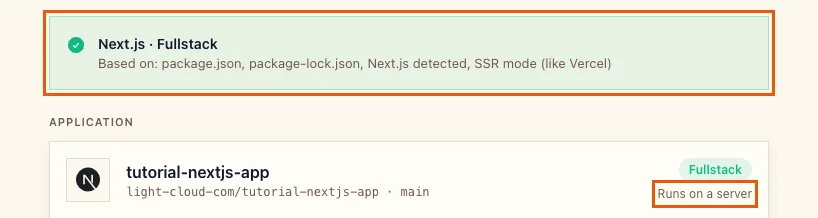
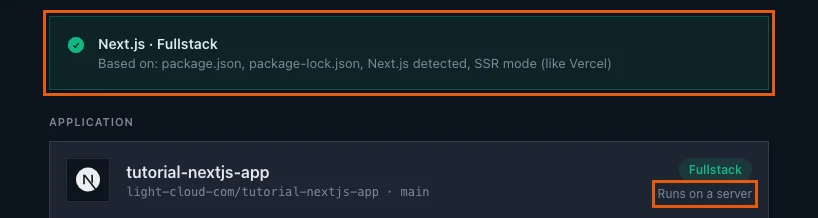
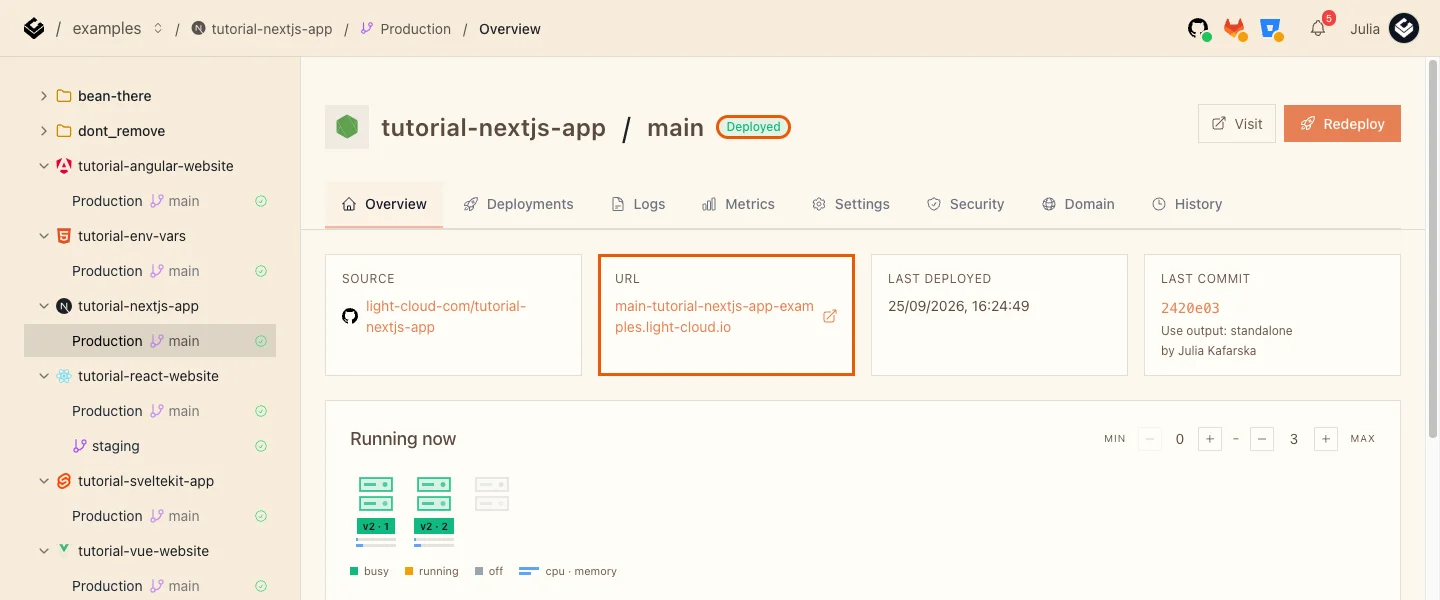
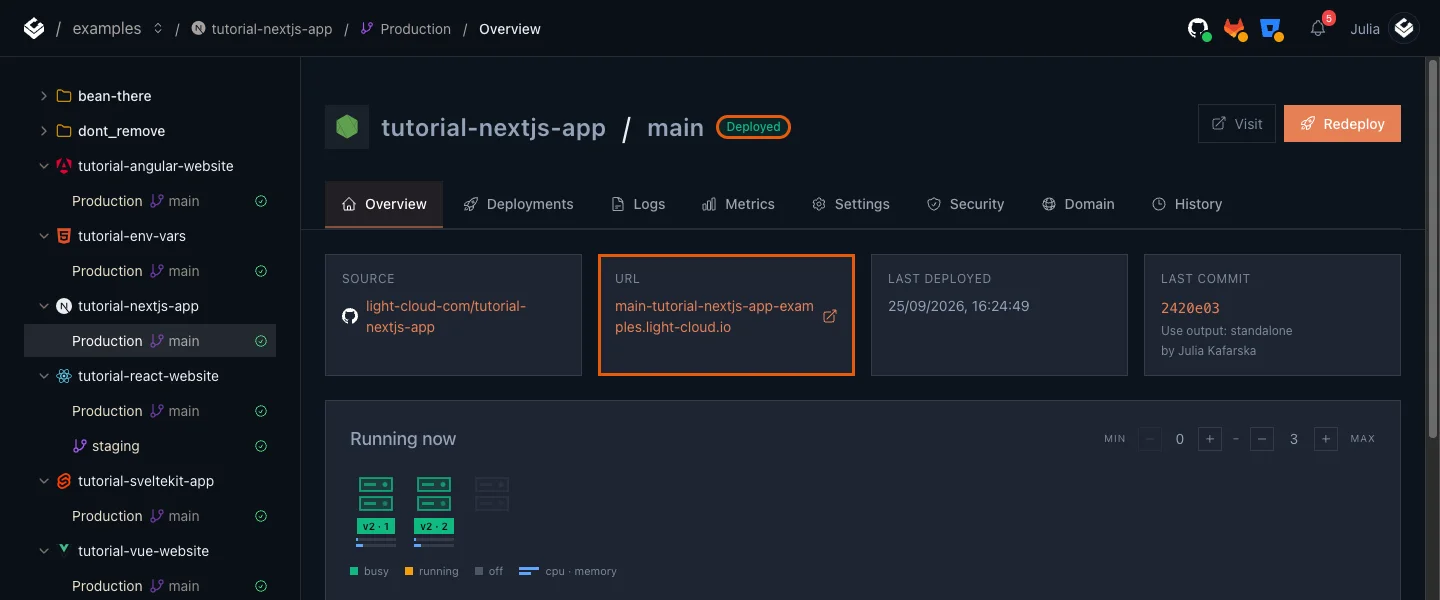
Below it the console notes that server-rendered frontends run on the Micro size, scale from 0 to 3 instances, and are served through the edge. Click Deploy. The first build installs everything and runs next build; in my run the site was live about 4 and a half minutes after the click.
Step 5: Check what runs where
$ curl https://main-tutorial-nextjs-app-yourworkspace.light-cloud.io/api/time
{"now":"2026-09-25T14:21:44.274Z","node":"v24.21.0"}PS> curl.exe https://main-tutorial-nextjs-app-yourworkspace.light-cloud.io/api/time
{"now":"2026-09-25T14:21:44.274Z","node":"v24.21.0"}The route handler runs on Node.js 24 on the server. Reload / twice and the time changes each time (14:21:44.511 and 14:21:47.055 in my run). Reload /about and it stays at the moment the site was built (14:18:39.014), because it is a prerendered file.
Next.js puts JavaScript and CSS under /_next/static, with content hashes in the file names. Light Cloud treats them specially: the first request is answered by your app, and after that the file comes from the edge store, marked cacheable for a year.
To see it, open your site, open the browser's developer tools (F12, or Cmd+Option+I on a Mac), go to the Network tab and reload the page. Click one of the .js files, for example 310vm2bl3xxpt.js (your names will differ), and look at its Response Headers:
cache-control: public, max-age=31536000, immutable
x-lc-asset: r2
x-lc-asset: r2 means the file came from the edge store, not from your app. Your server only renders pages; the heavy static files stop reaching it.
Step 6: Make the image smaller with standalone output
By default the container holds the whole project, including every package in node_modules. output: "standalone" makes next build trace which files the server really needs and copy just those into .next/standalone:
import type { NextConfig } from "next";

const nextConfig: NextConfig = {
  // Build a self-contained server with only the files it needs.
  output: "standalone",
};

export default nextConfig;
Commit and push. Light Cloud reads the setting and builds a leaner image that runs server.js directly. From my two deploys:
| Default | output: "standalone" | |
|---|---|---|
| Image size | 201 MB | 74 MB |
| New instance to ready | 2.6 s | 1.2 to 1.9 s |
Smaller images start faster on a cold start, and with Min instances at 0 that is the delay a first visitor feels. There is no downside for a typical app, so use standalone for server-rendered Next.js on Light Cloud.
When to use static export
If npm run build lists only Static routes and no Dynamic ones, nothing needs a server. Then static export is simpler and cheaper:
const nextConfig: NextConfig = {
  output: "export",
};
Light Cloud's detection reads next.config and, with output: "export", builds the out folder and serves it from the edge like any static site: no container, no cold start, and it counts as a static site on your plan. Static export cannot use per-request rendering, route handlers that run at request time, server actions, or the built-in image optimisation.
| Your app has | Use |
|---|---|
| Only prerendered pages | output: "export" |
| Dynamic pages, route handlers, server actions, middleware | server rendering with output: "standalone" |
Troubleshooting
The build fails after adding output: "export"
Static export needs every page, and every value of a dynamic route such as [slug], to be known at build time. Either add generateStaticParams to dynamic routes, or remove output: "export" and deploy with server rendering.
More tutorials


Deploy a NestJS API with a Database Connection
Deploy a NestJS API with PostgreSQL on Light Cloud: PORT from the environment, a pg pool sized for serverless, request validation, a health check that tests the database, and why the start script should run node dist/main.
 Julia
Julia

Deploy a SvelteKit Site as Static Files: adapter-static and Prerendering
Deploy a SvelteKit site with adapter-static to Light Cloud: fix the Encountered dynamic routes error with export const prerender = true, and get real HTML pages served from the edge, deep links included.
Julia

How to Deploy an Angular App on Light Cloud, Deep Links Included
Deploy an Angular 22 app made with the Angular CLI to Light Cloud: the dist/<project>/browser output folder is detected automatically, Angular Router deep links work, and every git push redeploys.
Julia